Perfect Popovers

Perfect Popovers Every Time – MY Easy, Foolproof Recipe
first published 3/31/2015, last updated 5/2/25
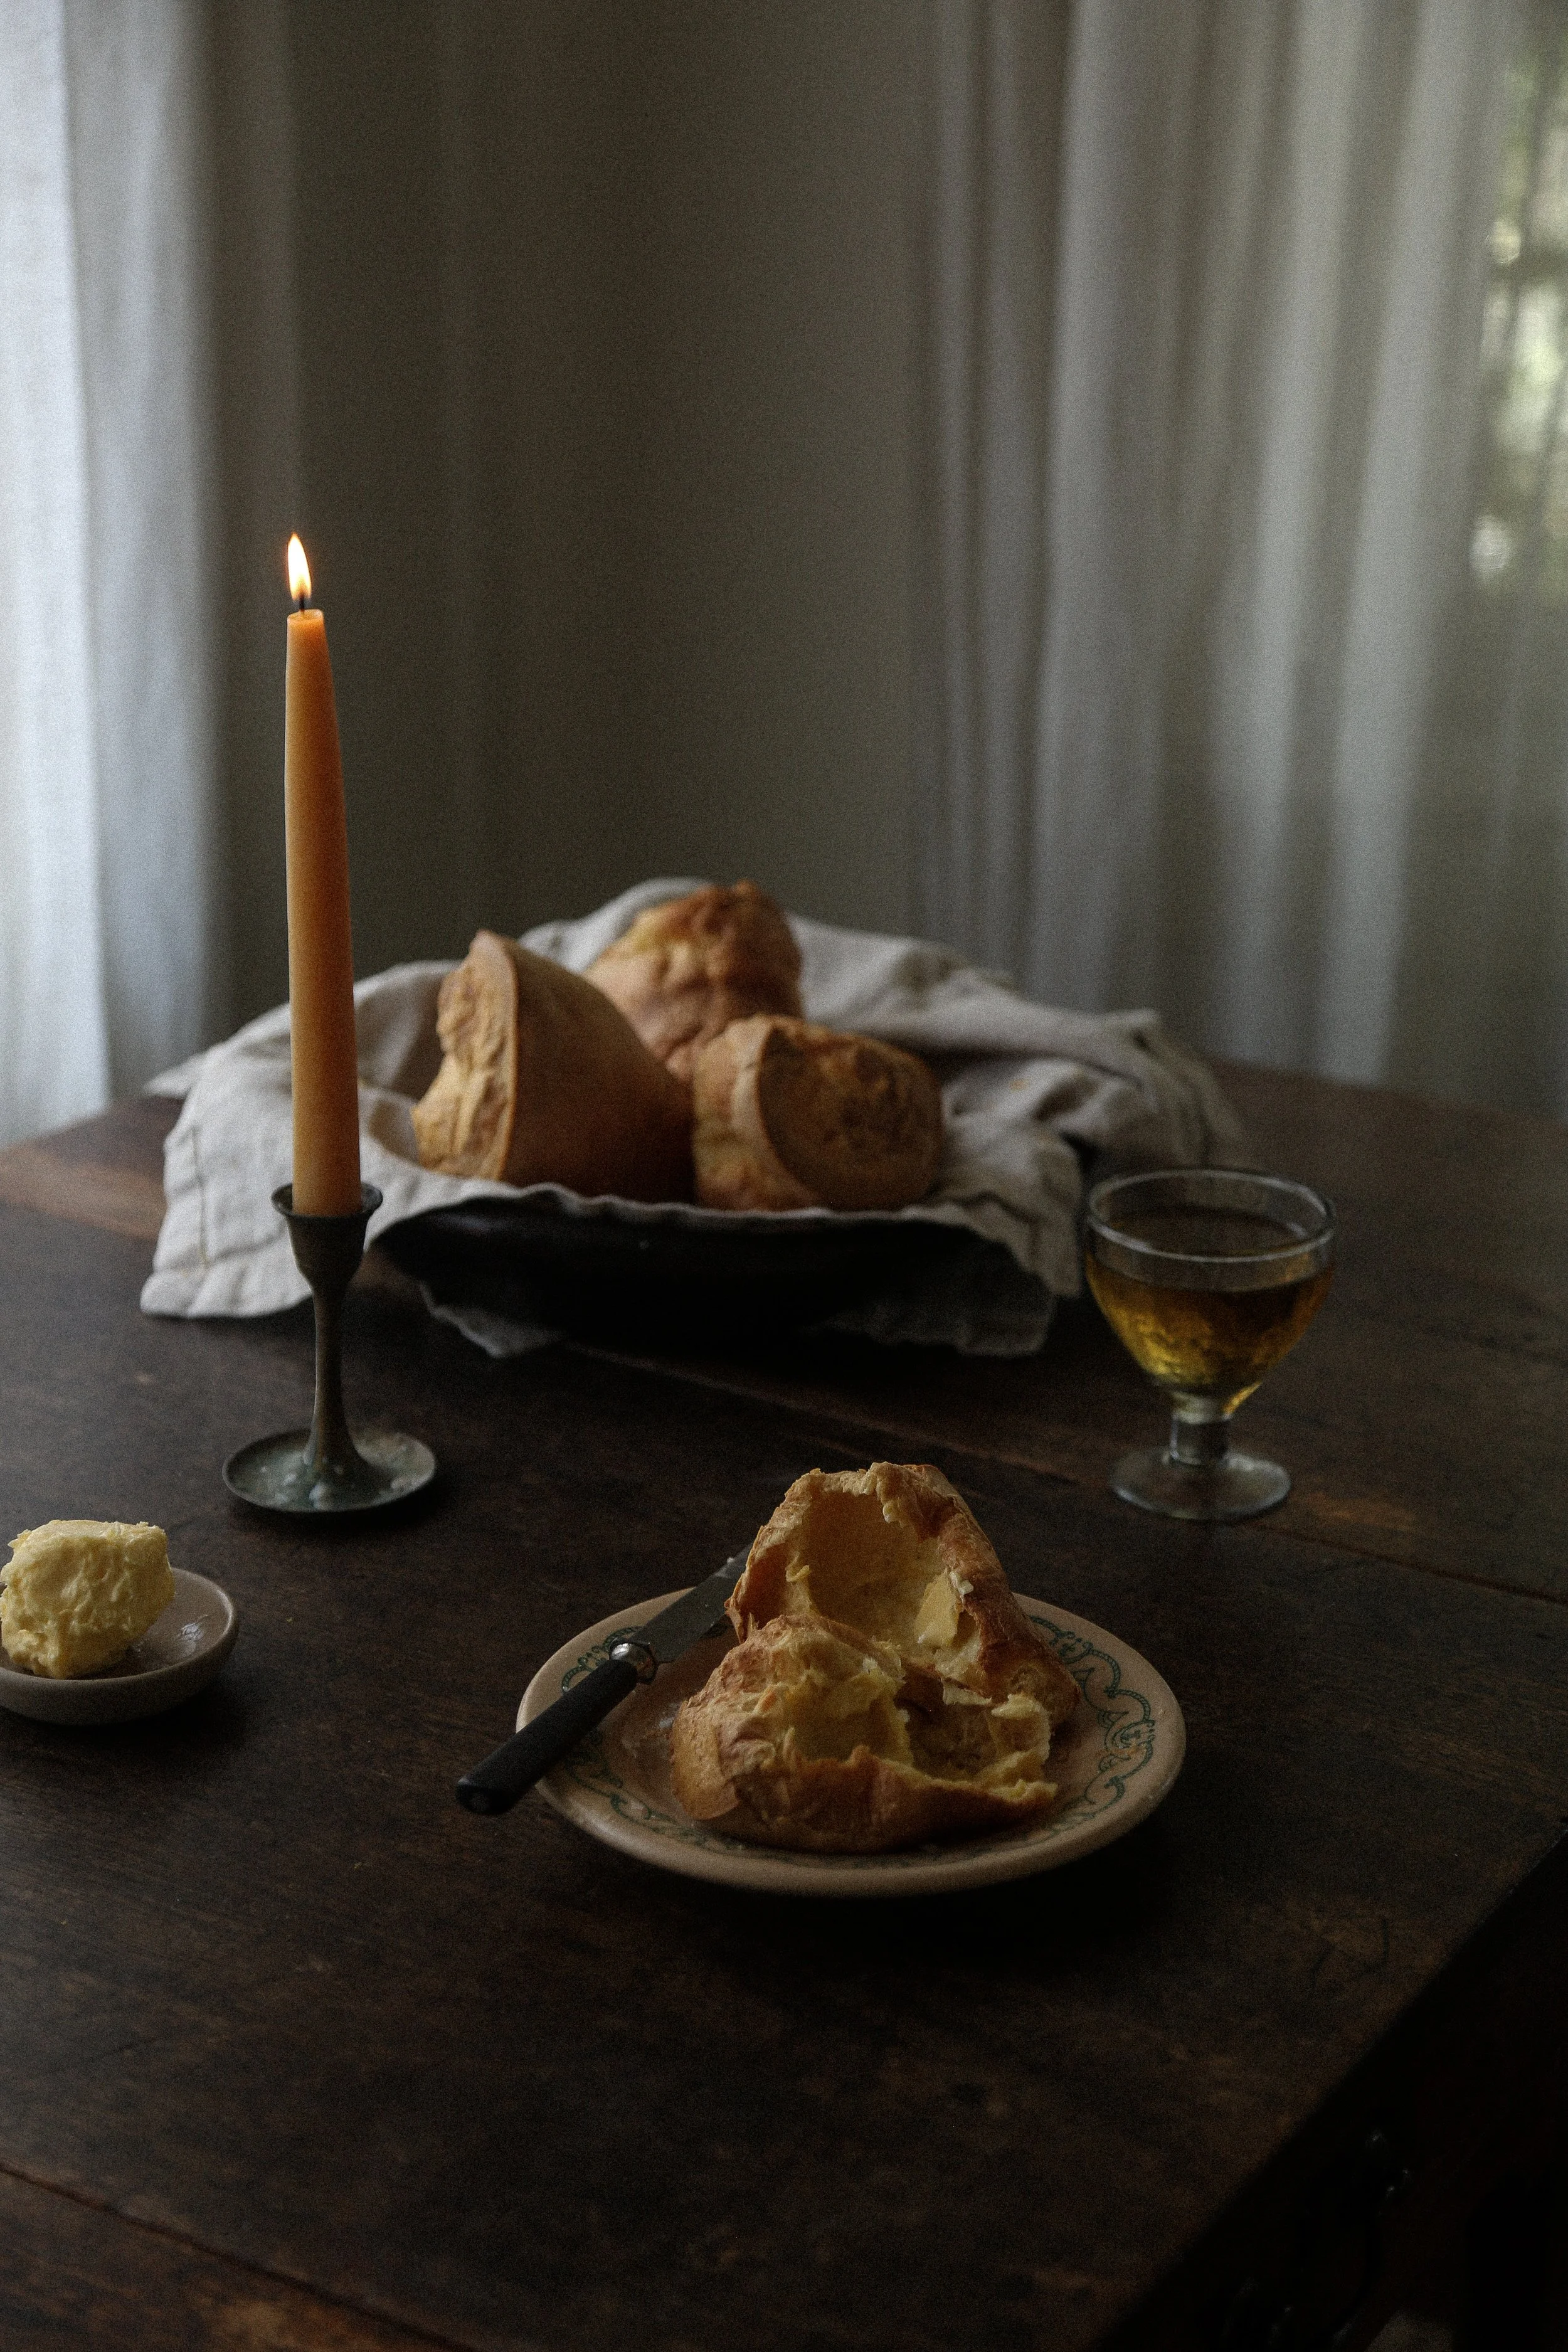
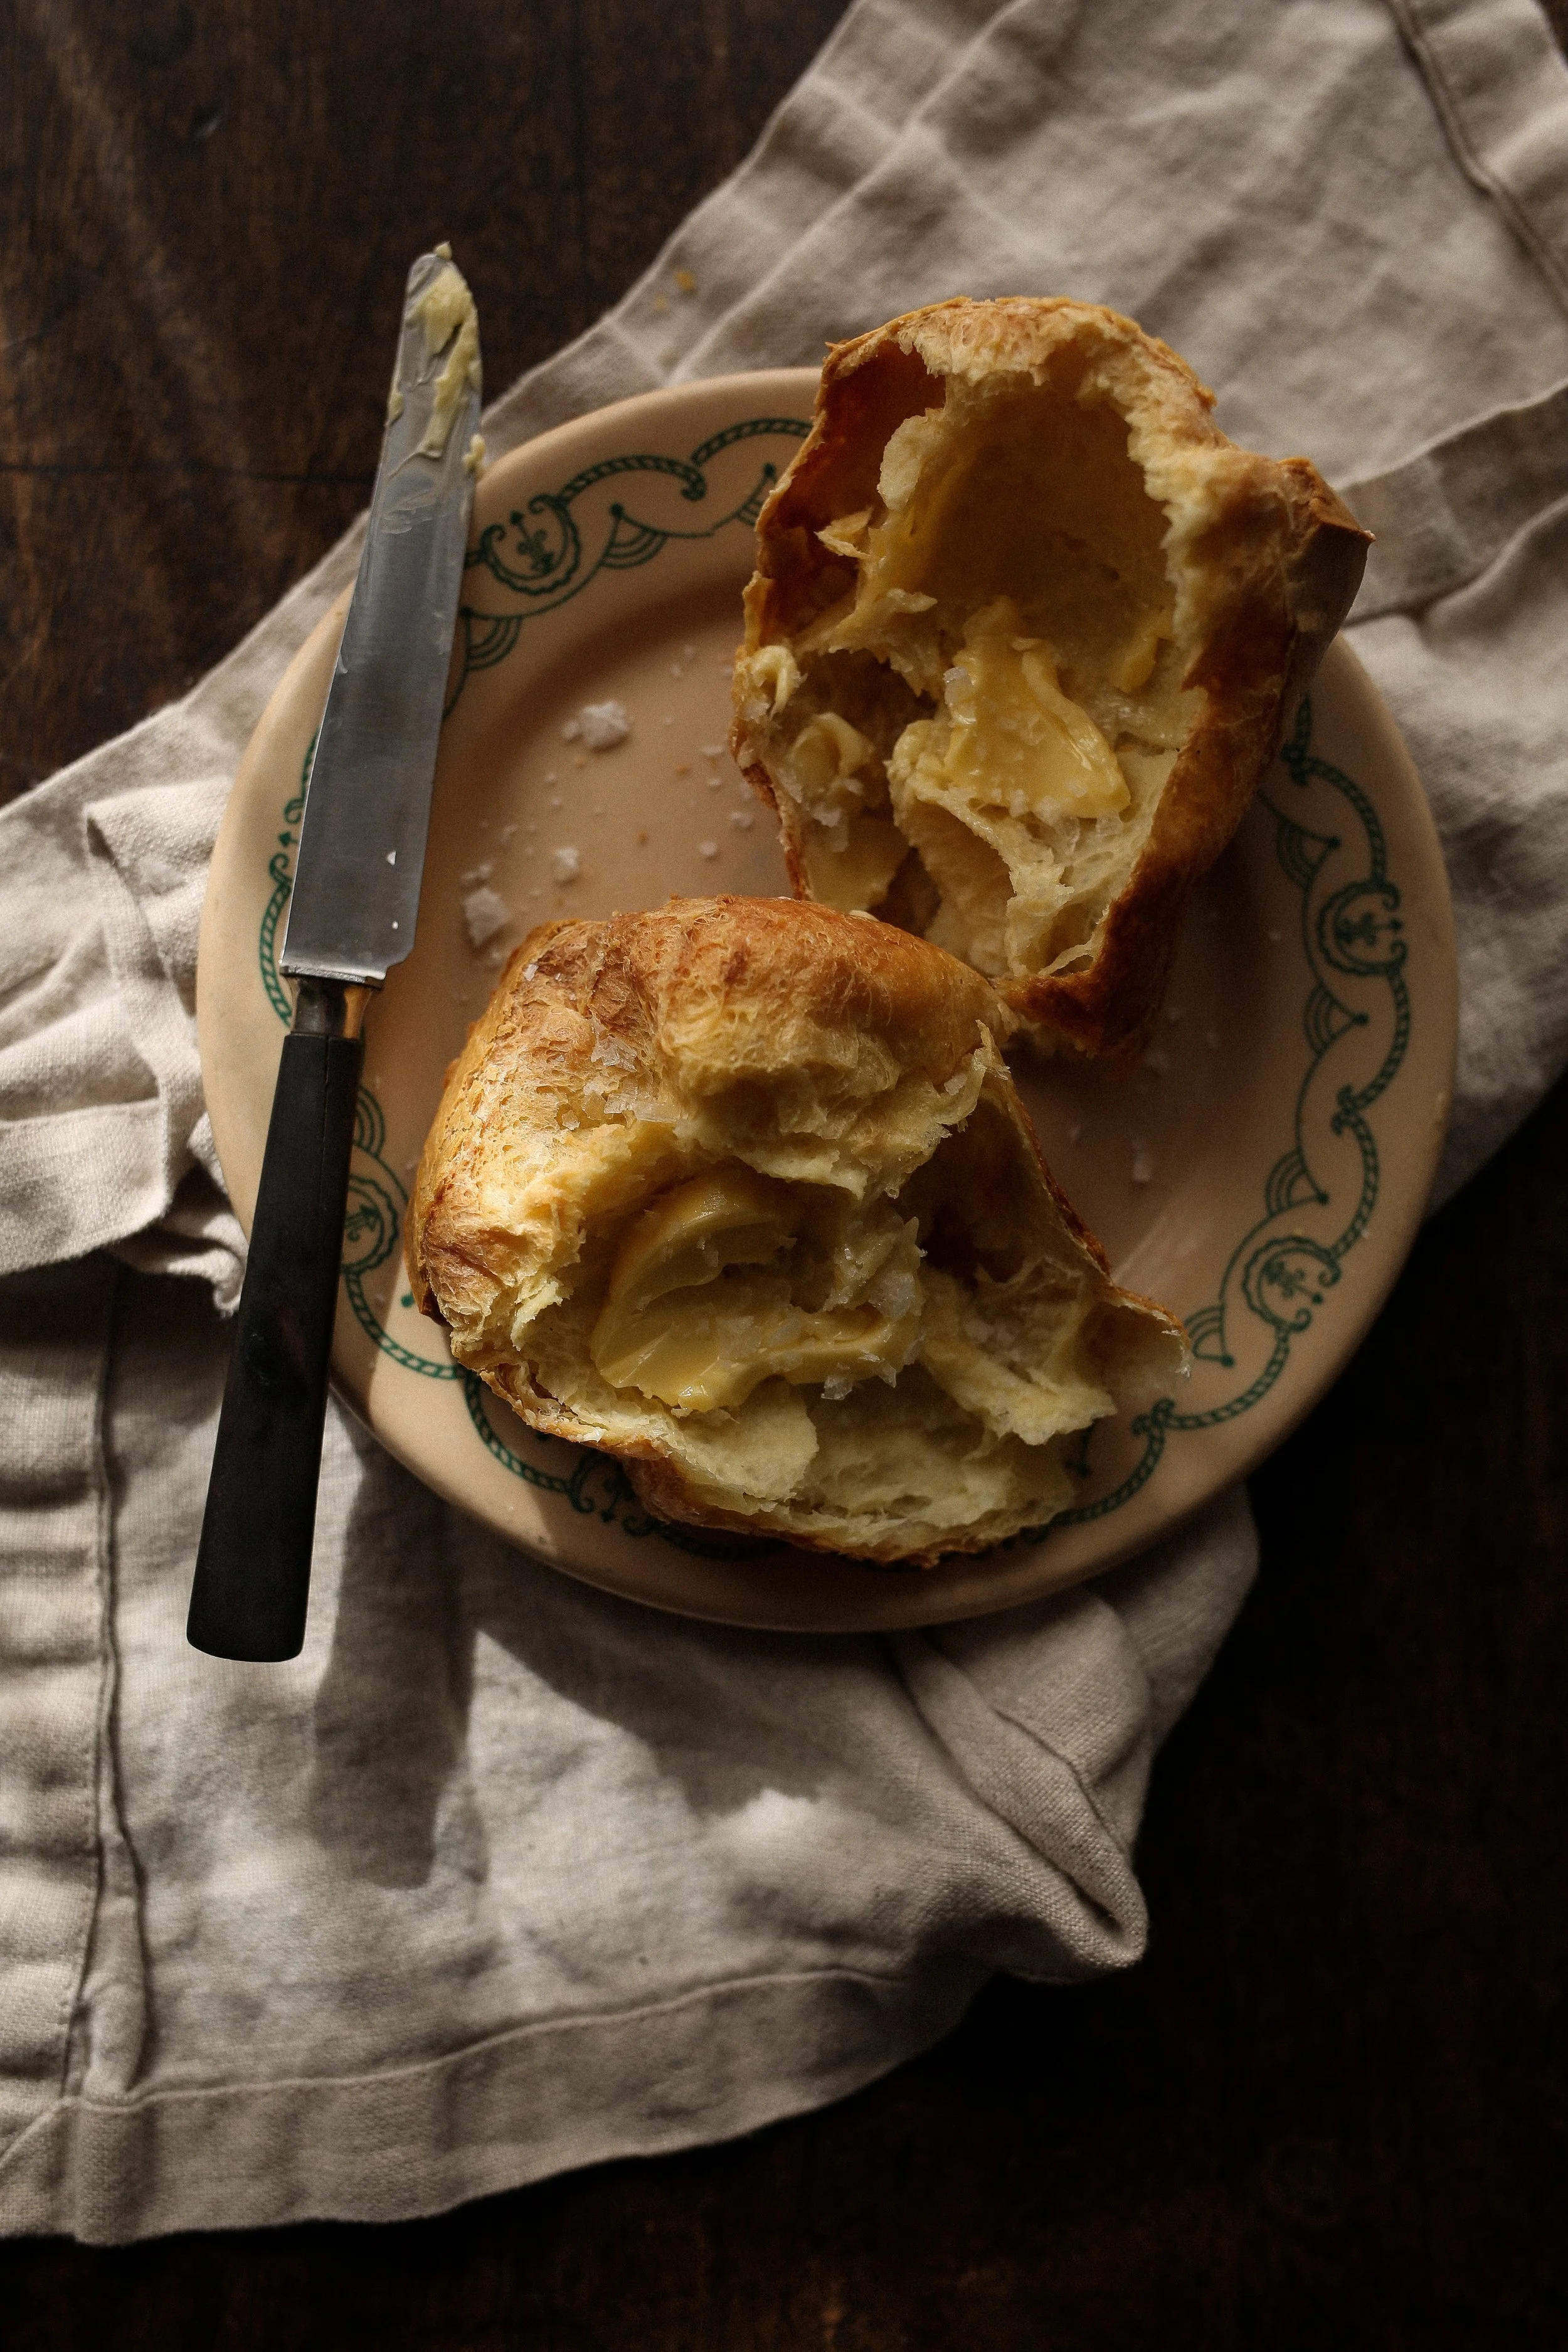
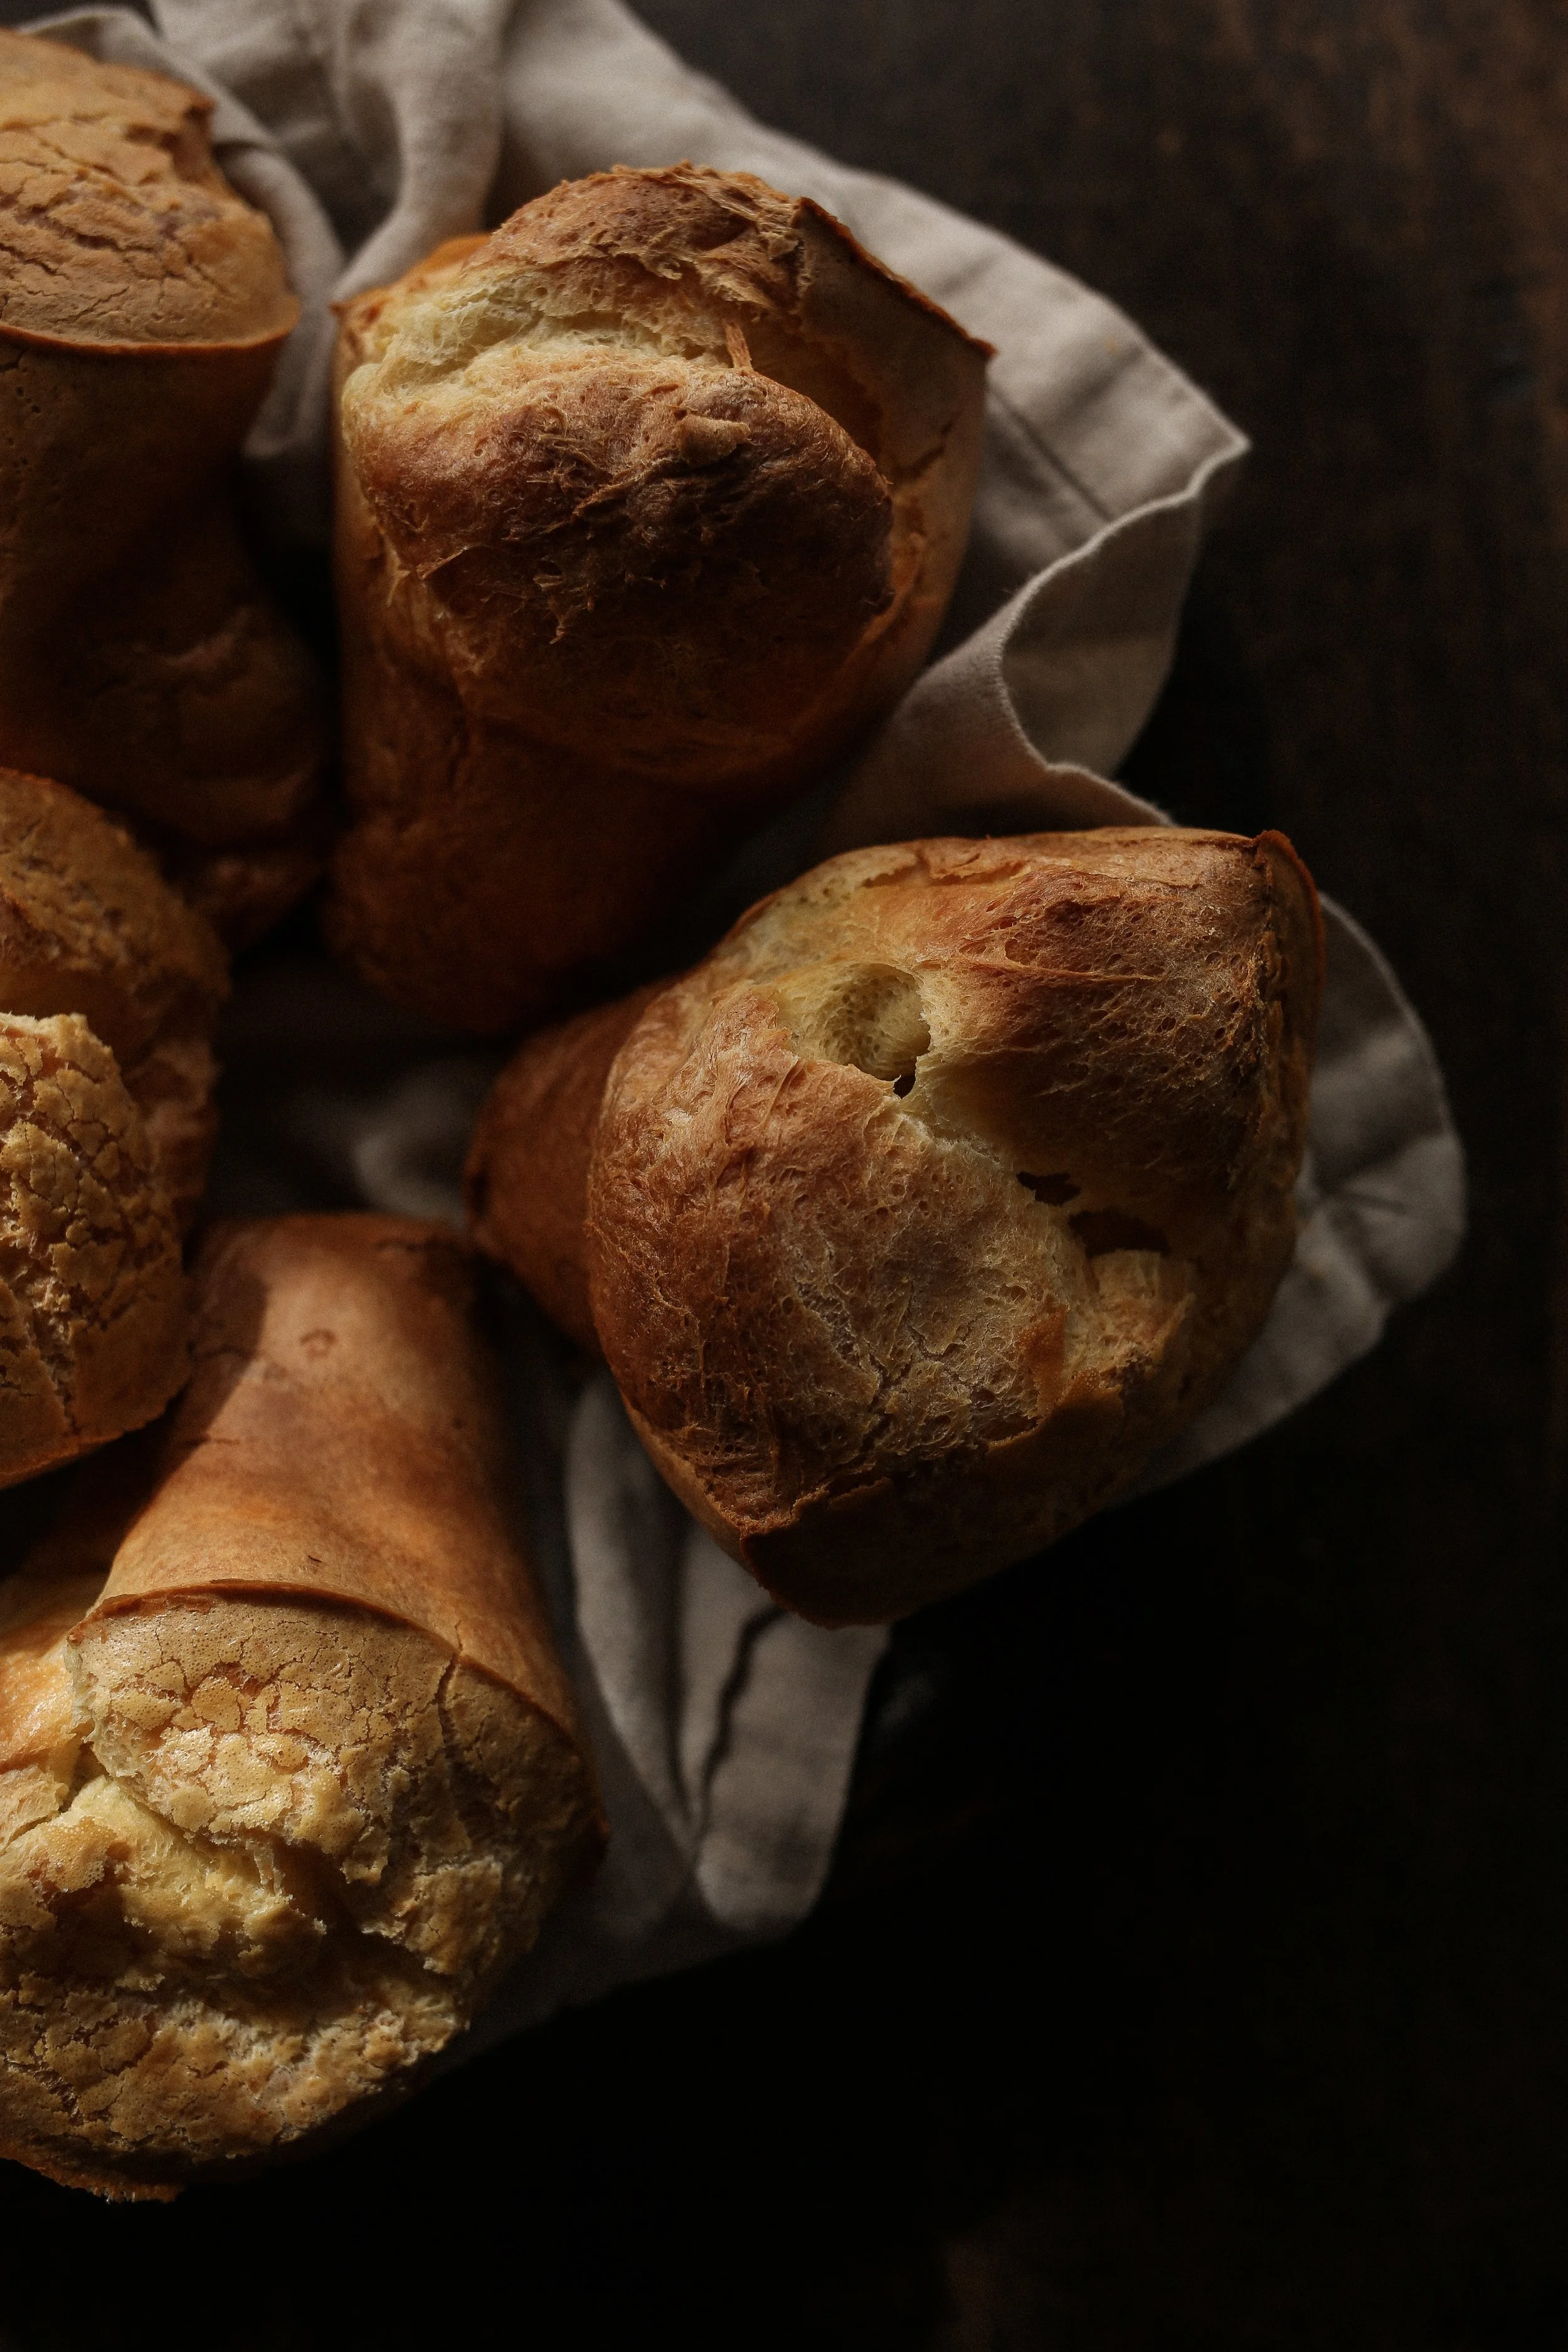
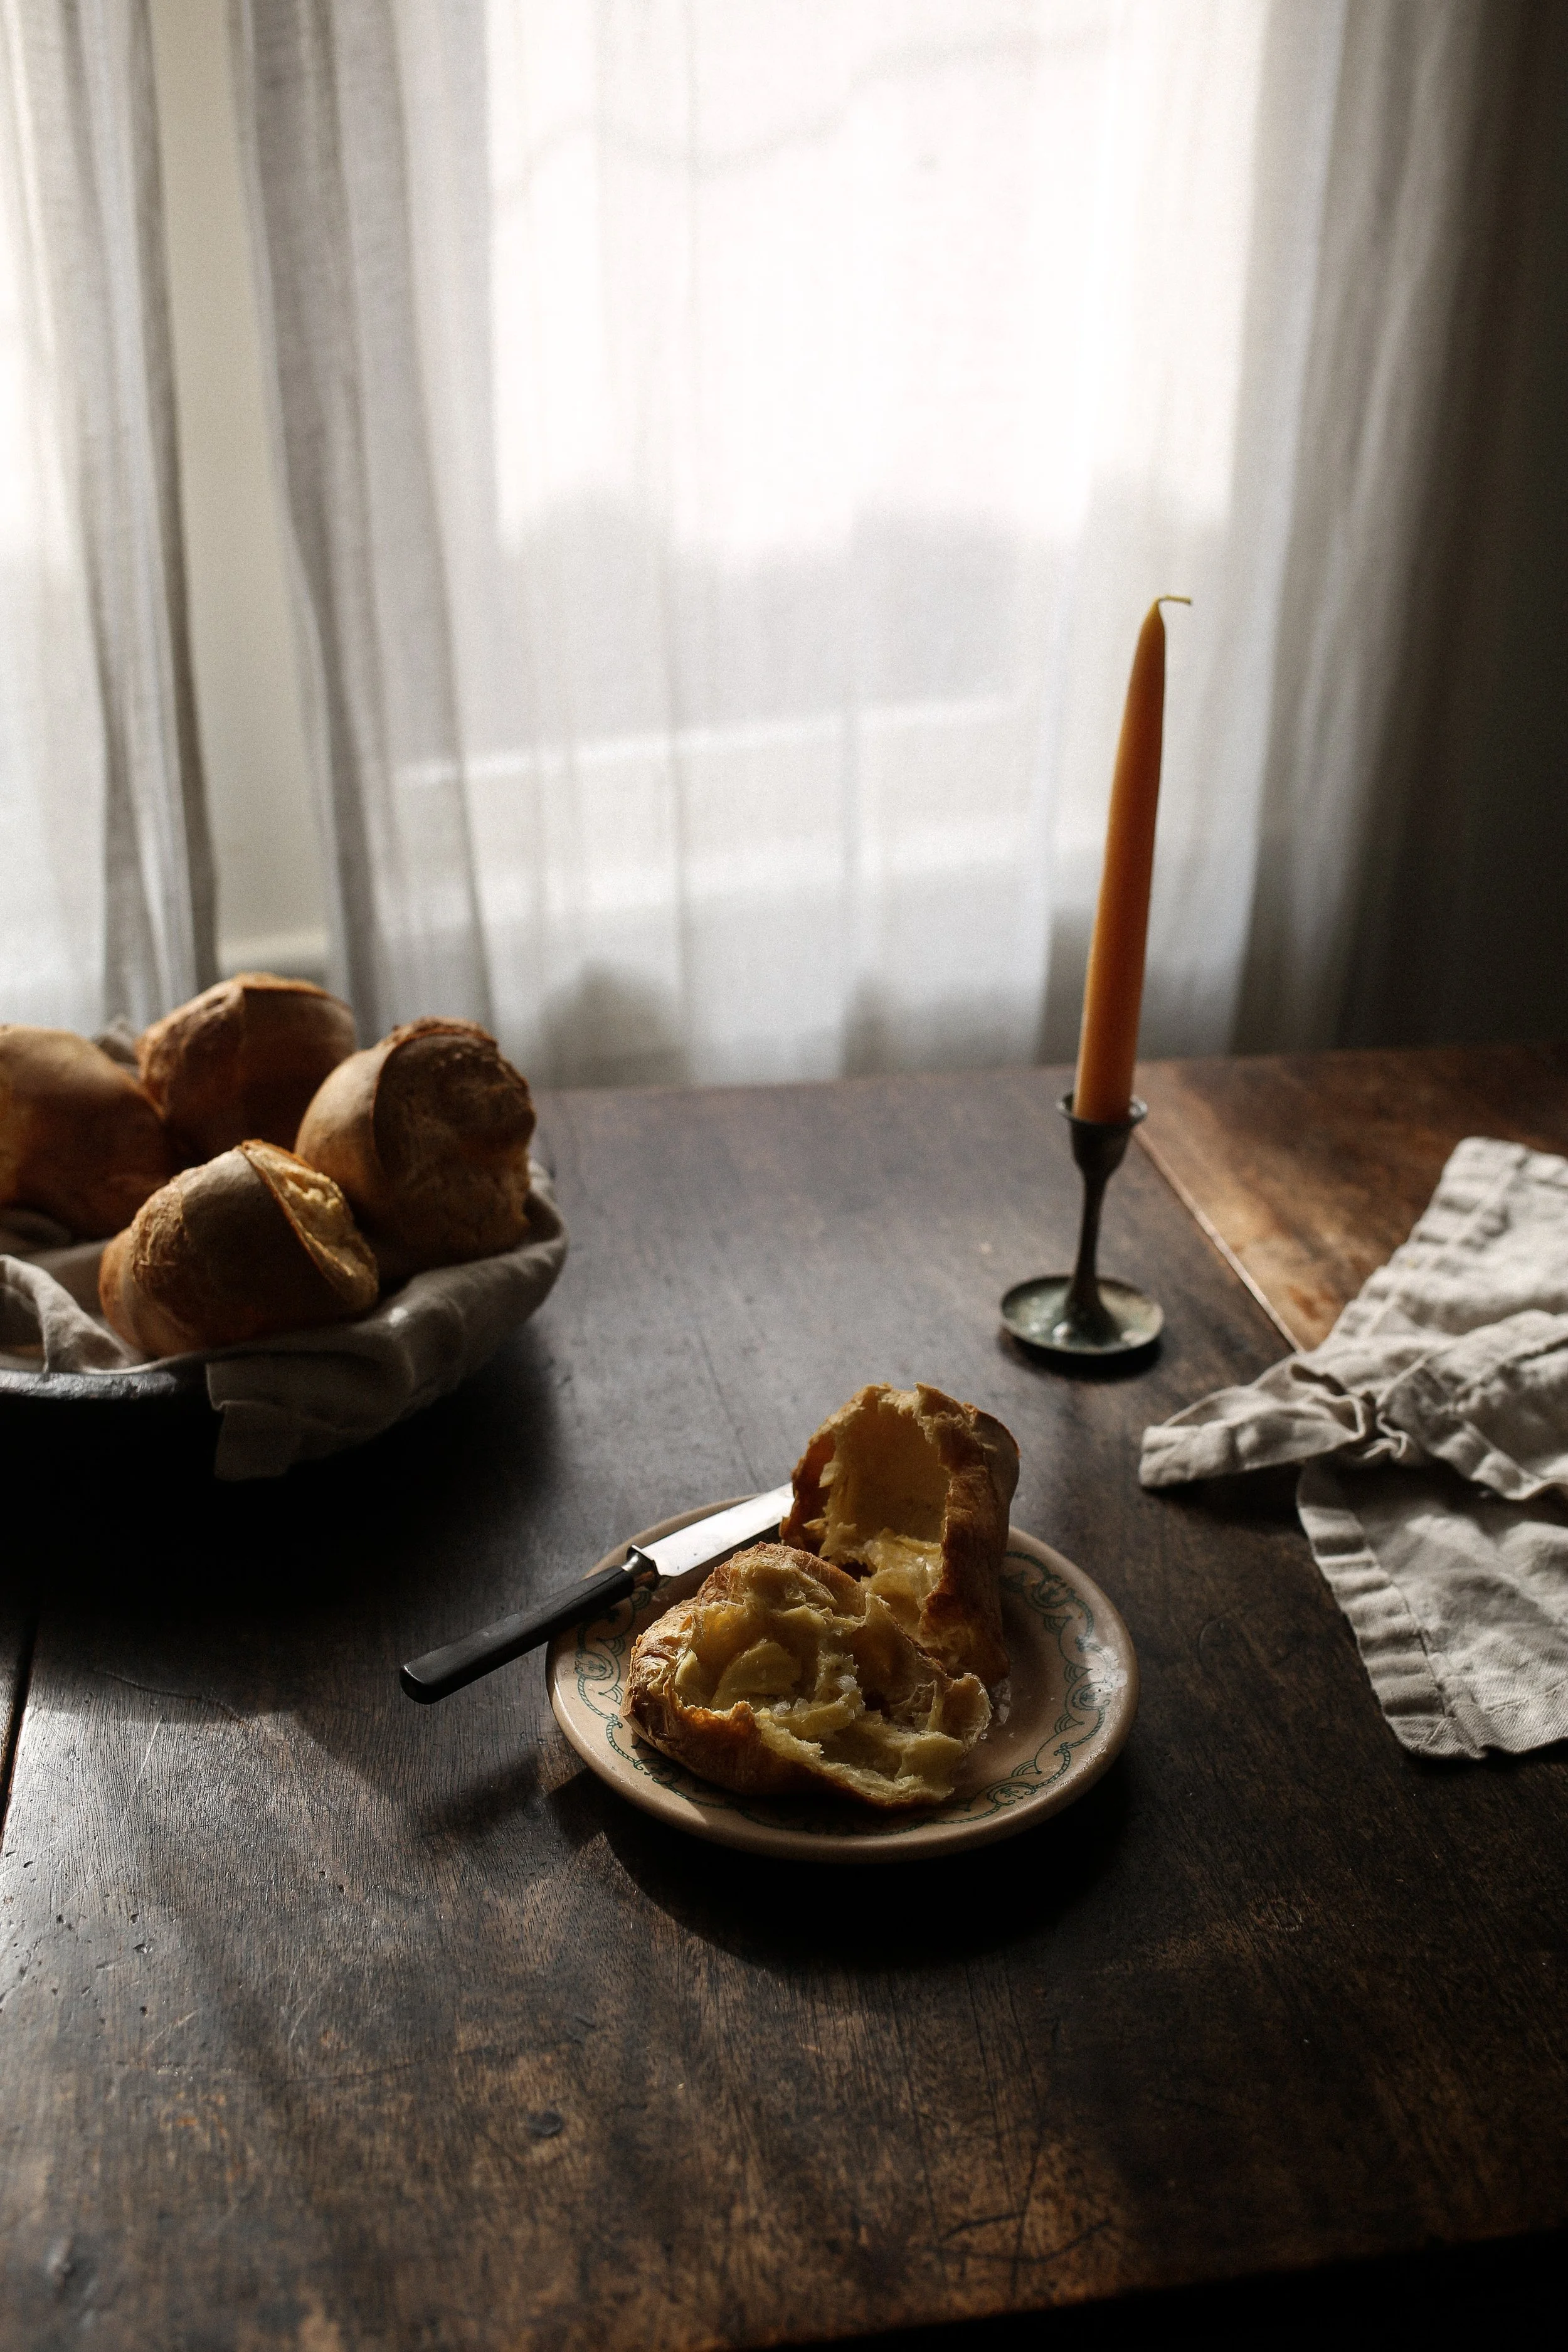
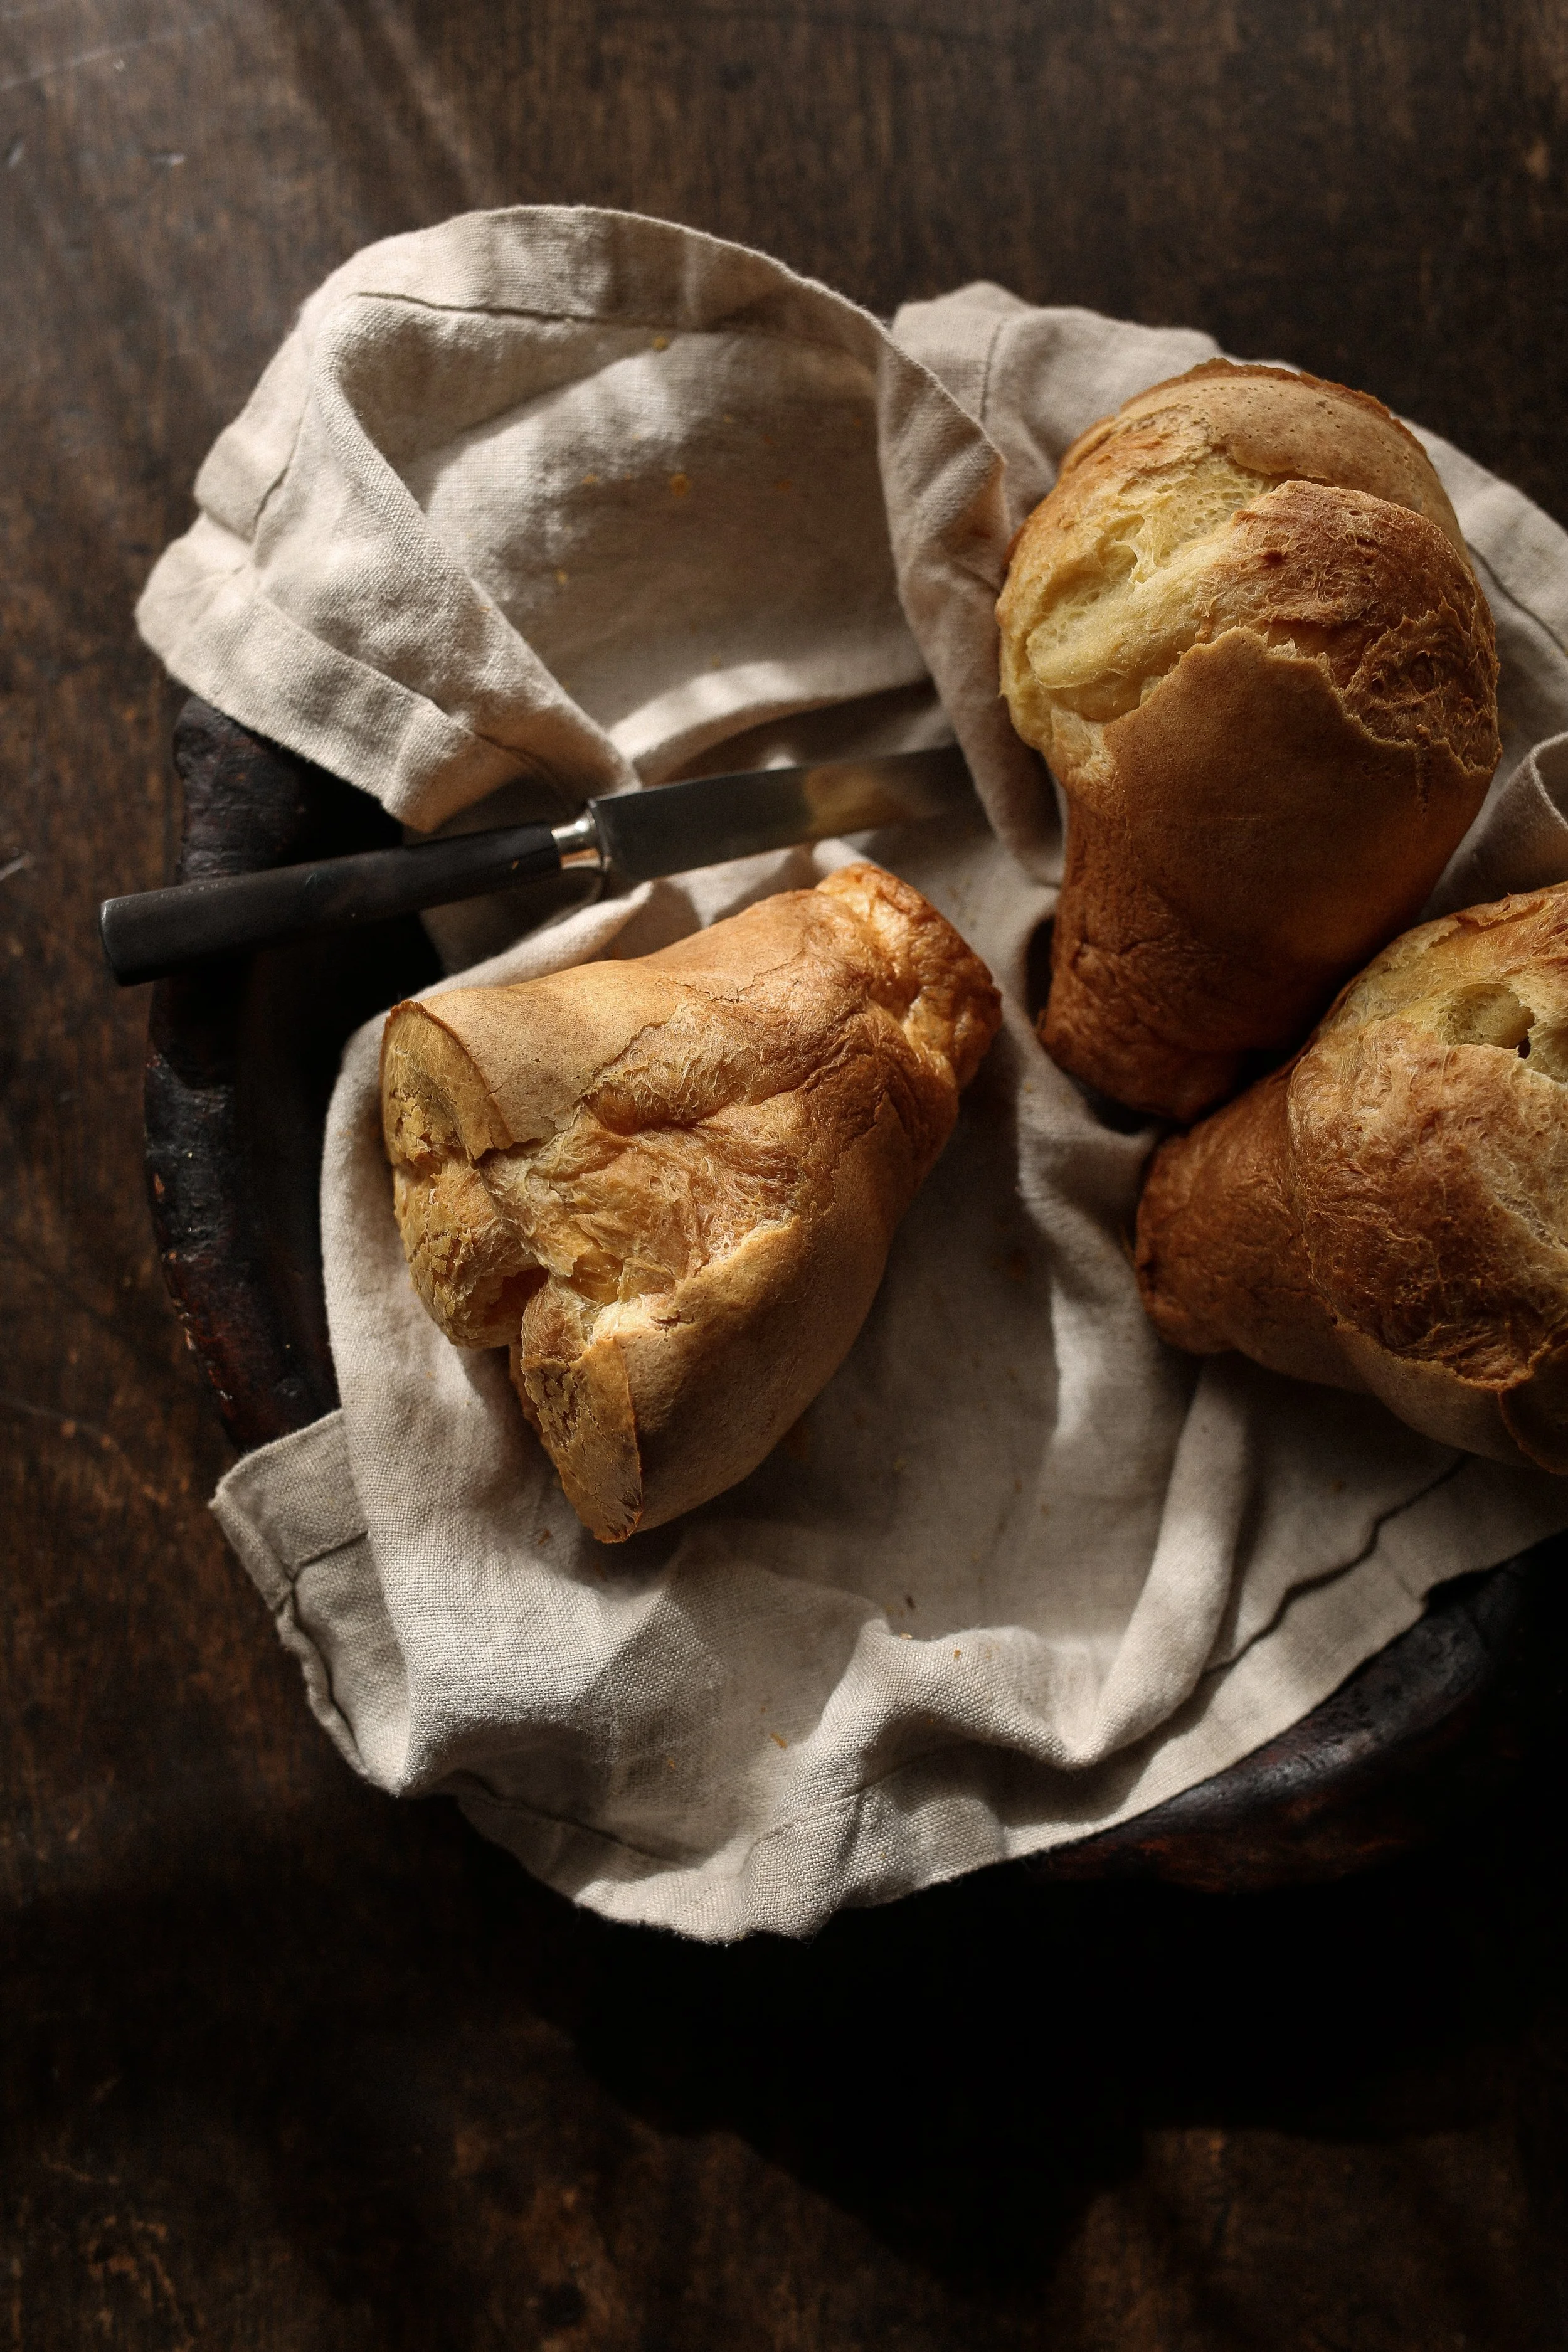
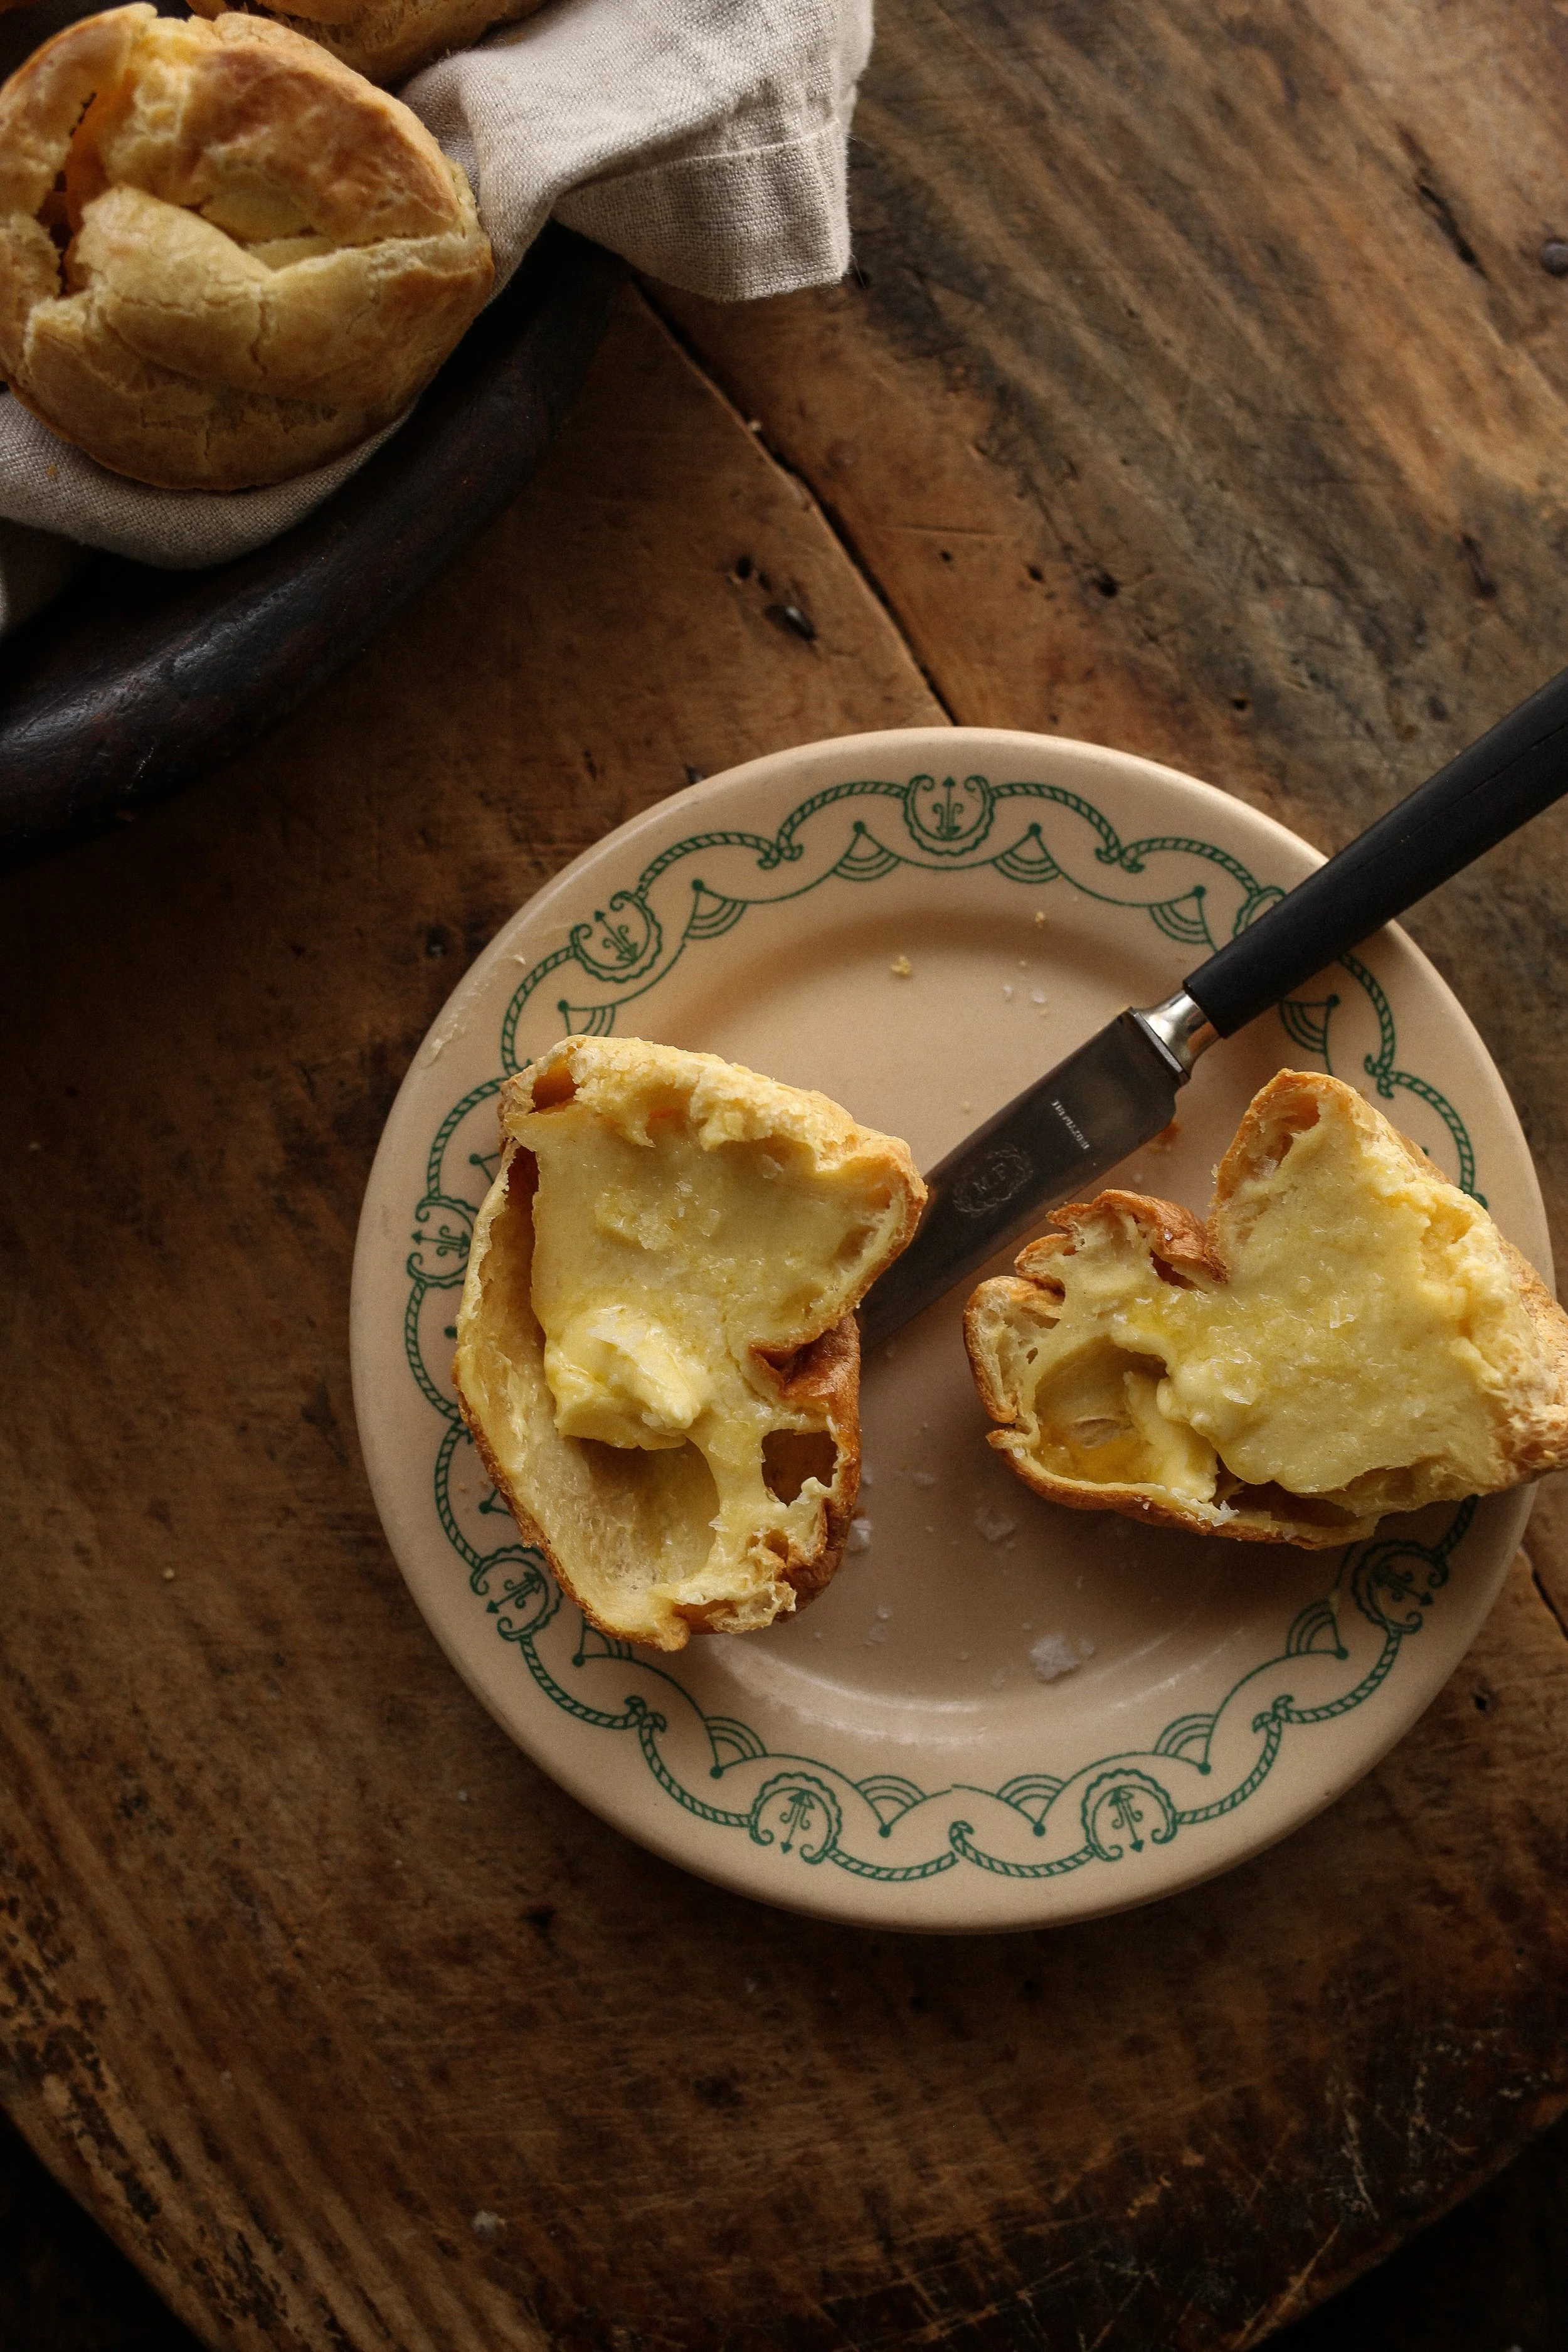
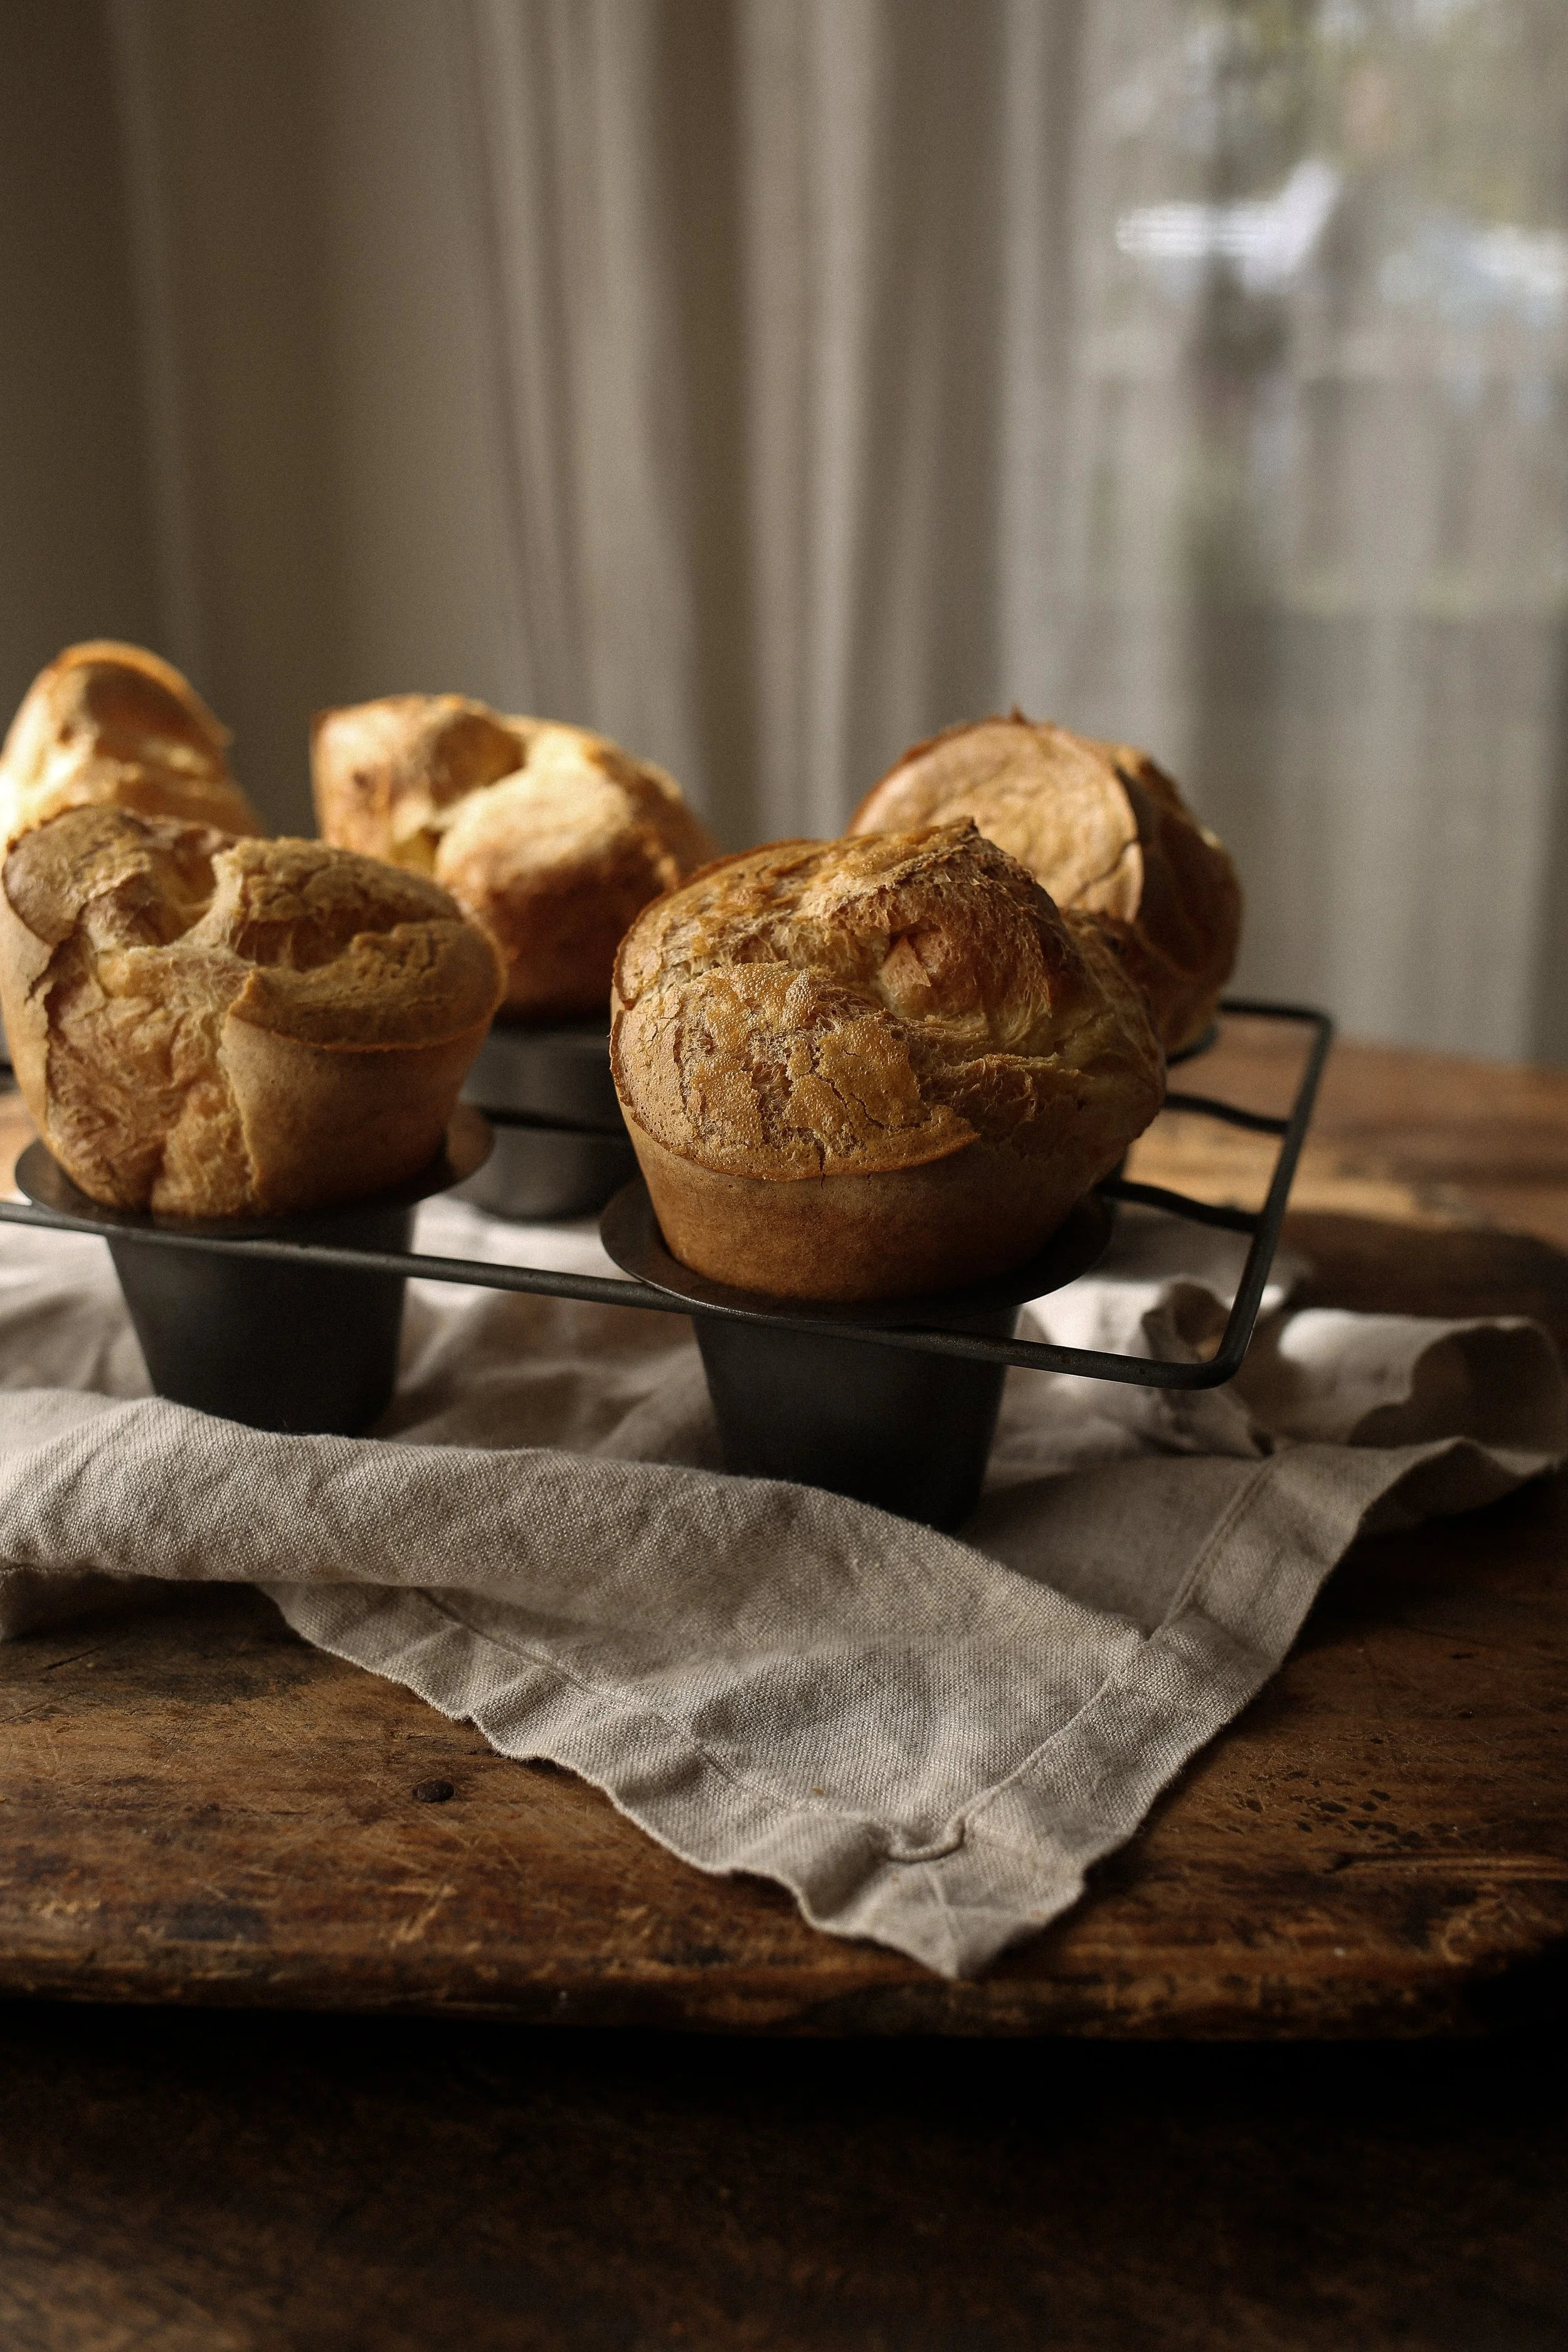
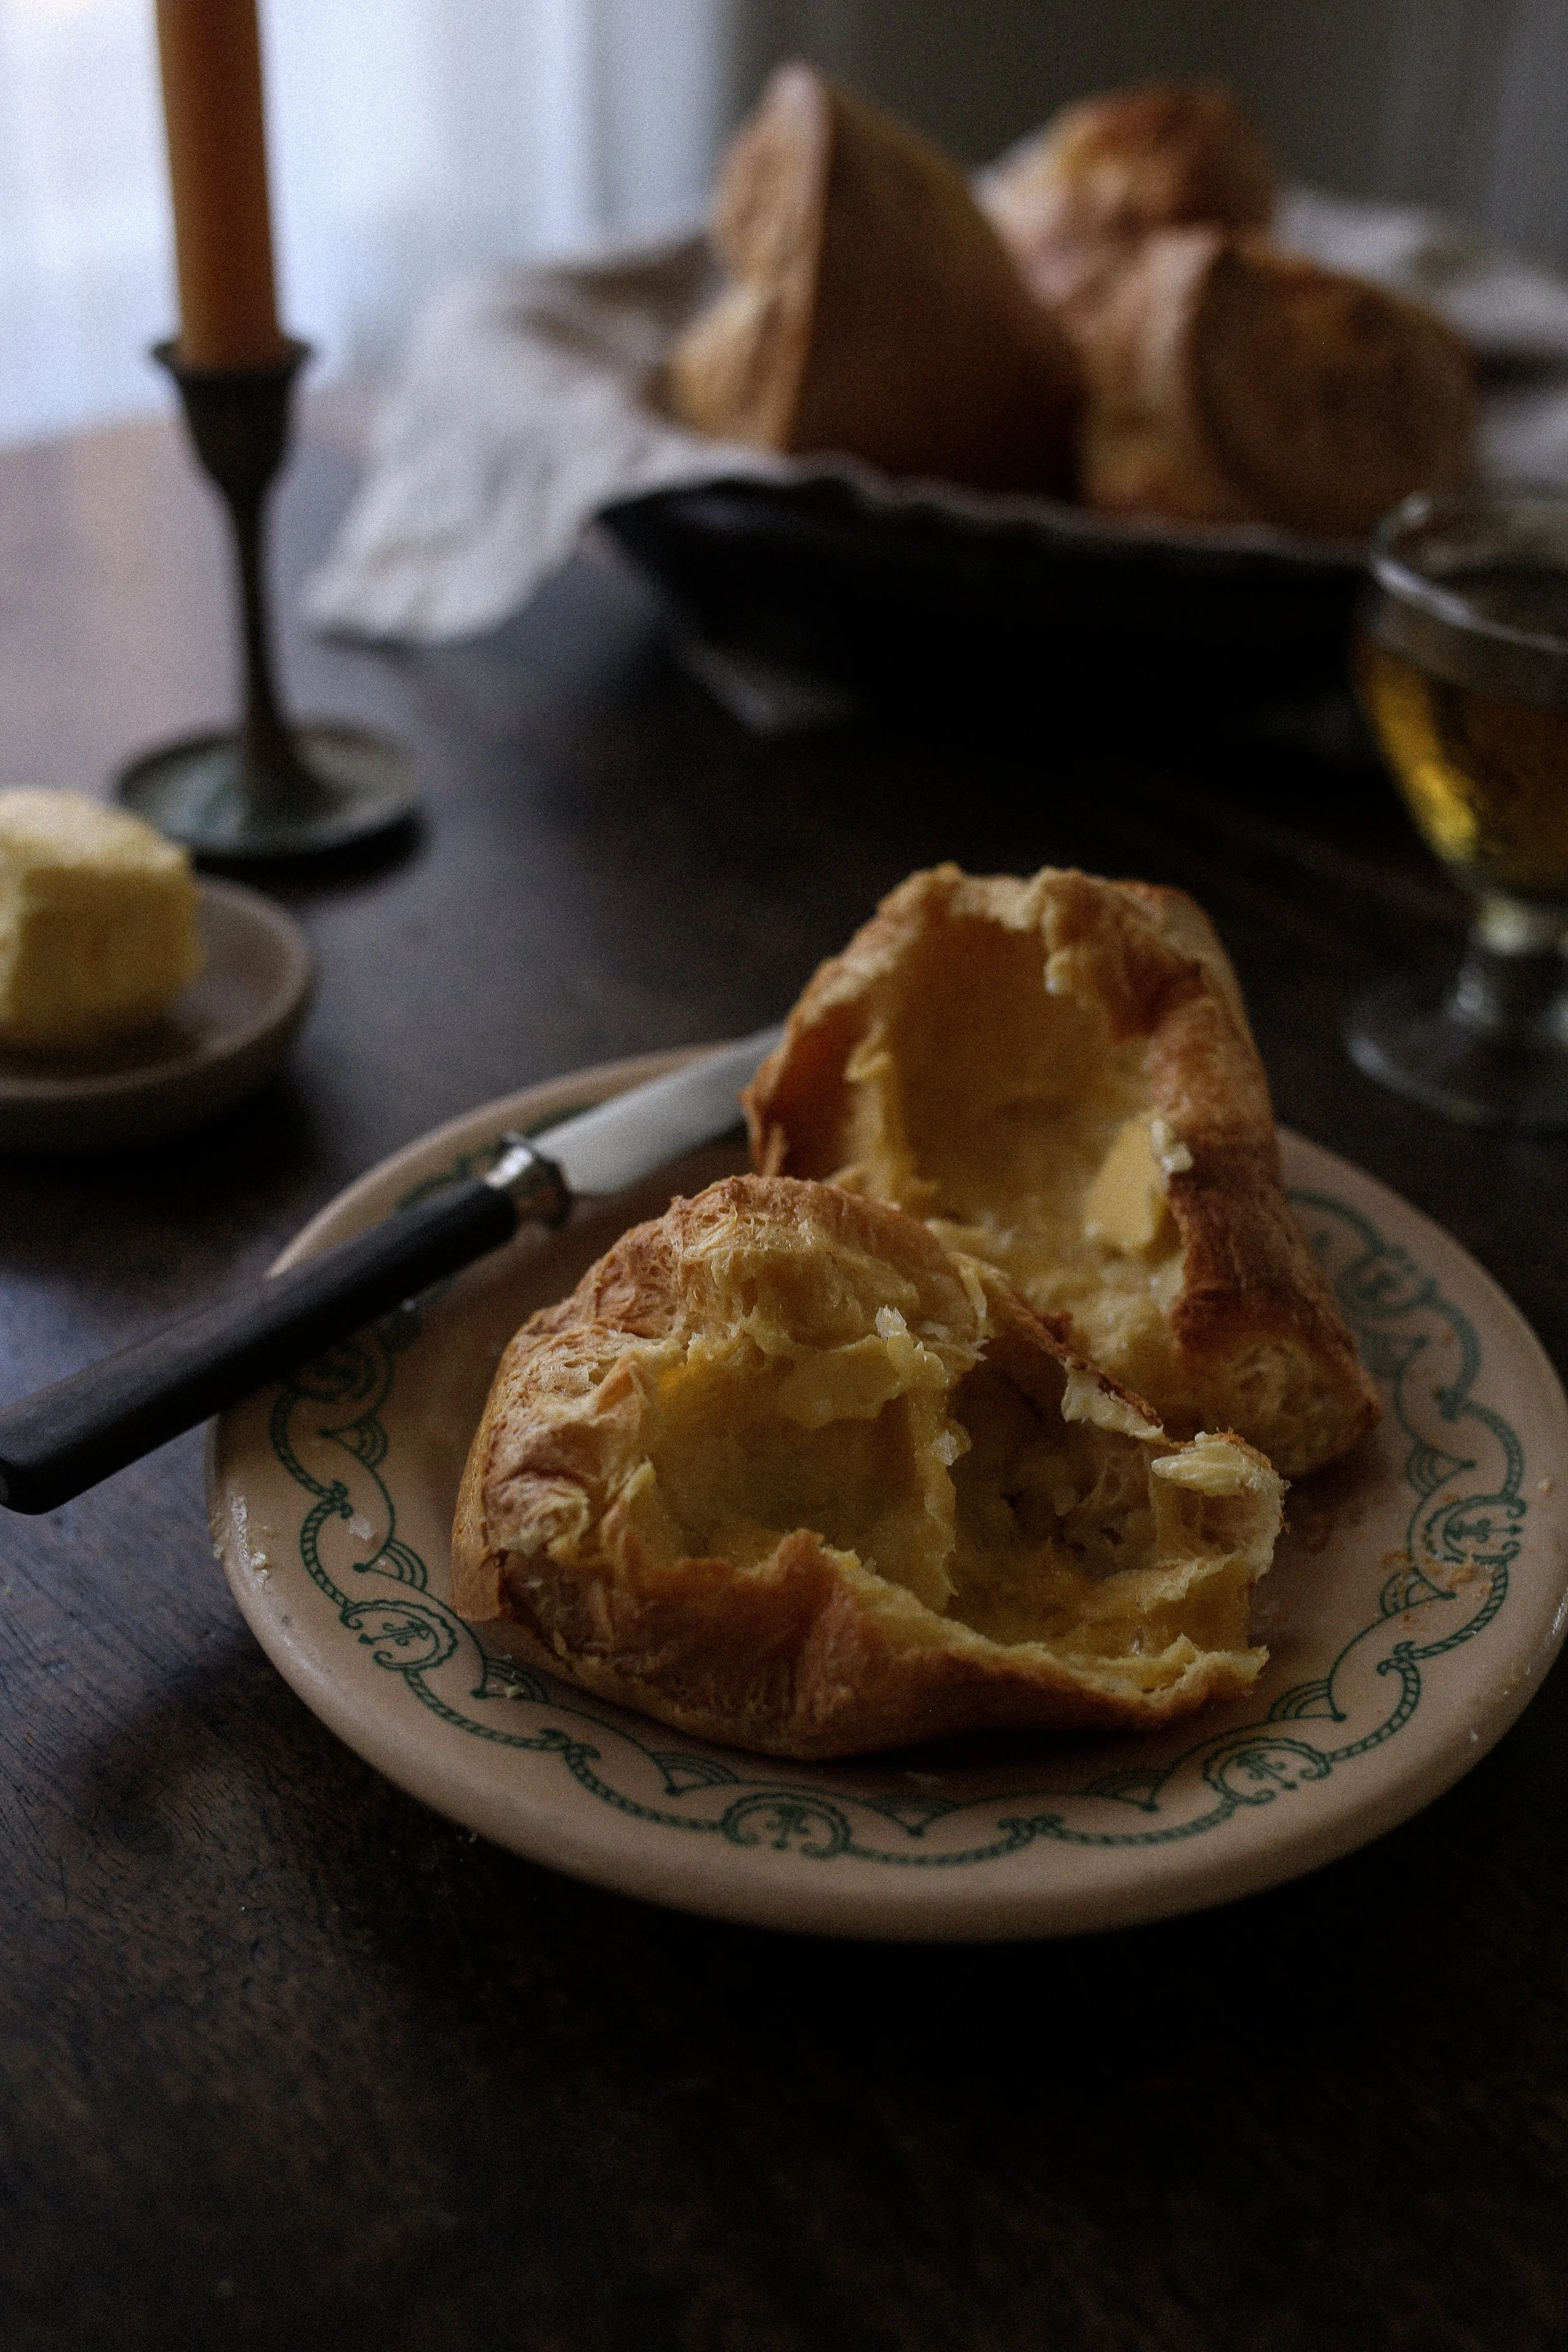
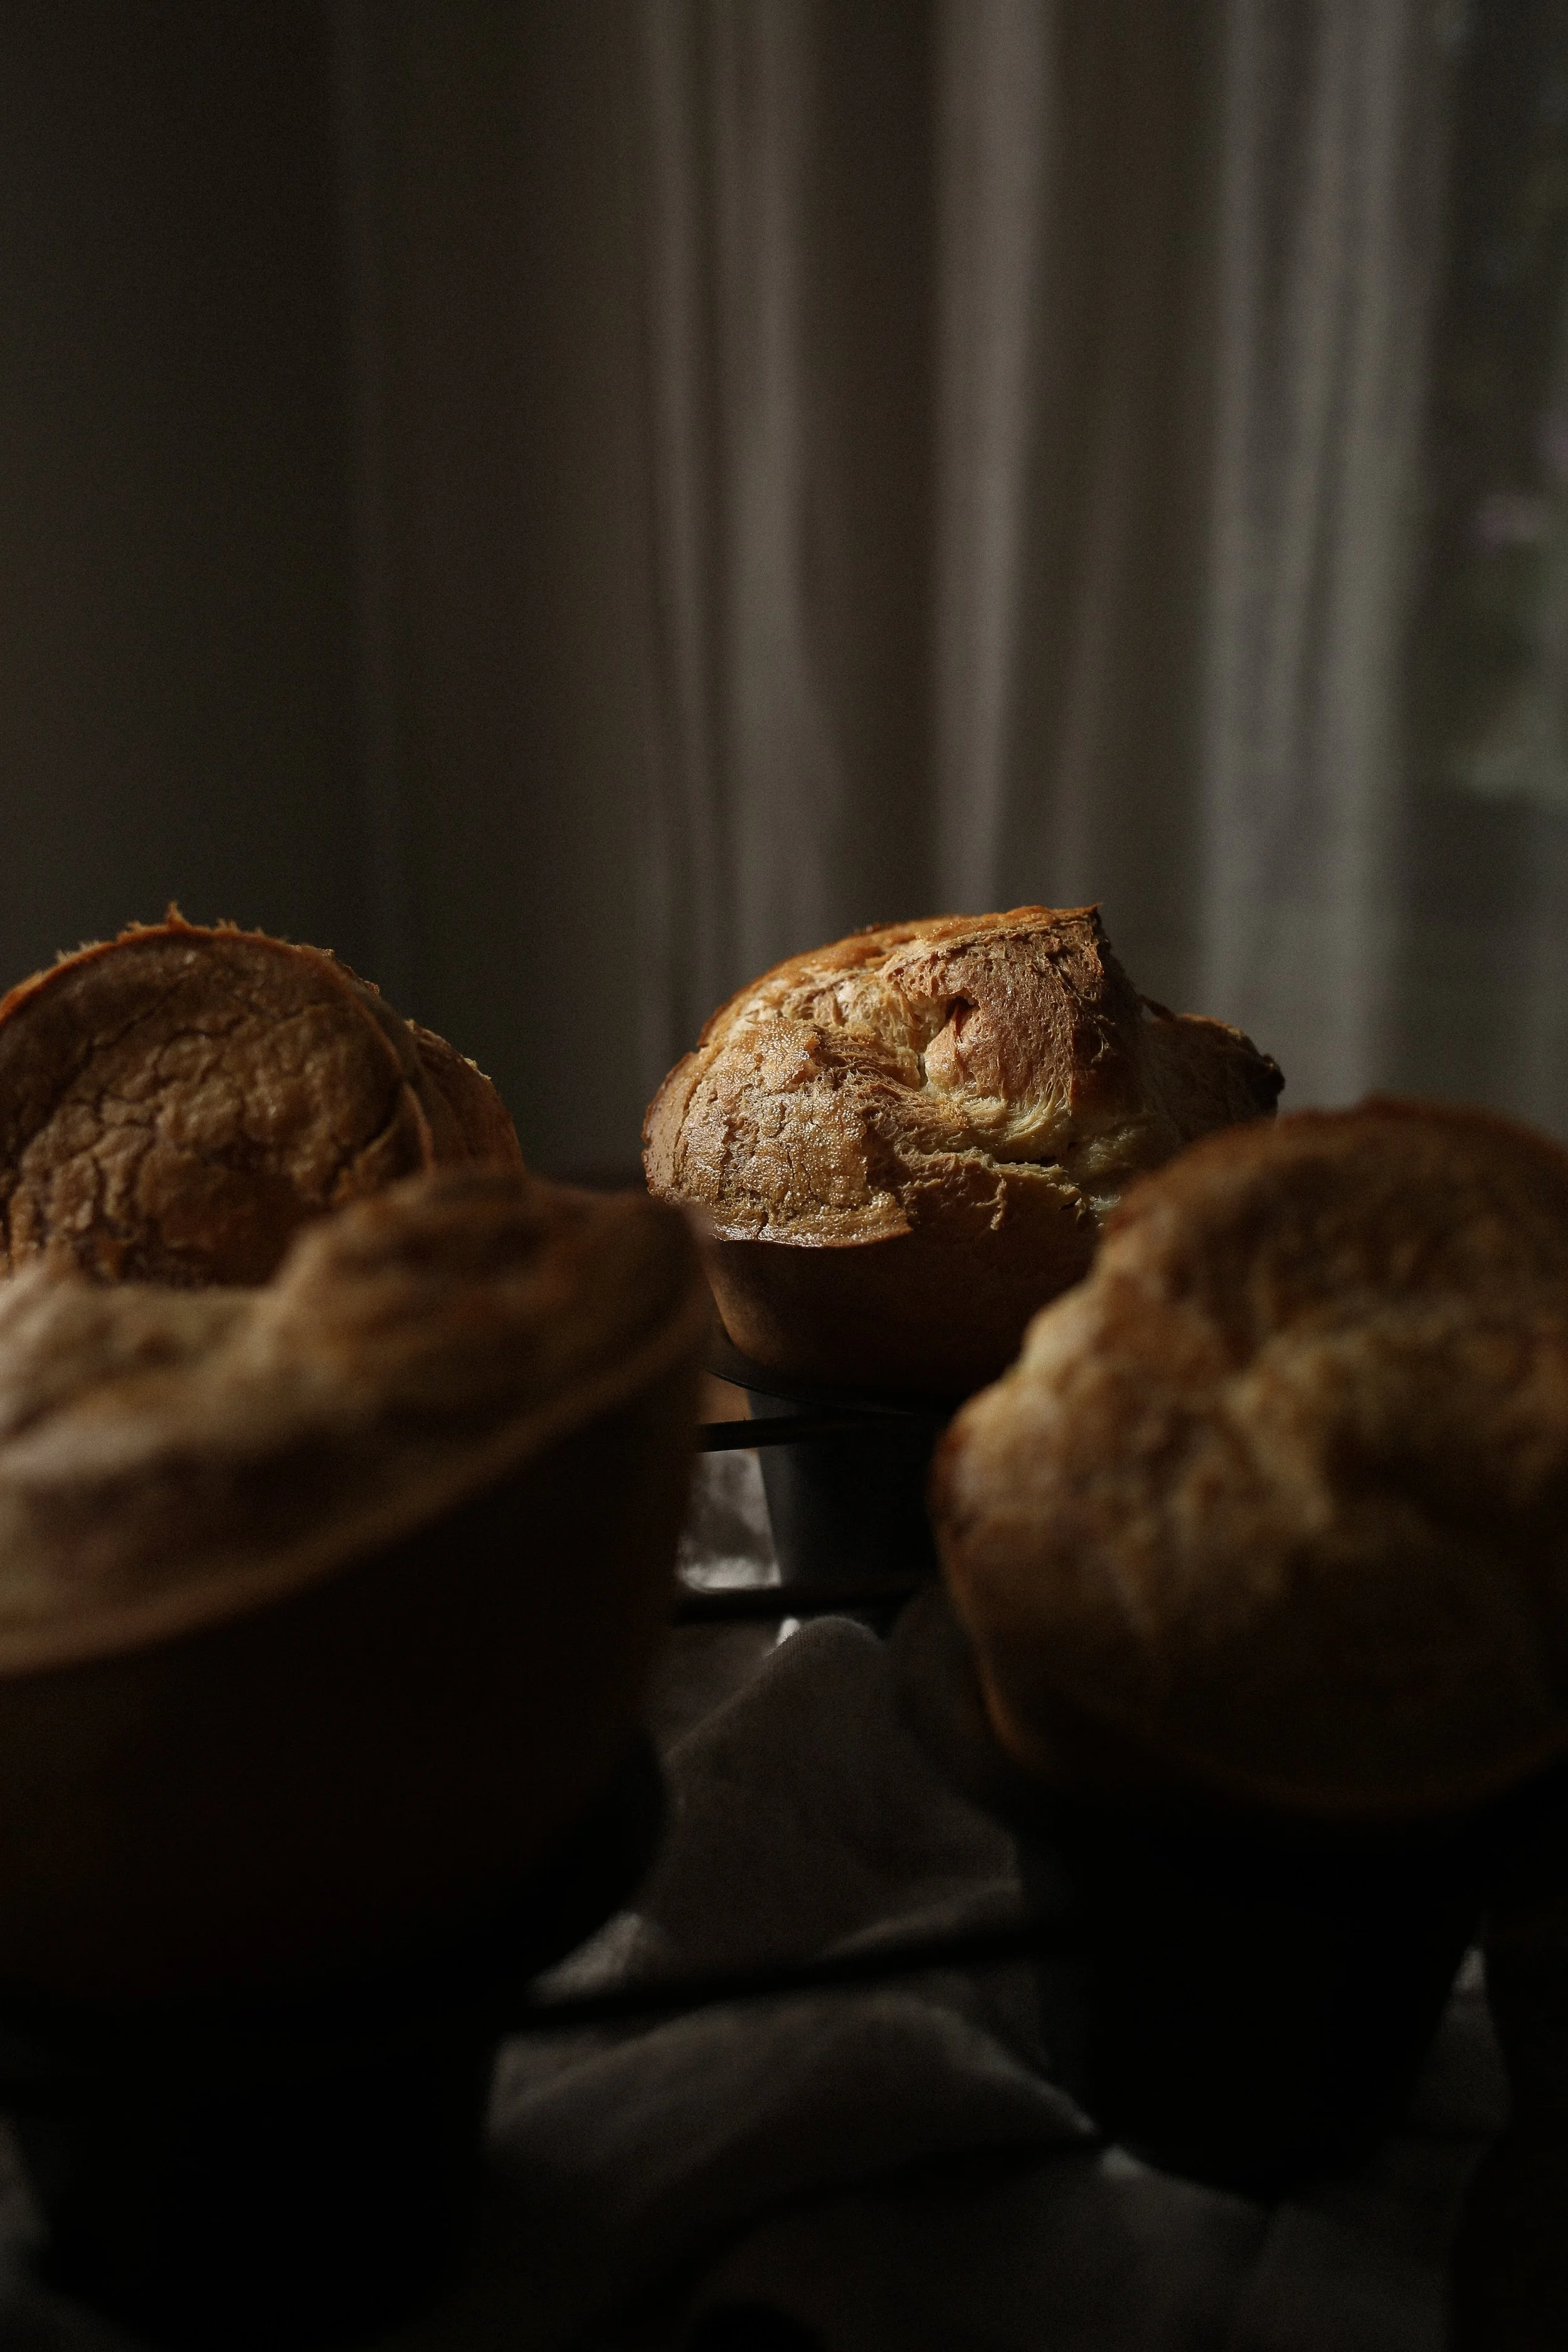
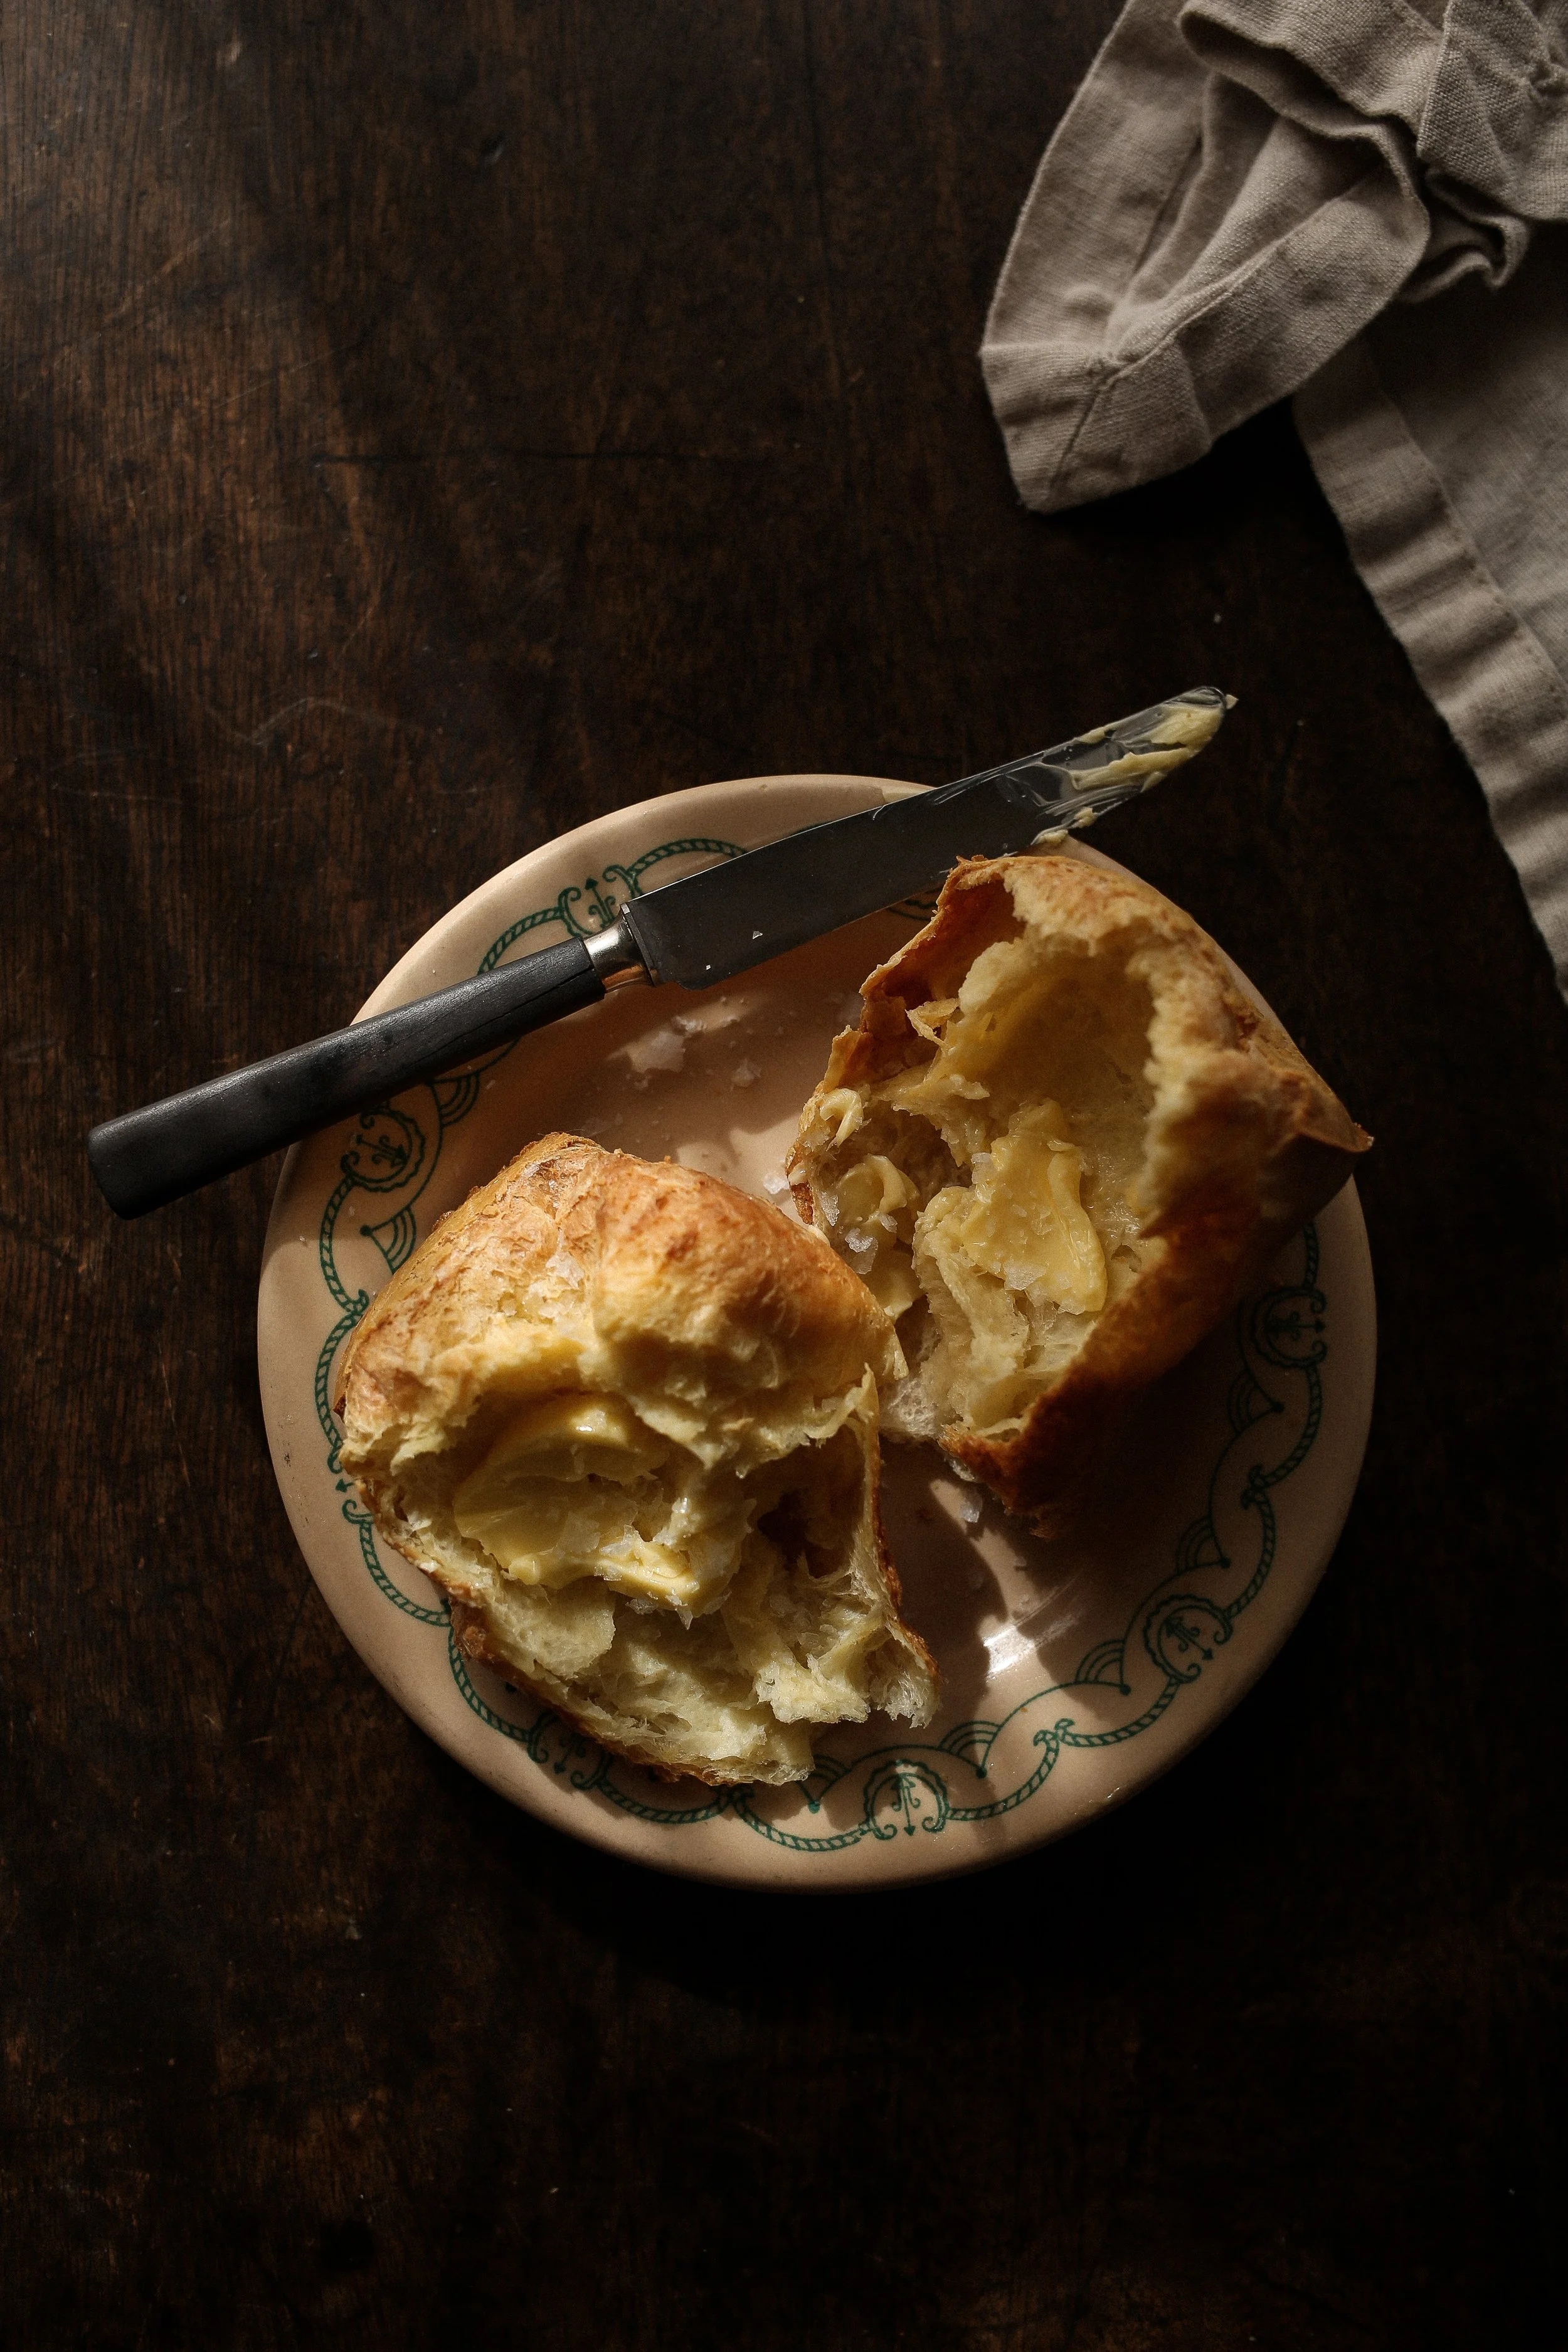
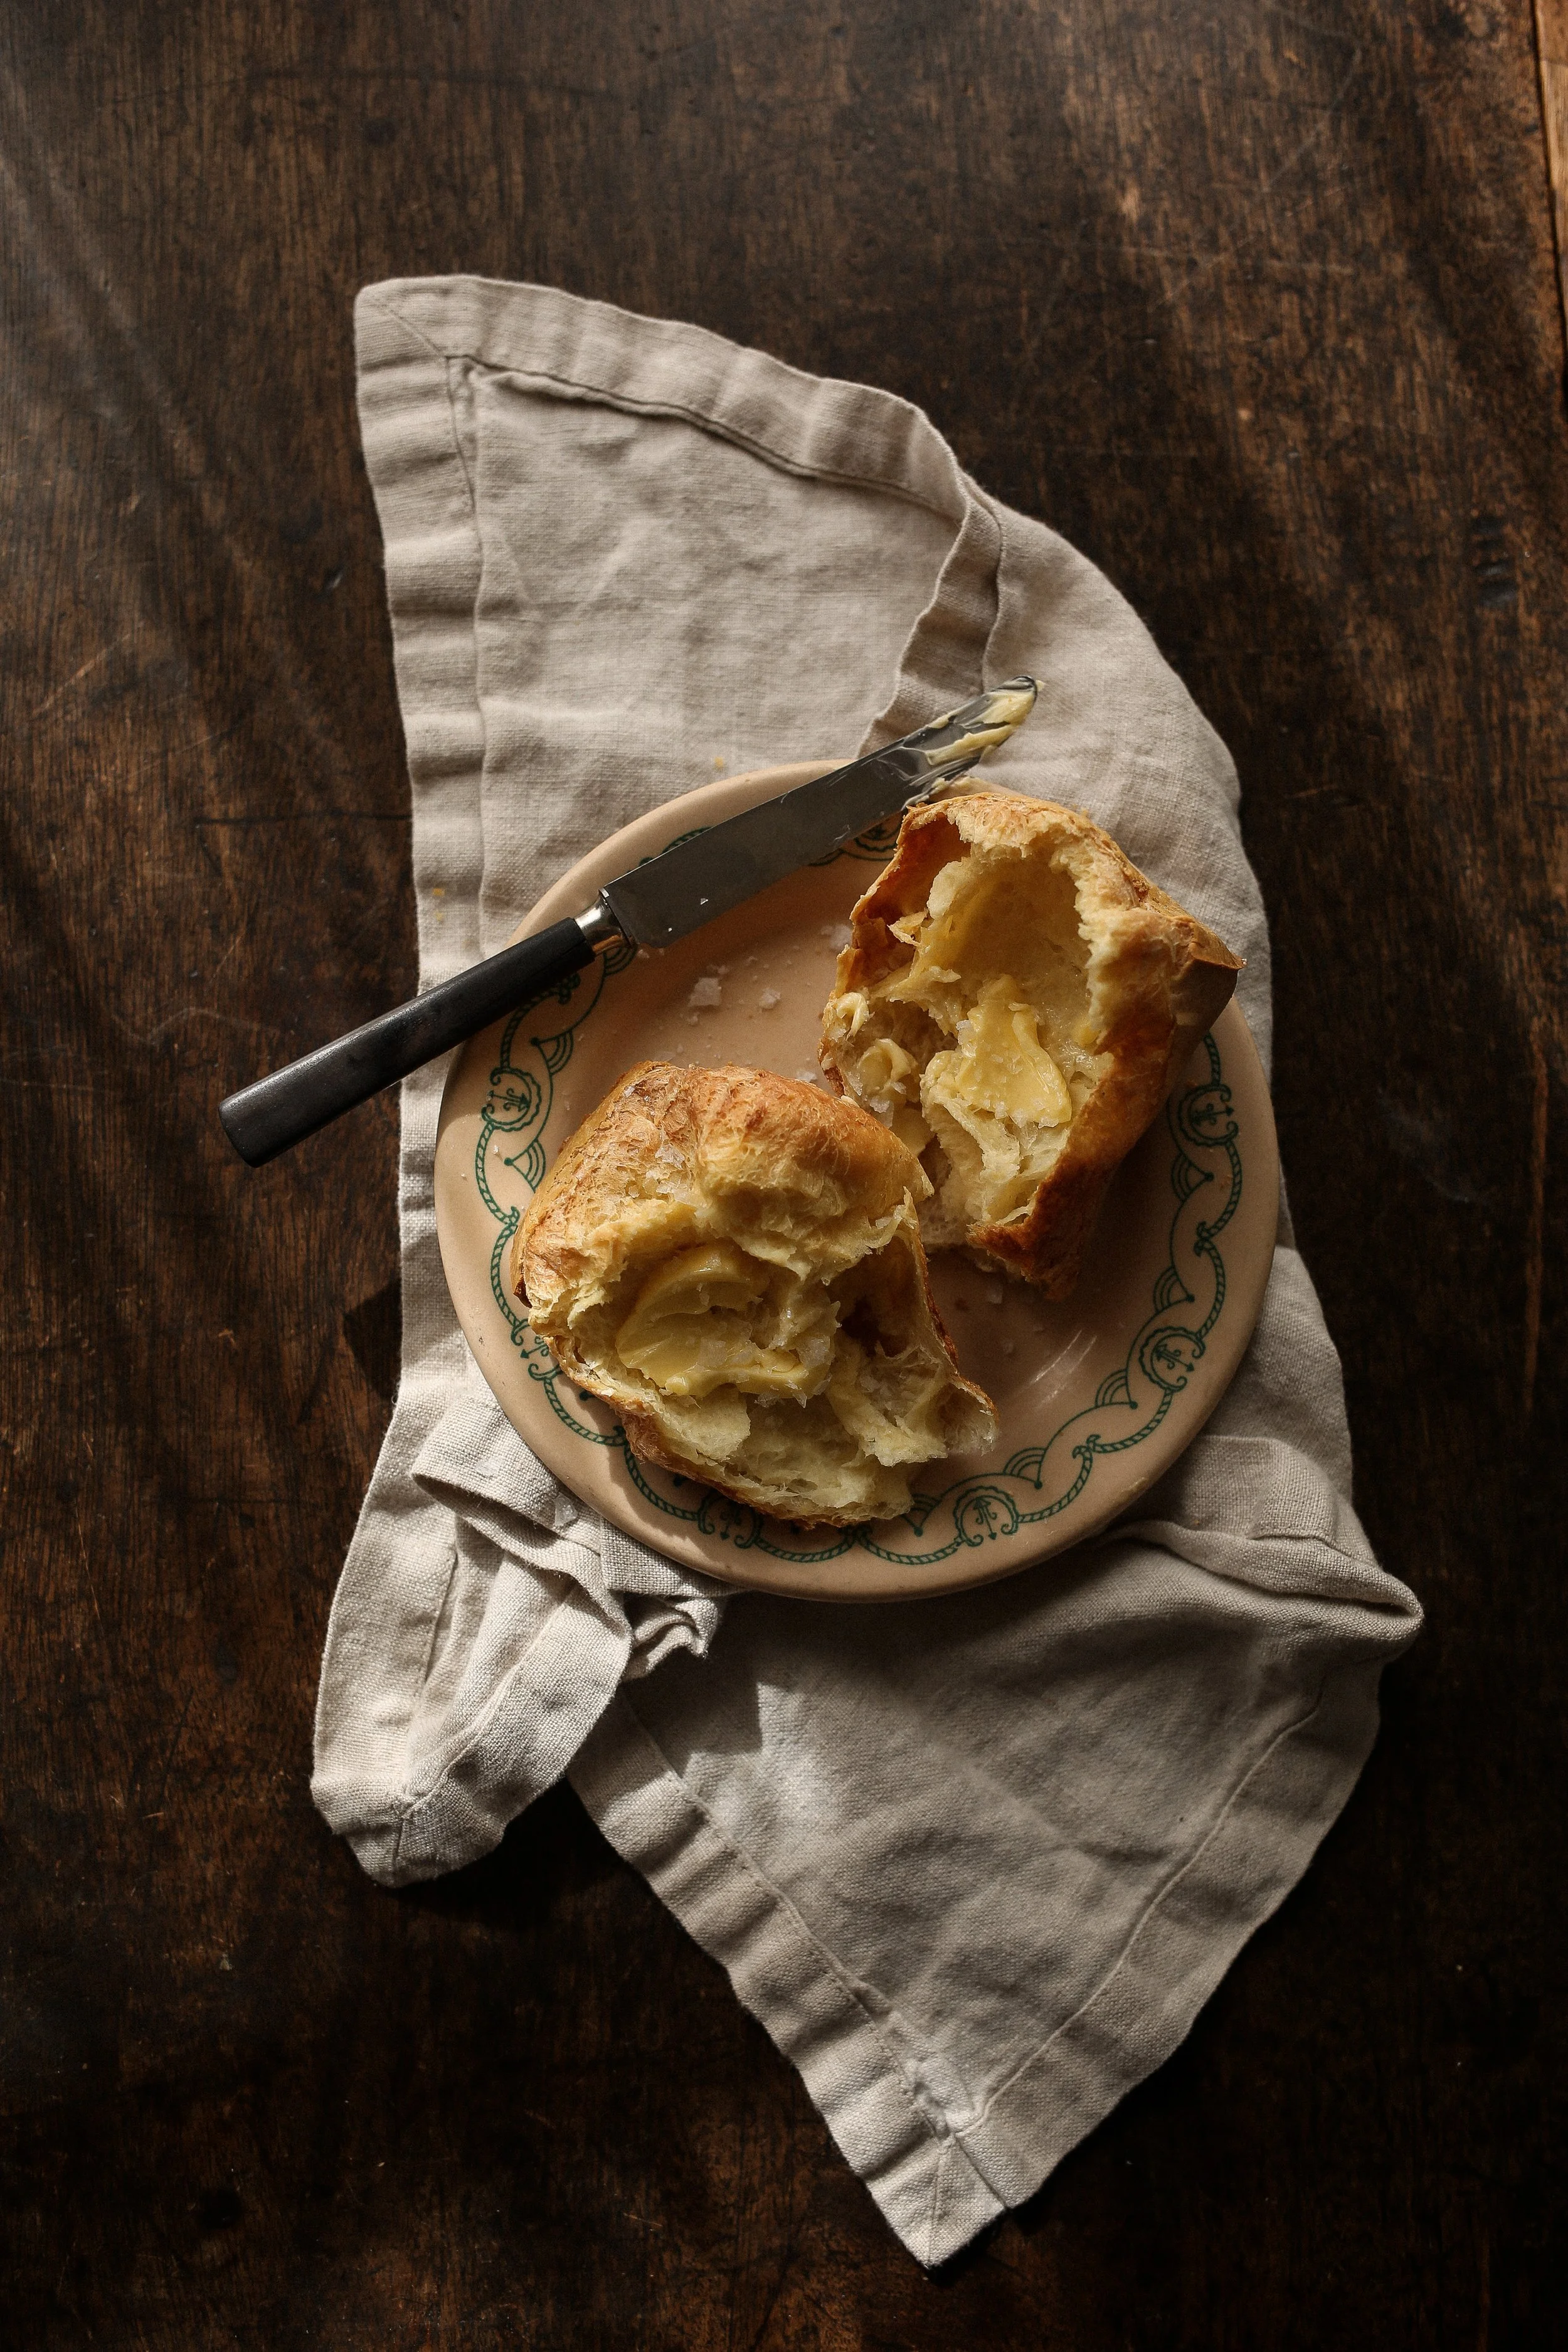
There’s something undeniably magical about a freshly baked popover. I like to think of them as golden brown, sky-high, fluffy little clouds with a crisp shell and a custardy center. They’re a real showstopper that feels fancy, but is secretly super simple to make —when you know a few key tricks. Which I do, thanks to my many years of making them. And don’t worry, yes, I am in fact spilling all my secrets and best tips for making them in this post, down below.
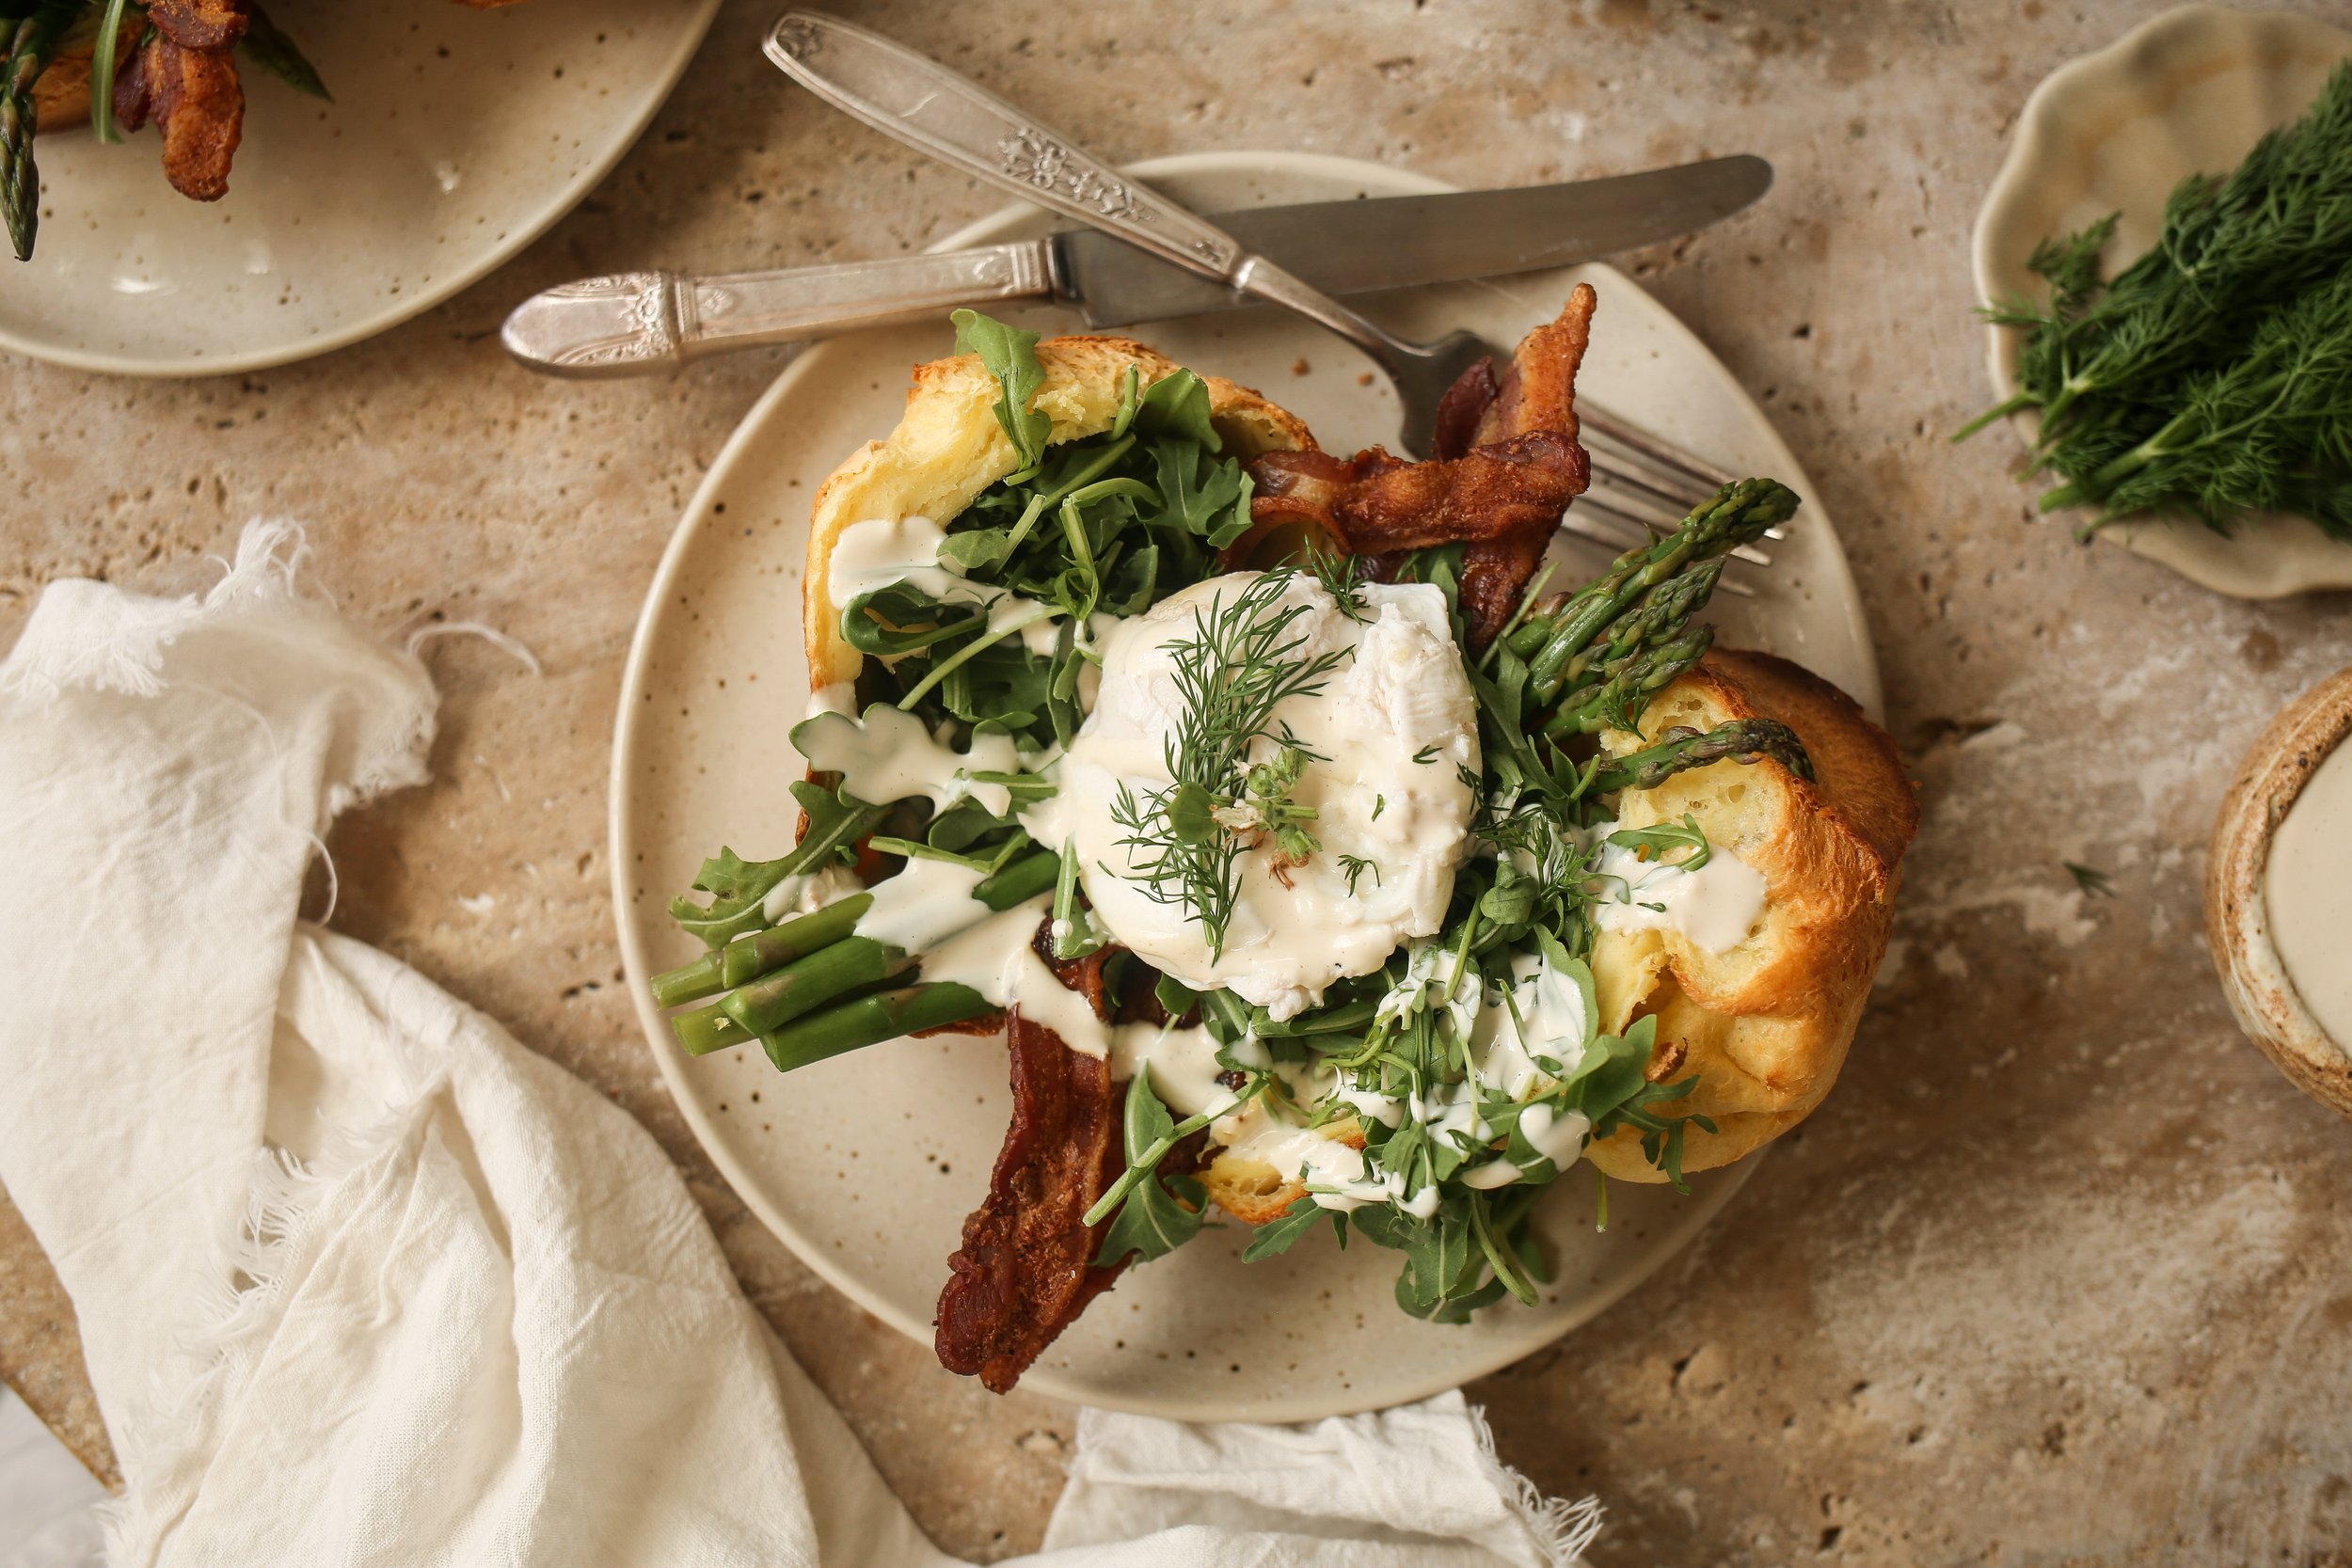
Popovers are truly one of my most favorite foods. Give them to me for breakfast, or with tea, as a snack, with soup, or just give them to me straight.They’re also absolutely perfect with a roast chicken dinner or with Easter brunch. Anyway, anyhow, I will eat them, all of them.
Whether you're serving them alongside a roast, pairing them with jam for breakfast, or simply snacking straight from the pan (guilty!), this easy popovers recipe will have you baking like a pro and you’ll be delving deep into the buttery pockets of a golden brown popover in no time.
Fluffy, Golden Perfection: The Ultimate Popovers Recipe
BUT FIRST…What Are Popovers?
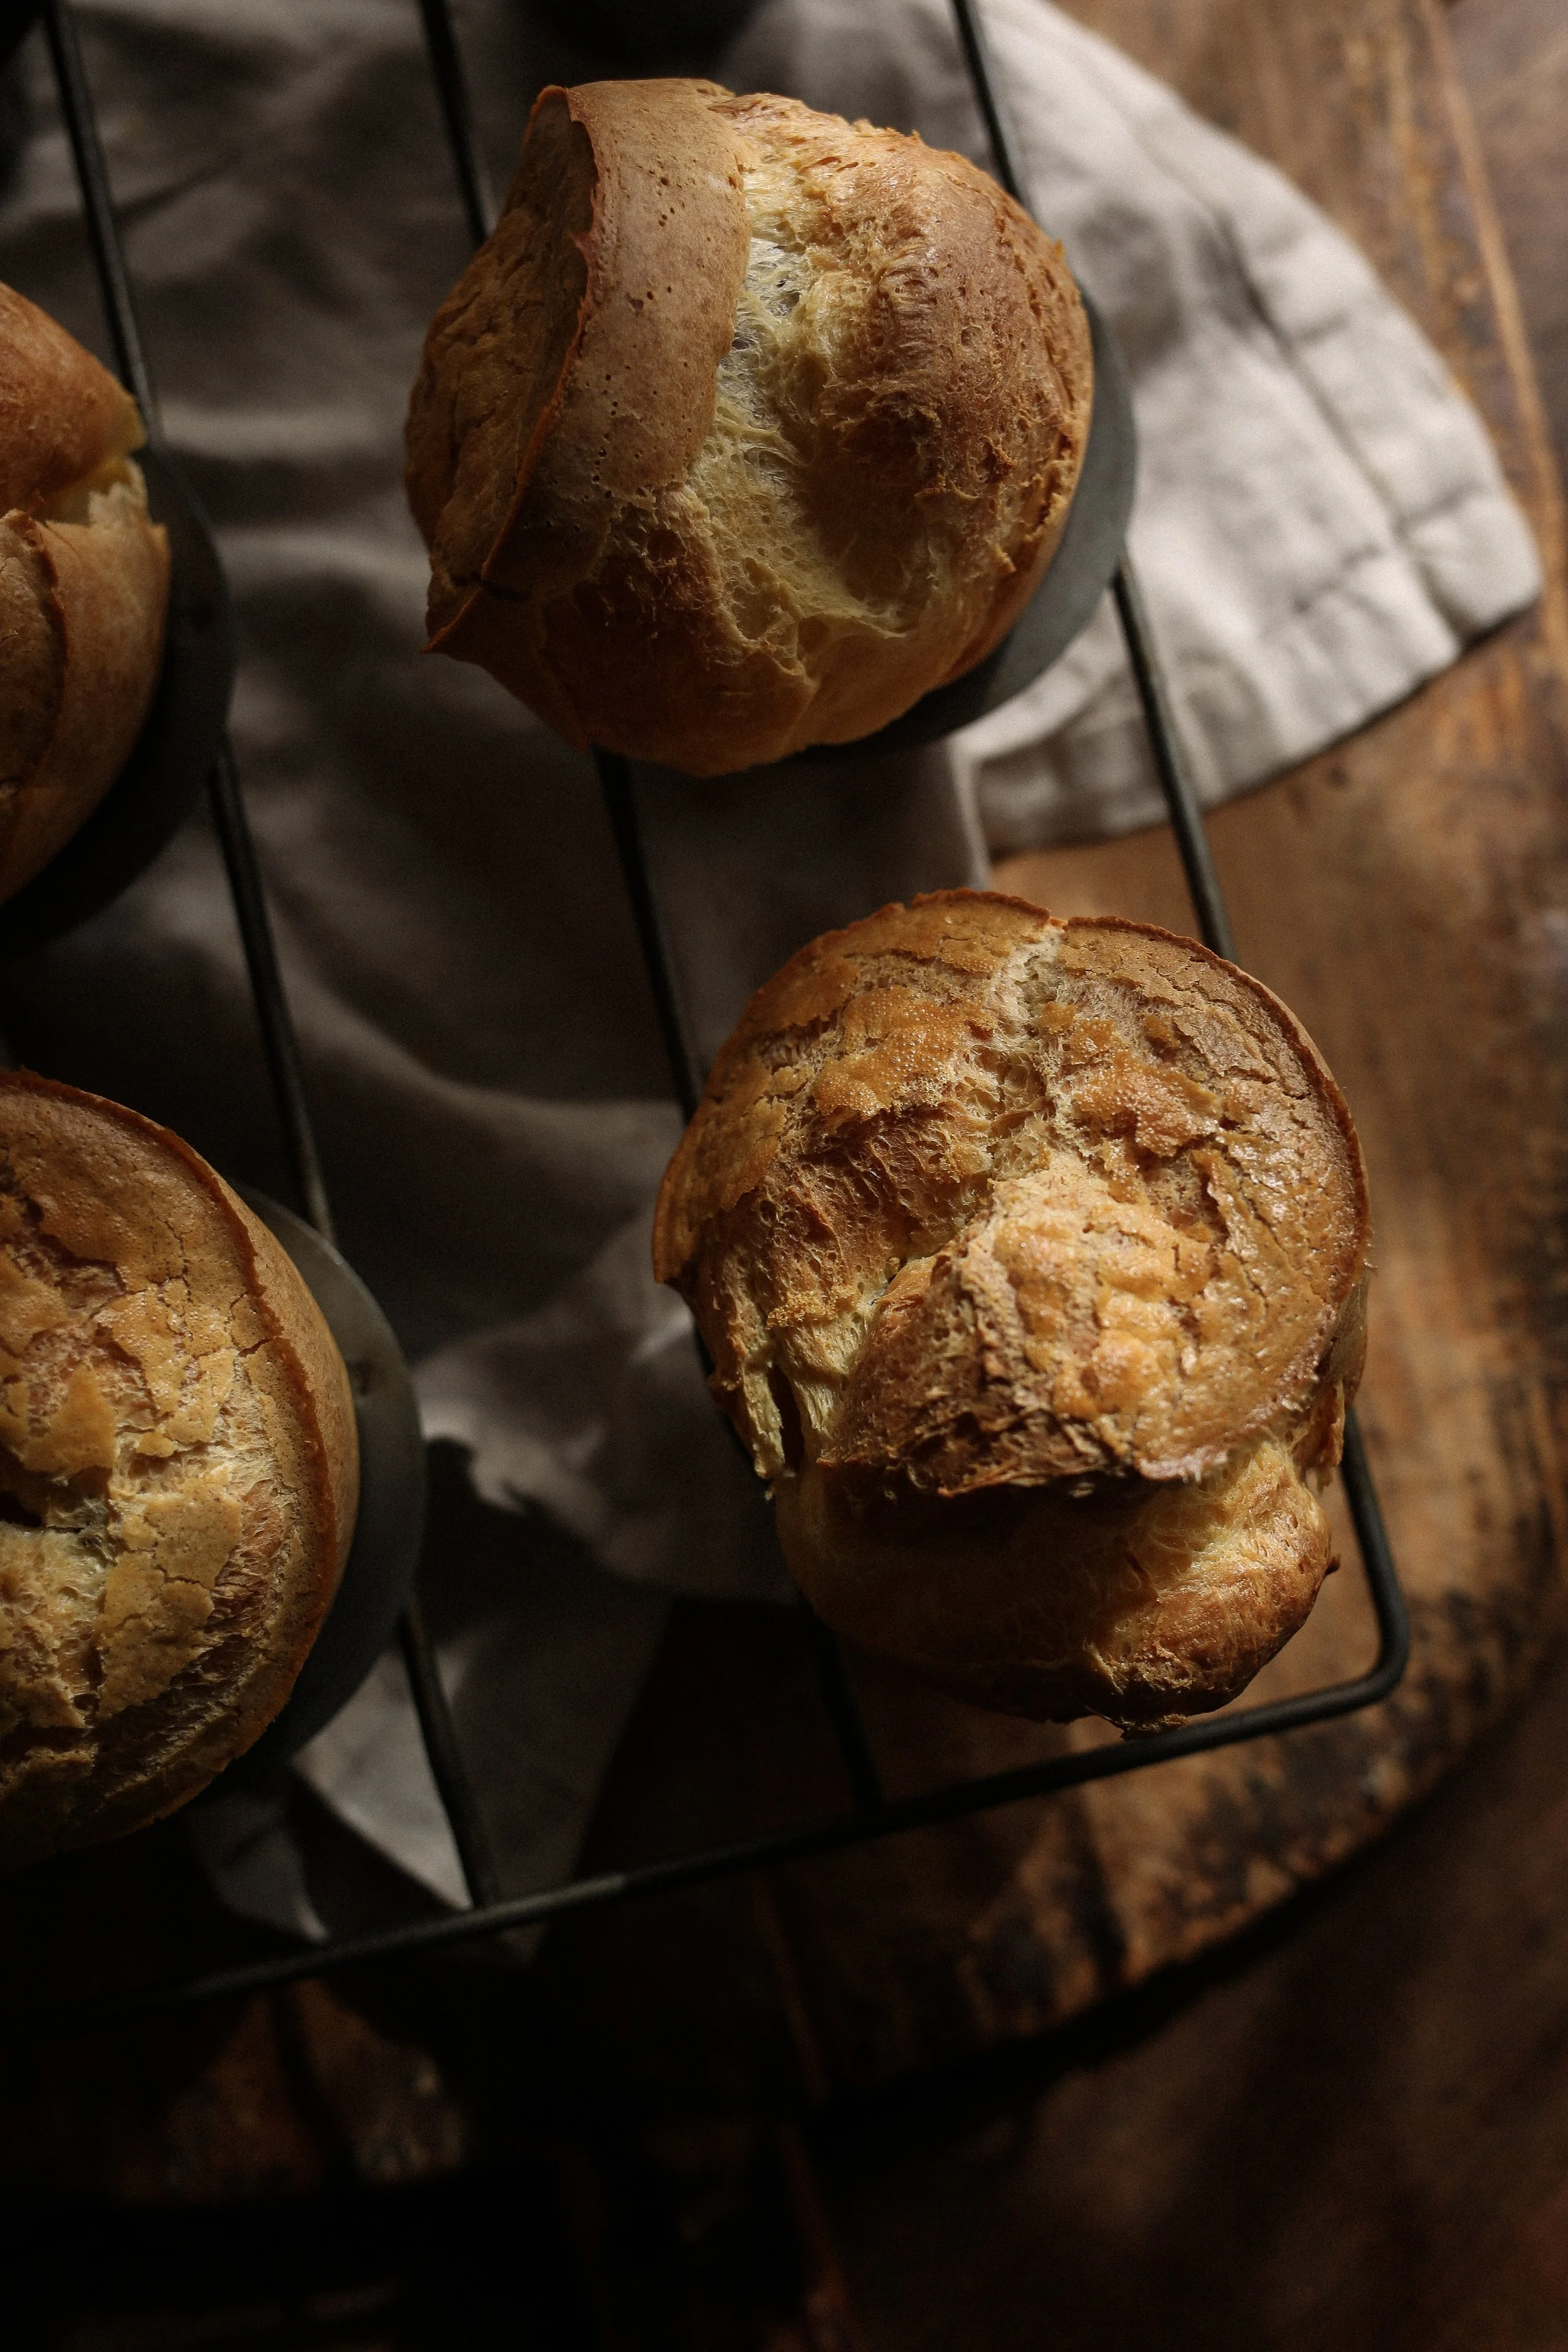
Popovers are light, fluffy, slightly hollow rolls made from a simple egg batter, similar to Yorkshire pudding. What makes them pop (literally) is steam—no baking powder or yeast required. The key is a hot oven, a hot pan, a silky-smooth batter and just a tiny bit of patience.
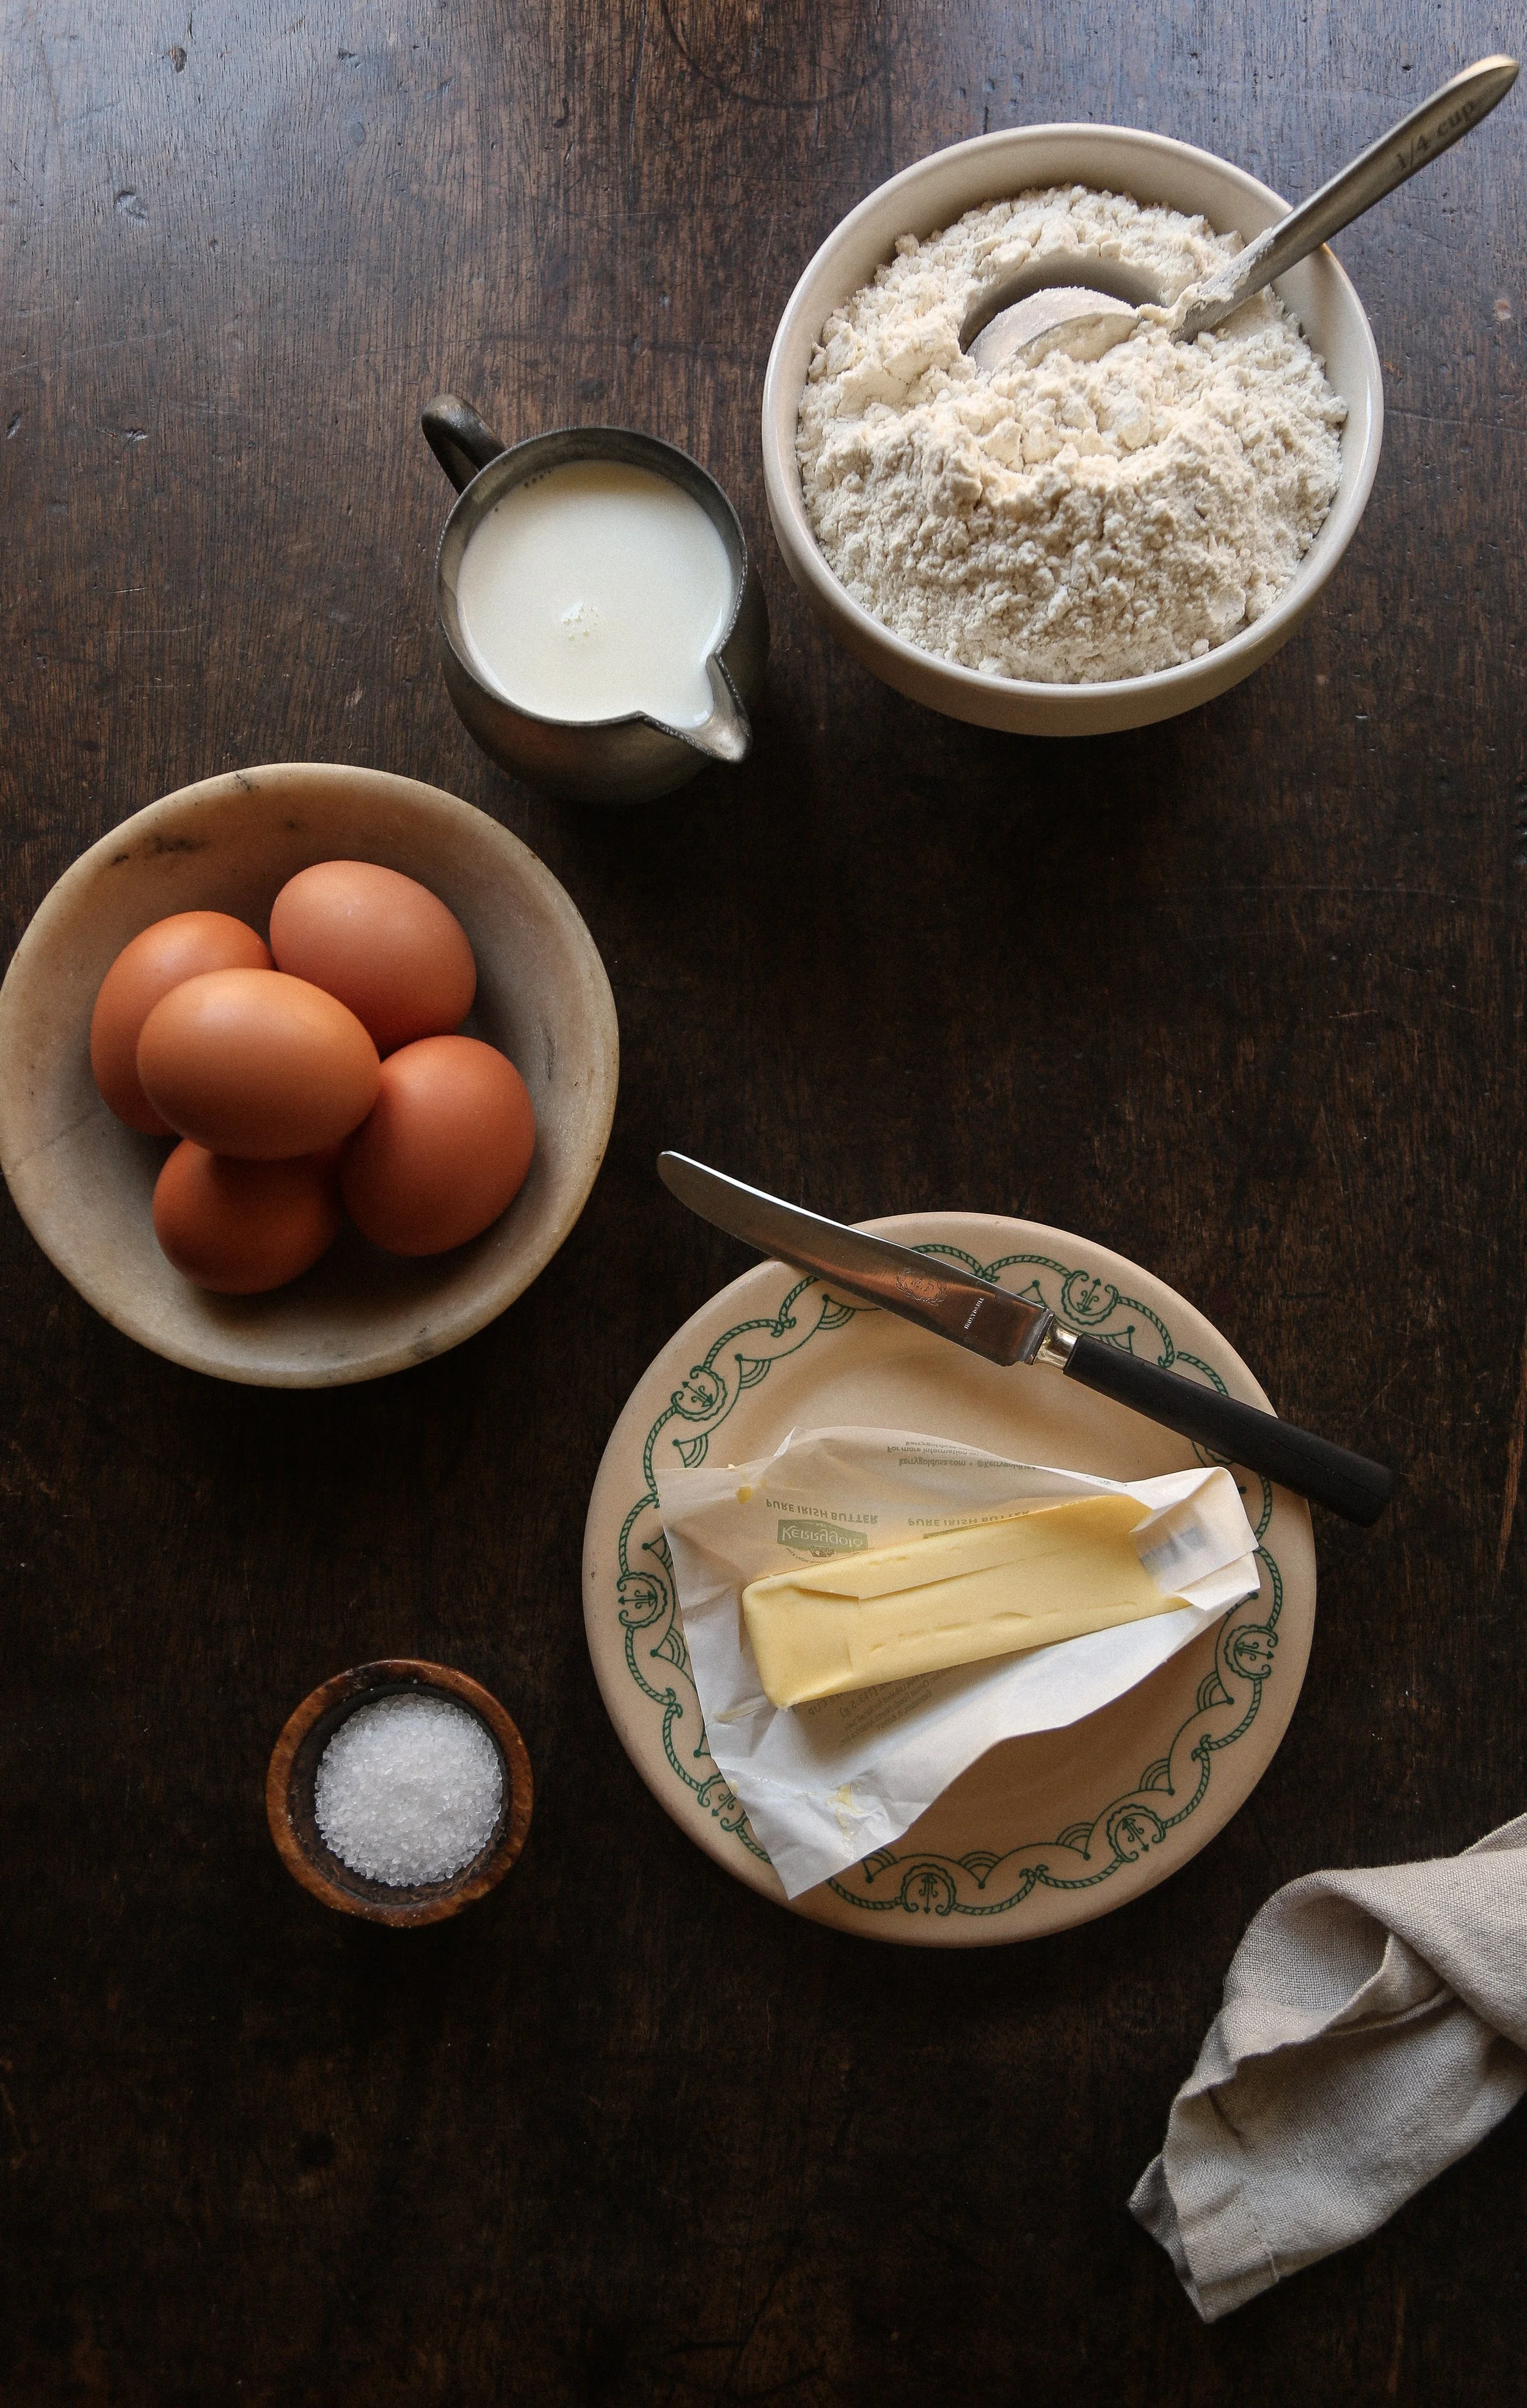
Ingredients for Perfect Popovers
ALL-PURPOSE FLOUR
MILK (I like to use whole or 2% best)
EGGS
SEA SALT
BUTTER
Step-by-Step Instructions
1. Preheat like you mean it
Preheat your oven to 450°F (232°C). Position the rack in the lower third of the oven, then place your popover pan or muffin tin inside so that it can heat as your oven comes to temperature. The pan needs to be piping hot as this helps the popovers to rise dramatically.
2. Blend the batter
In a blender, combine the flour, milk, eggs, salt, and melted butter. Blend until smooth—about 20–30 seconds. Let the batter rest for at least 5-10 minutes, or while your oven continues to preheat, at room temperature. This helps the flour absorb the liquid and improves the final texture.
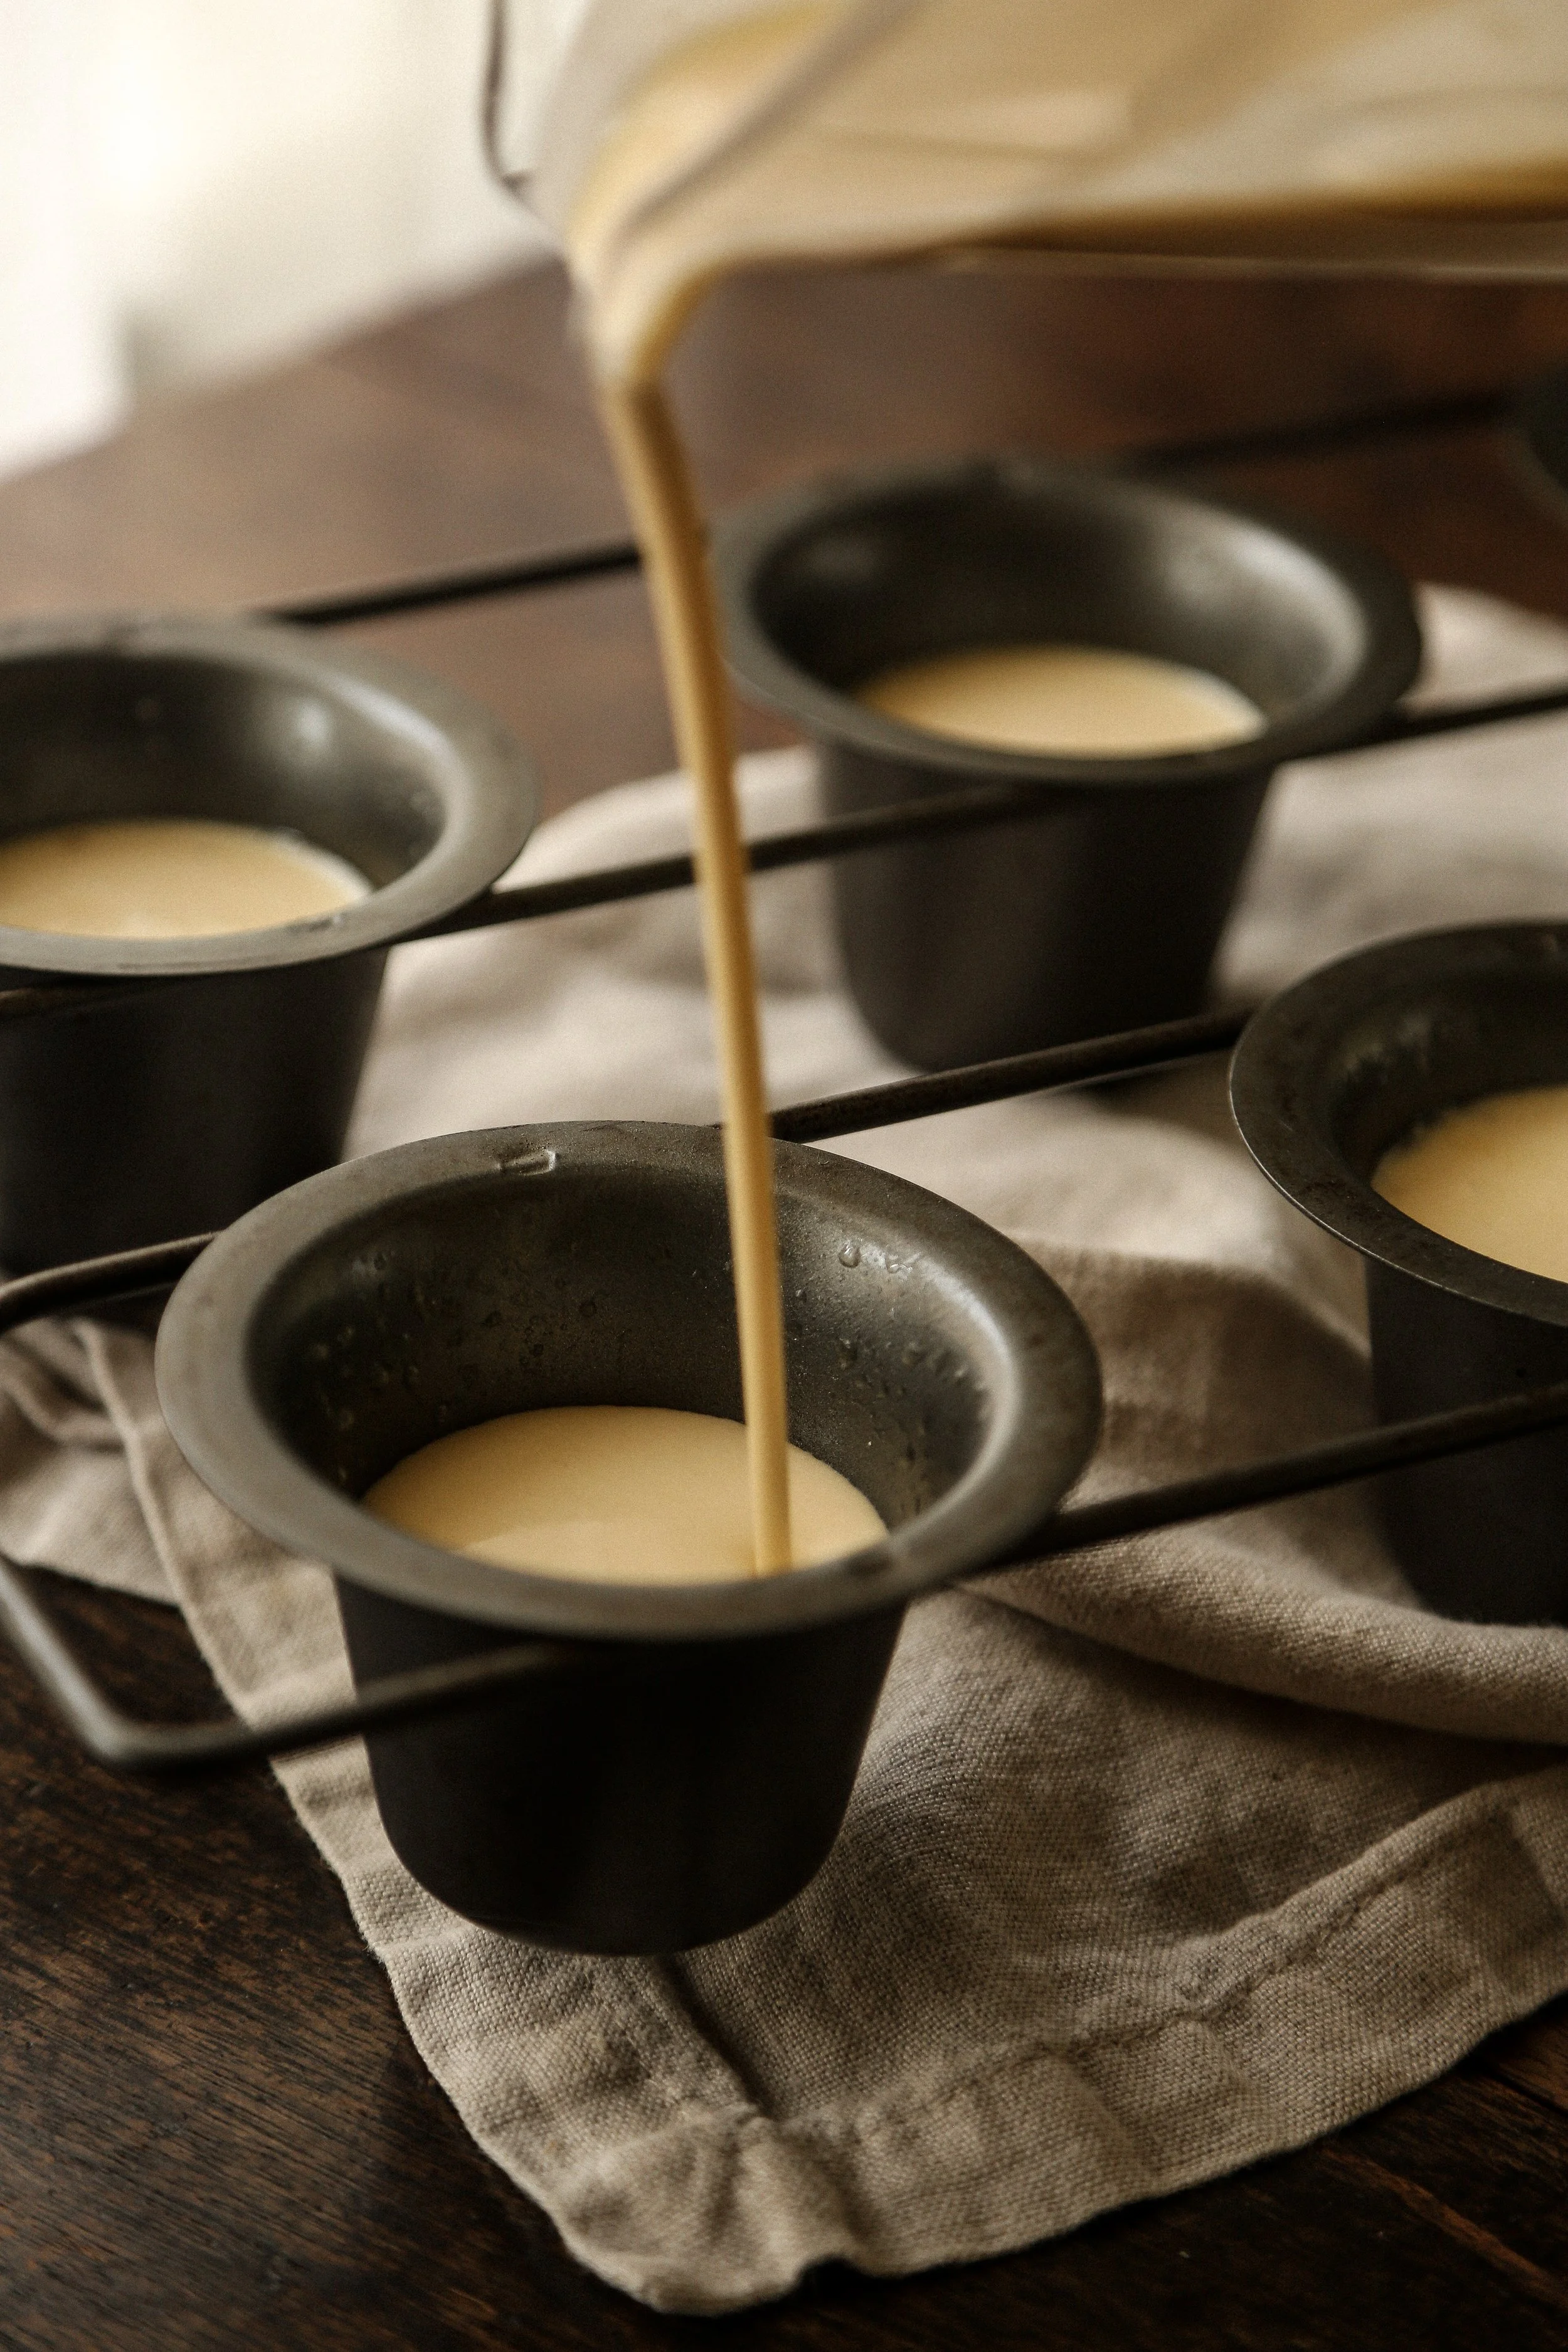
3. Grease the pan
Carefully remove the hot pan from the oven and brush, or swirl, each cup generously with melted butter.
4. Fill and bake
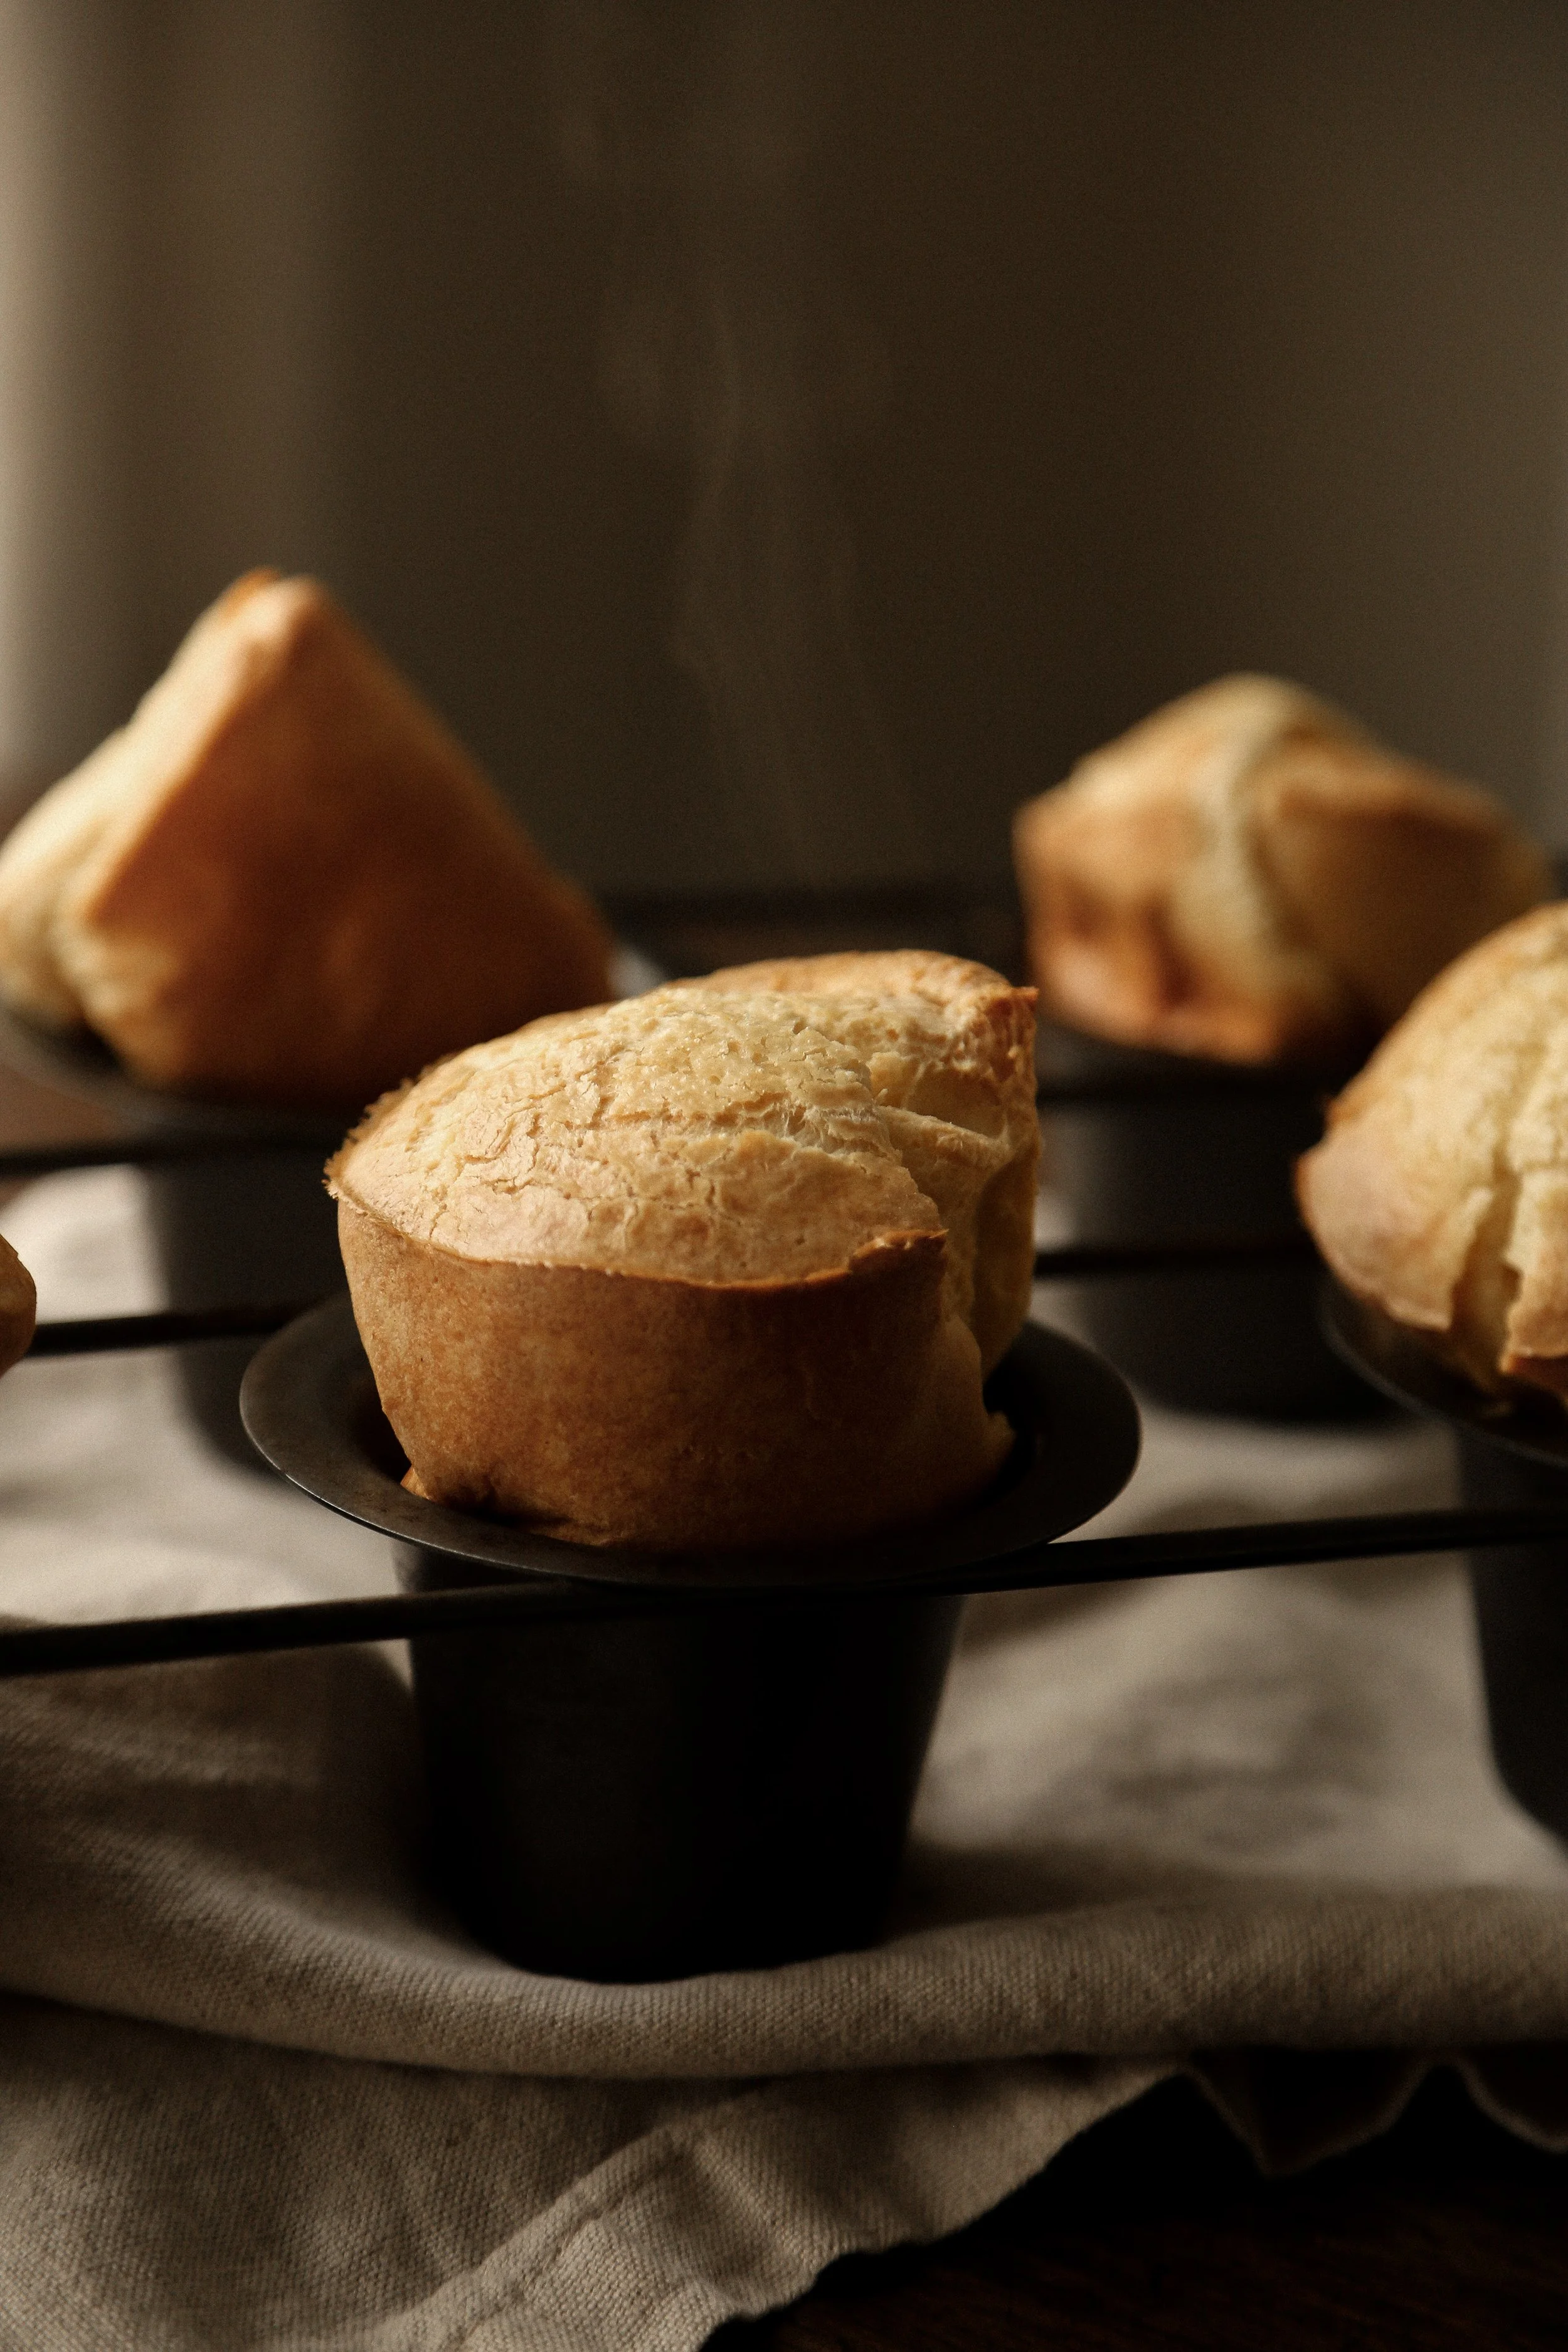
Pour the batter into each cup, filling them about ⅔ full. Immediately place the pan in the oven and bake for 20 minutes at 450°F. Then, reduce the heat to 350°F (175°C) and bake for another 15–20 minutes, until puffed and deep golden brown.
Do not open the oven door while baking! This can cause your popovers to collapse.
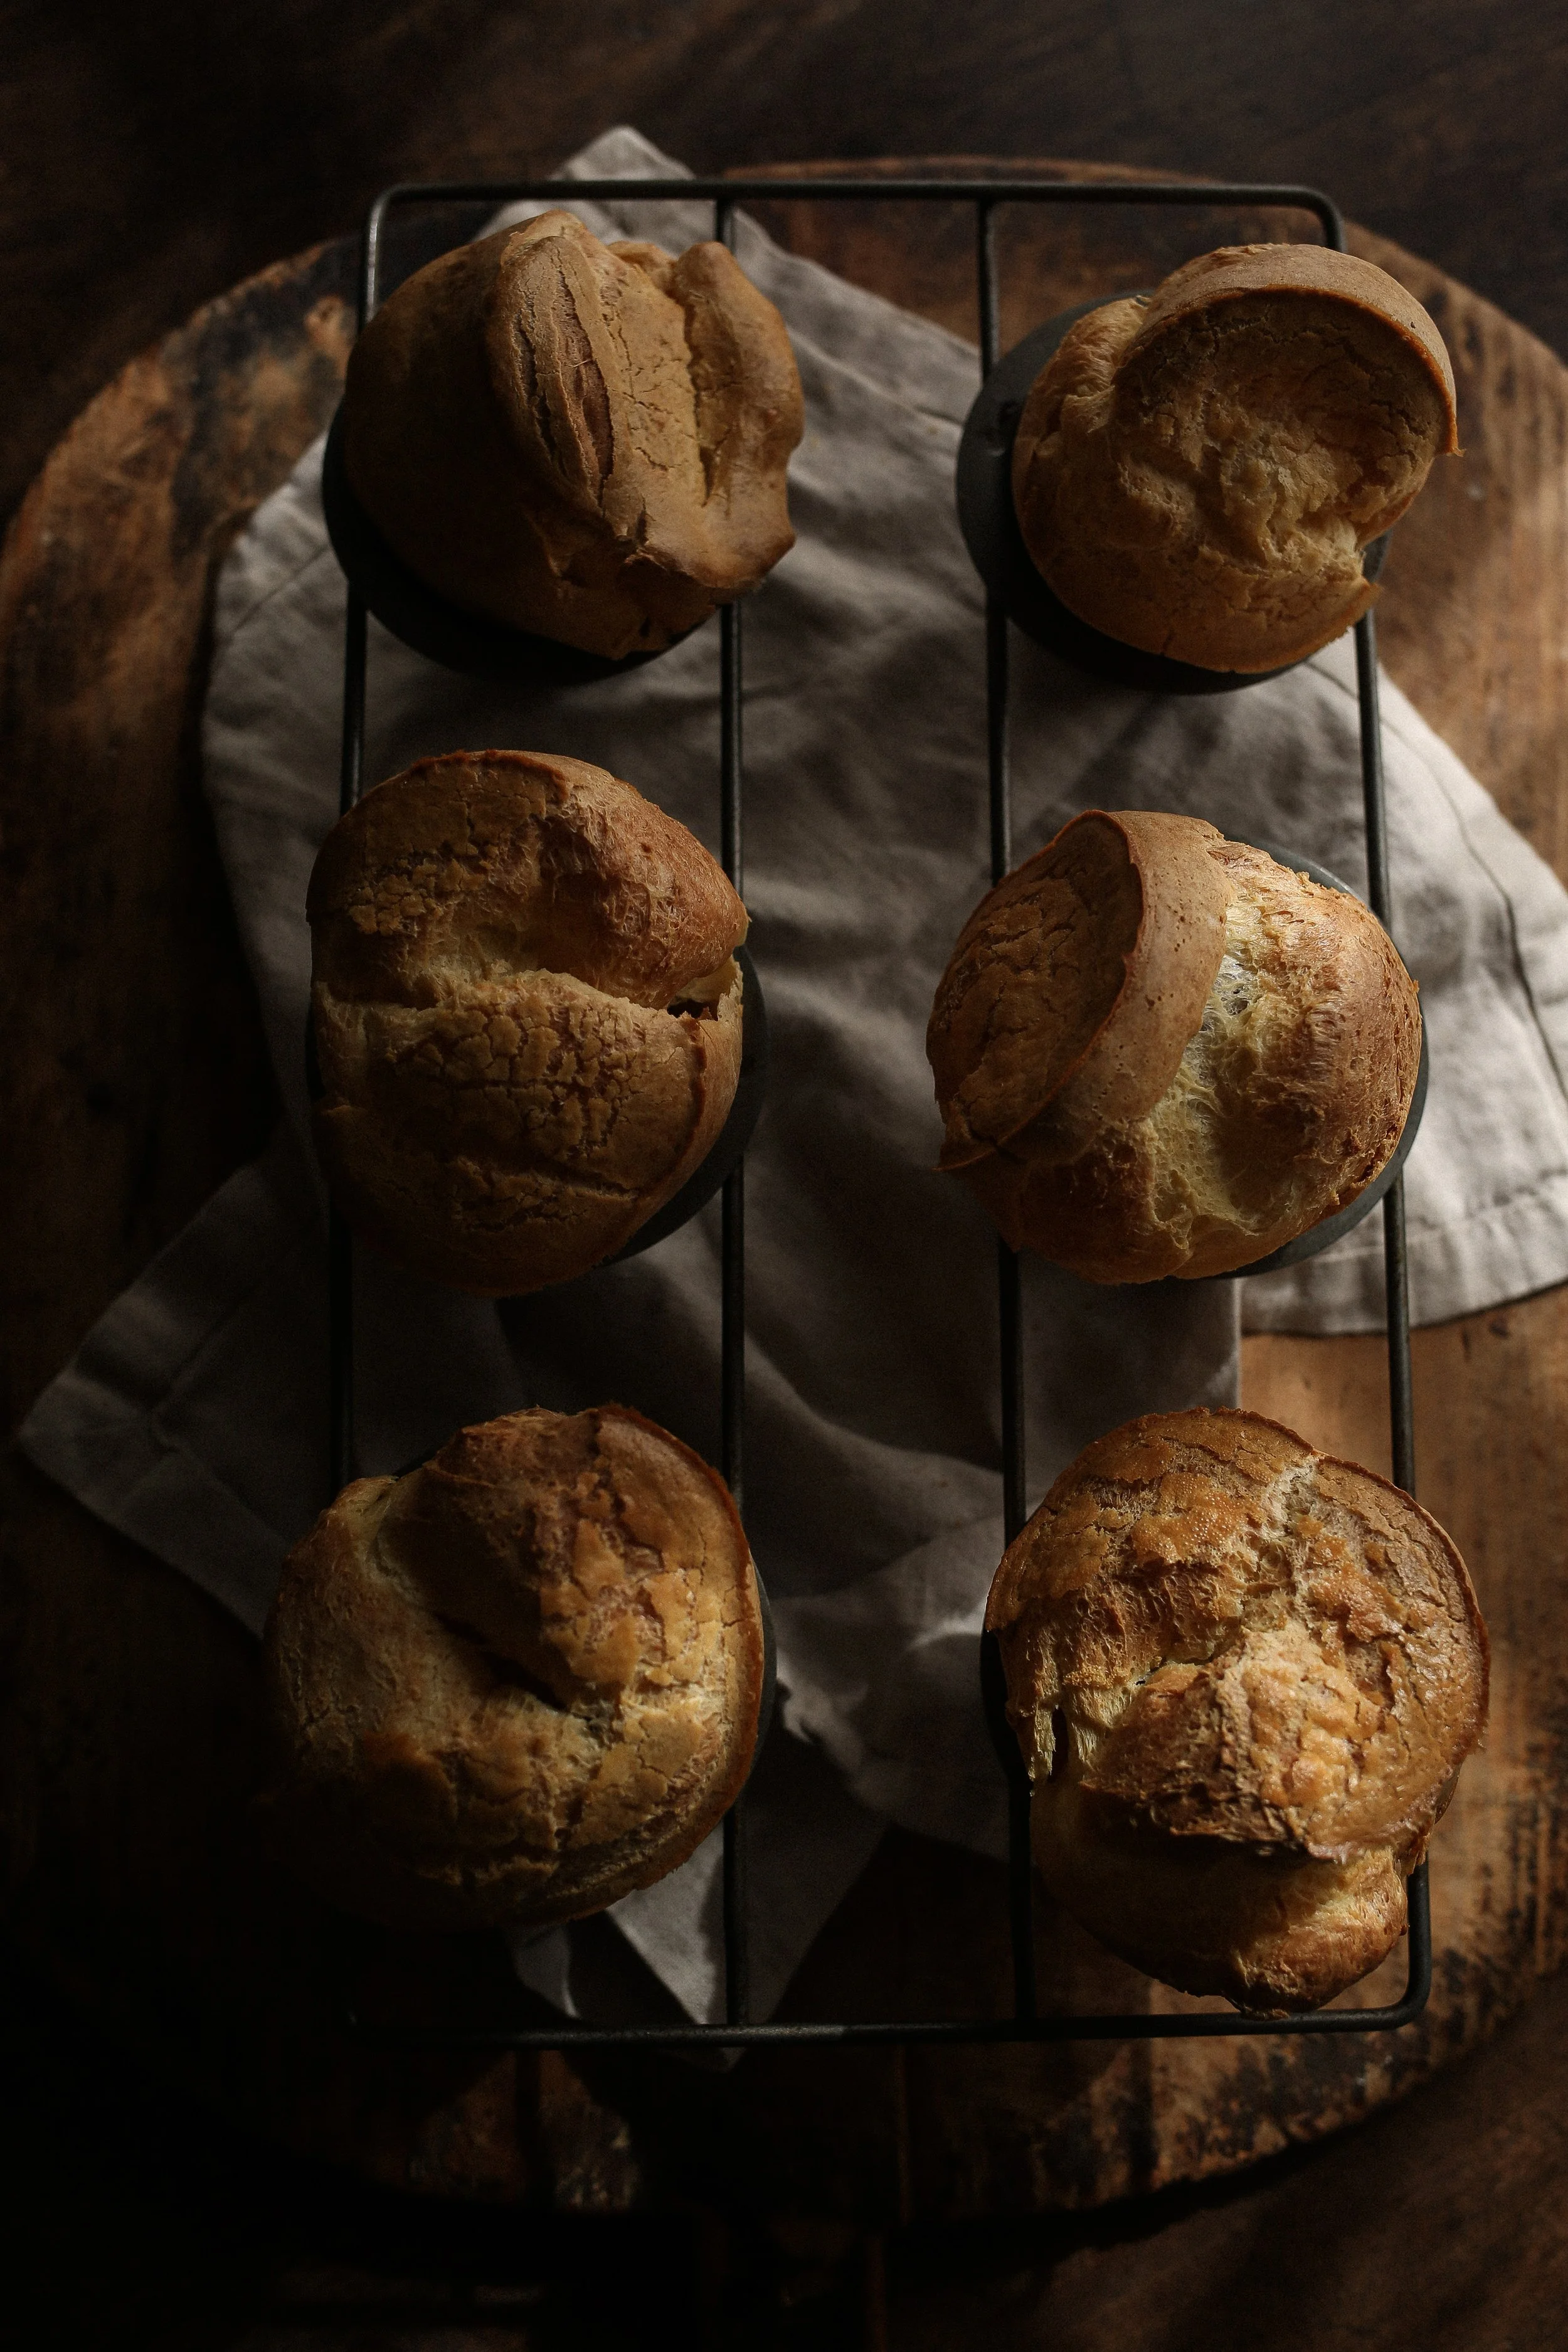
5. Serve immediately
Popovers are best enjoyed fresh out of the oven. Serve them warm with butter, honey, or jam—or keep it savory with herbed butter or cheese.
Pro Tips for Popover Success
INVEST IN A POPOVER PAN – Look, I get. You don’t want another gadget or pan cluttering up your kitchen shelves. But I’m telling you, this is one you might need to make an exception for. A dedicated popover pan truly gives the best rise and popover shape, but a muffin tin or ramekins do work in a pinch. Just expect your popovers to be slightly on the smaller size.
USE ROOM TEMPERATURE INGREDIENTS – This helps the batter rise quickly and evenly.
LET THE BATTER REST – A short rest relaxes the gluten and helps to create that signature airy texture that we all know and love.
PREHEAT THE OVEN AND THE PAN – The oven needs to be fully preheated and the pan needs to be piping hot to ensure the popovers rise properly while they’re baking.
USE BUTTER TO GREASE THE PAN – Using butter instead of cooking spray to grease the tin makes the outside of the popovers crispier.
DON’T OPEN THE OVEN – Patience is key! Peeking can deflate all that glorious steam so I’m telling you, whatever you do, under no circumstance should you open that oven door while your popovers are baking.
Variations to Try
CHEDDAR + CHIVE POPOVERS – For a cheesy option, stir ½ cup shredded cheddar and 1 tablespoon of chopped chives into the batter.
GARLIC PARMESAN POPOVERS – Add 1 teaspoon garlic powder and ¼ cup finely grated Parmesan You can also add in 1 tablespoon finely minced rosemary or basil, as well.
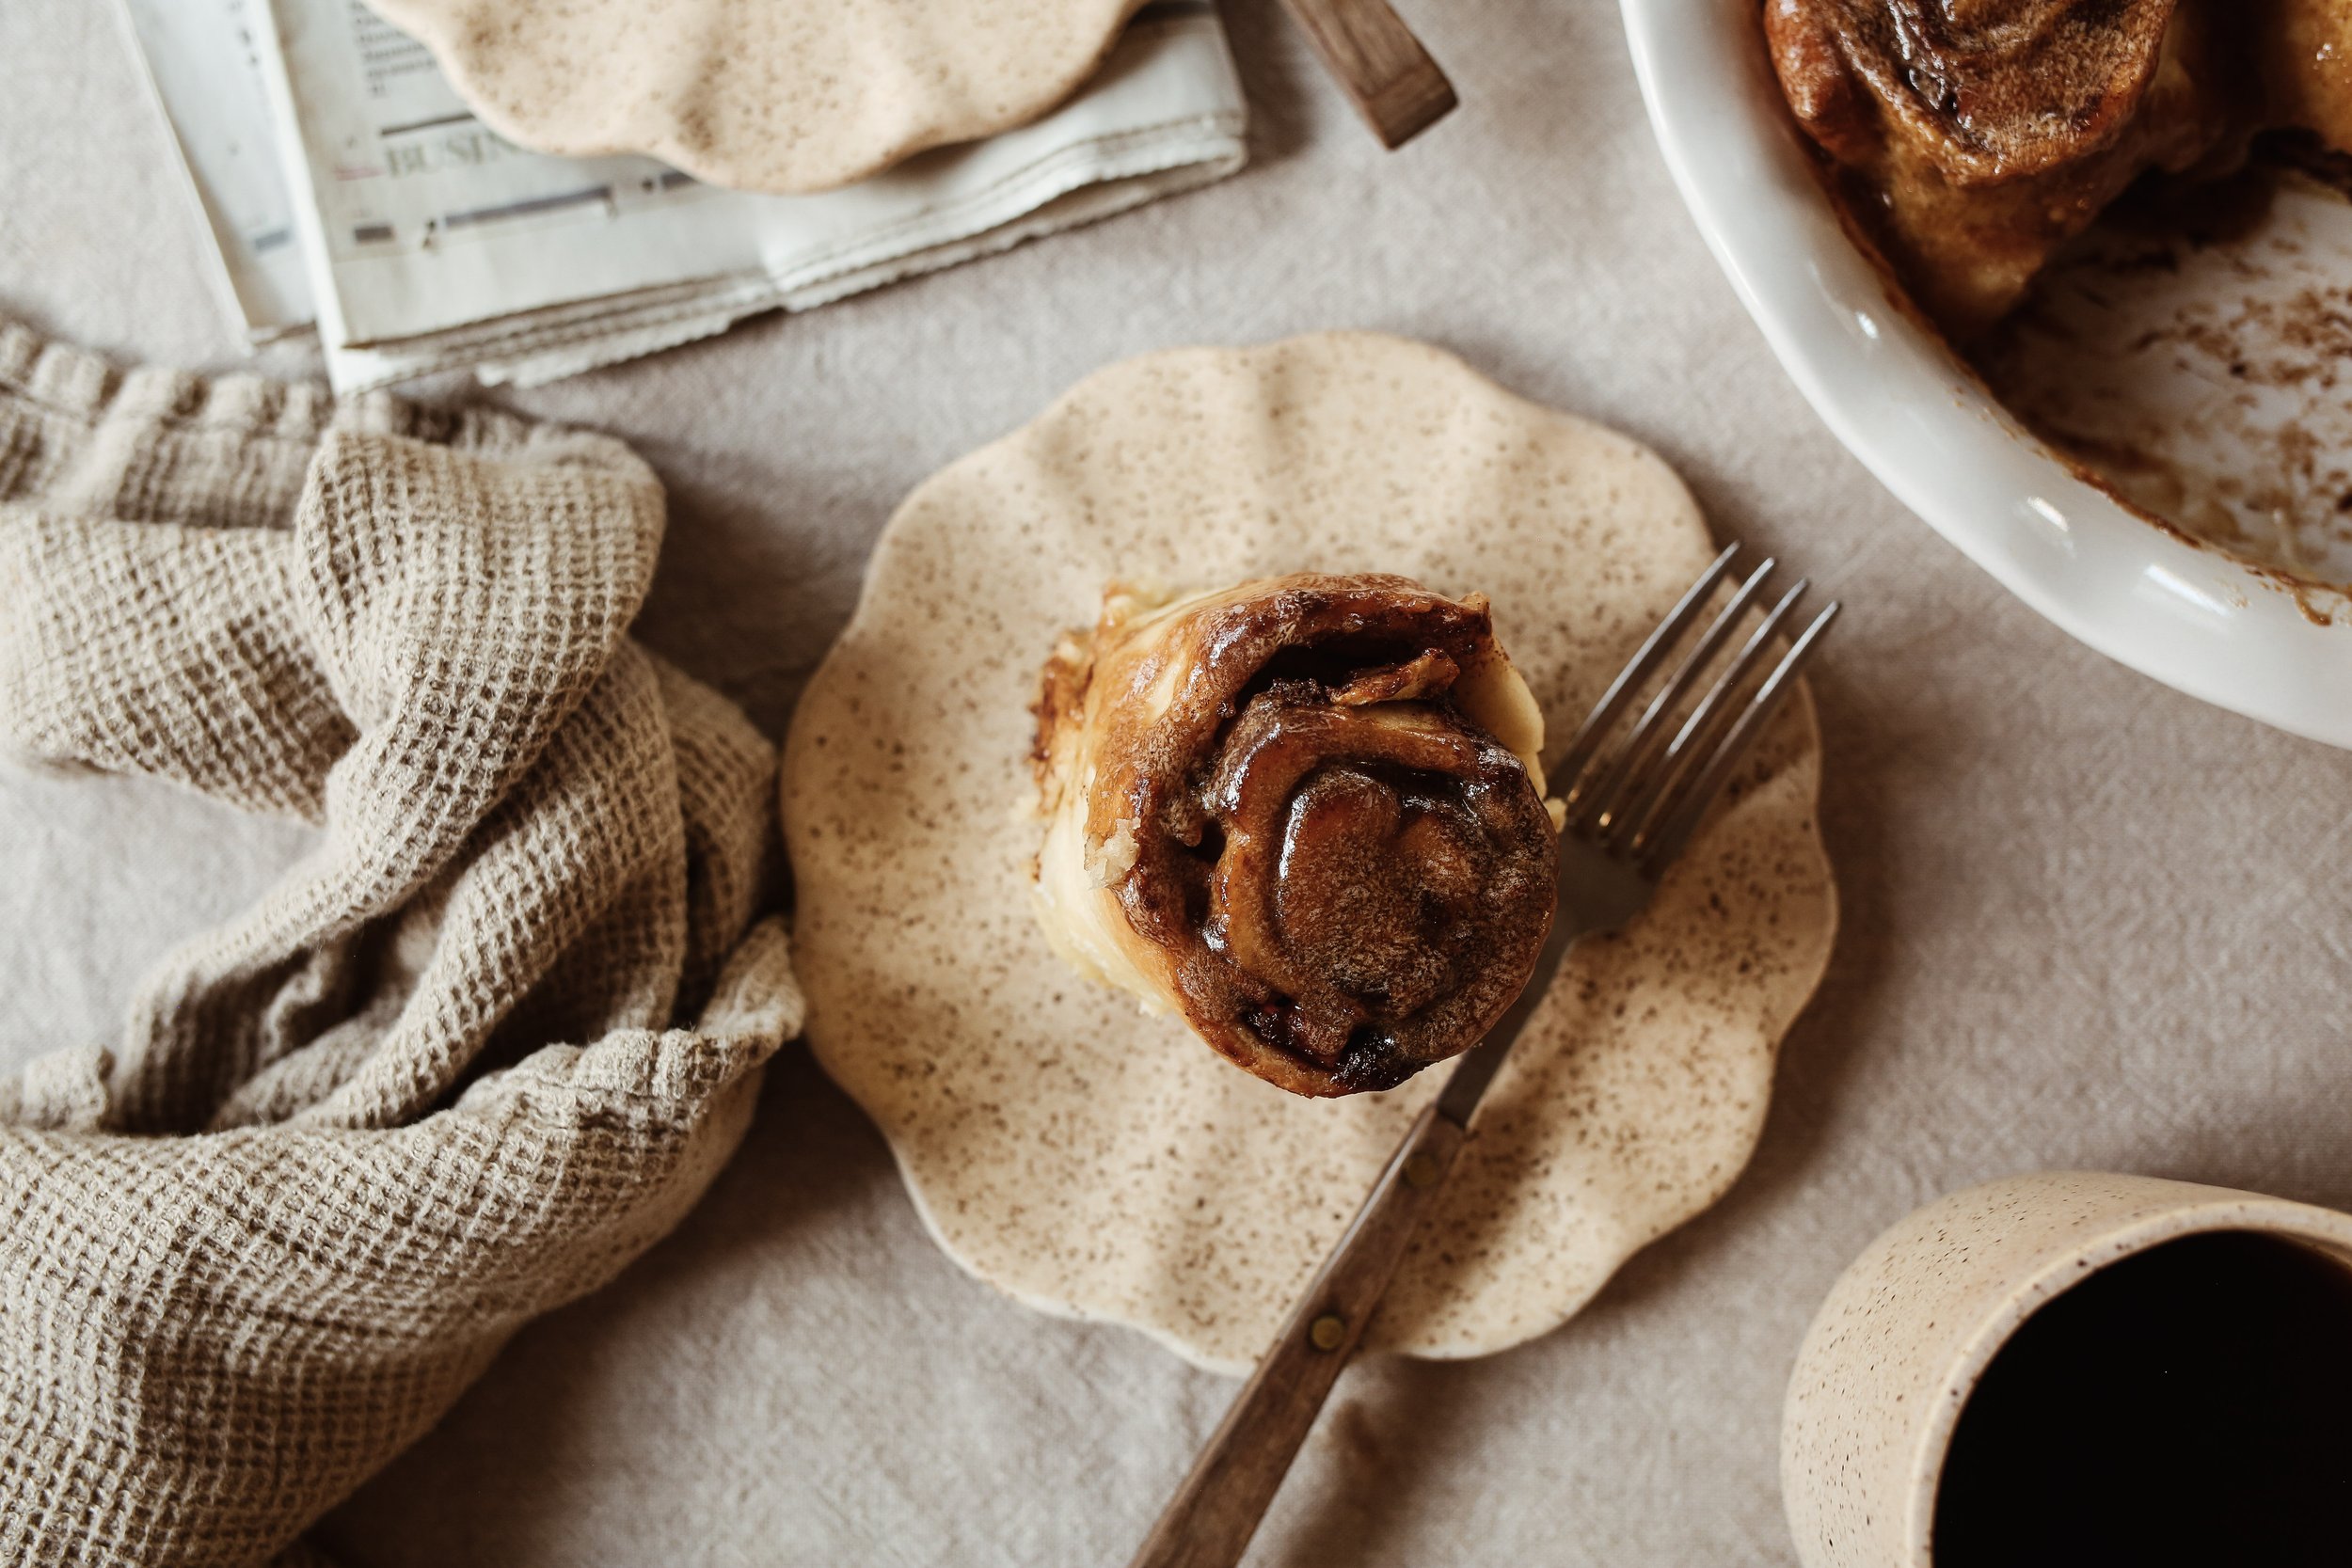
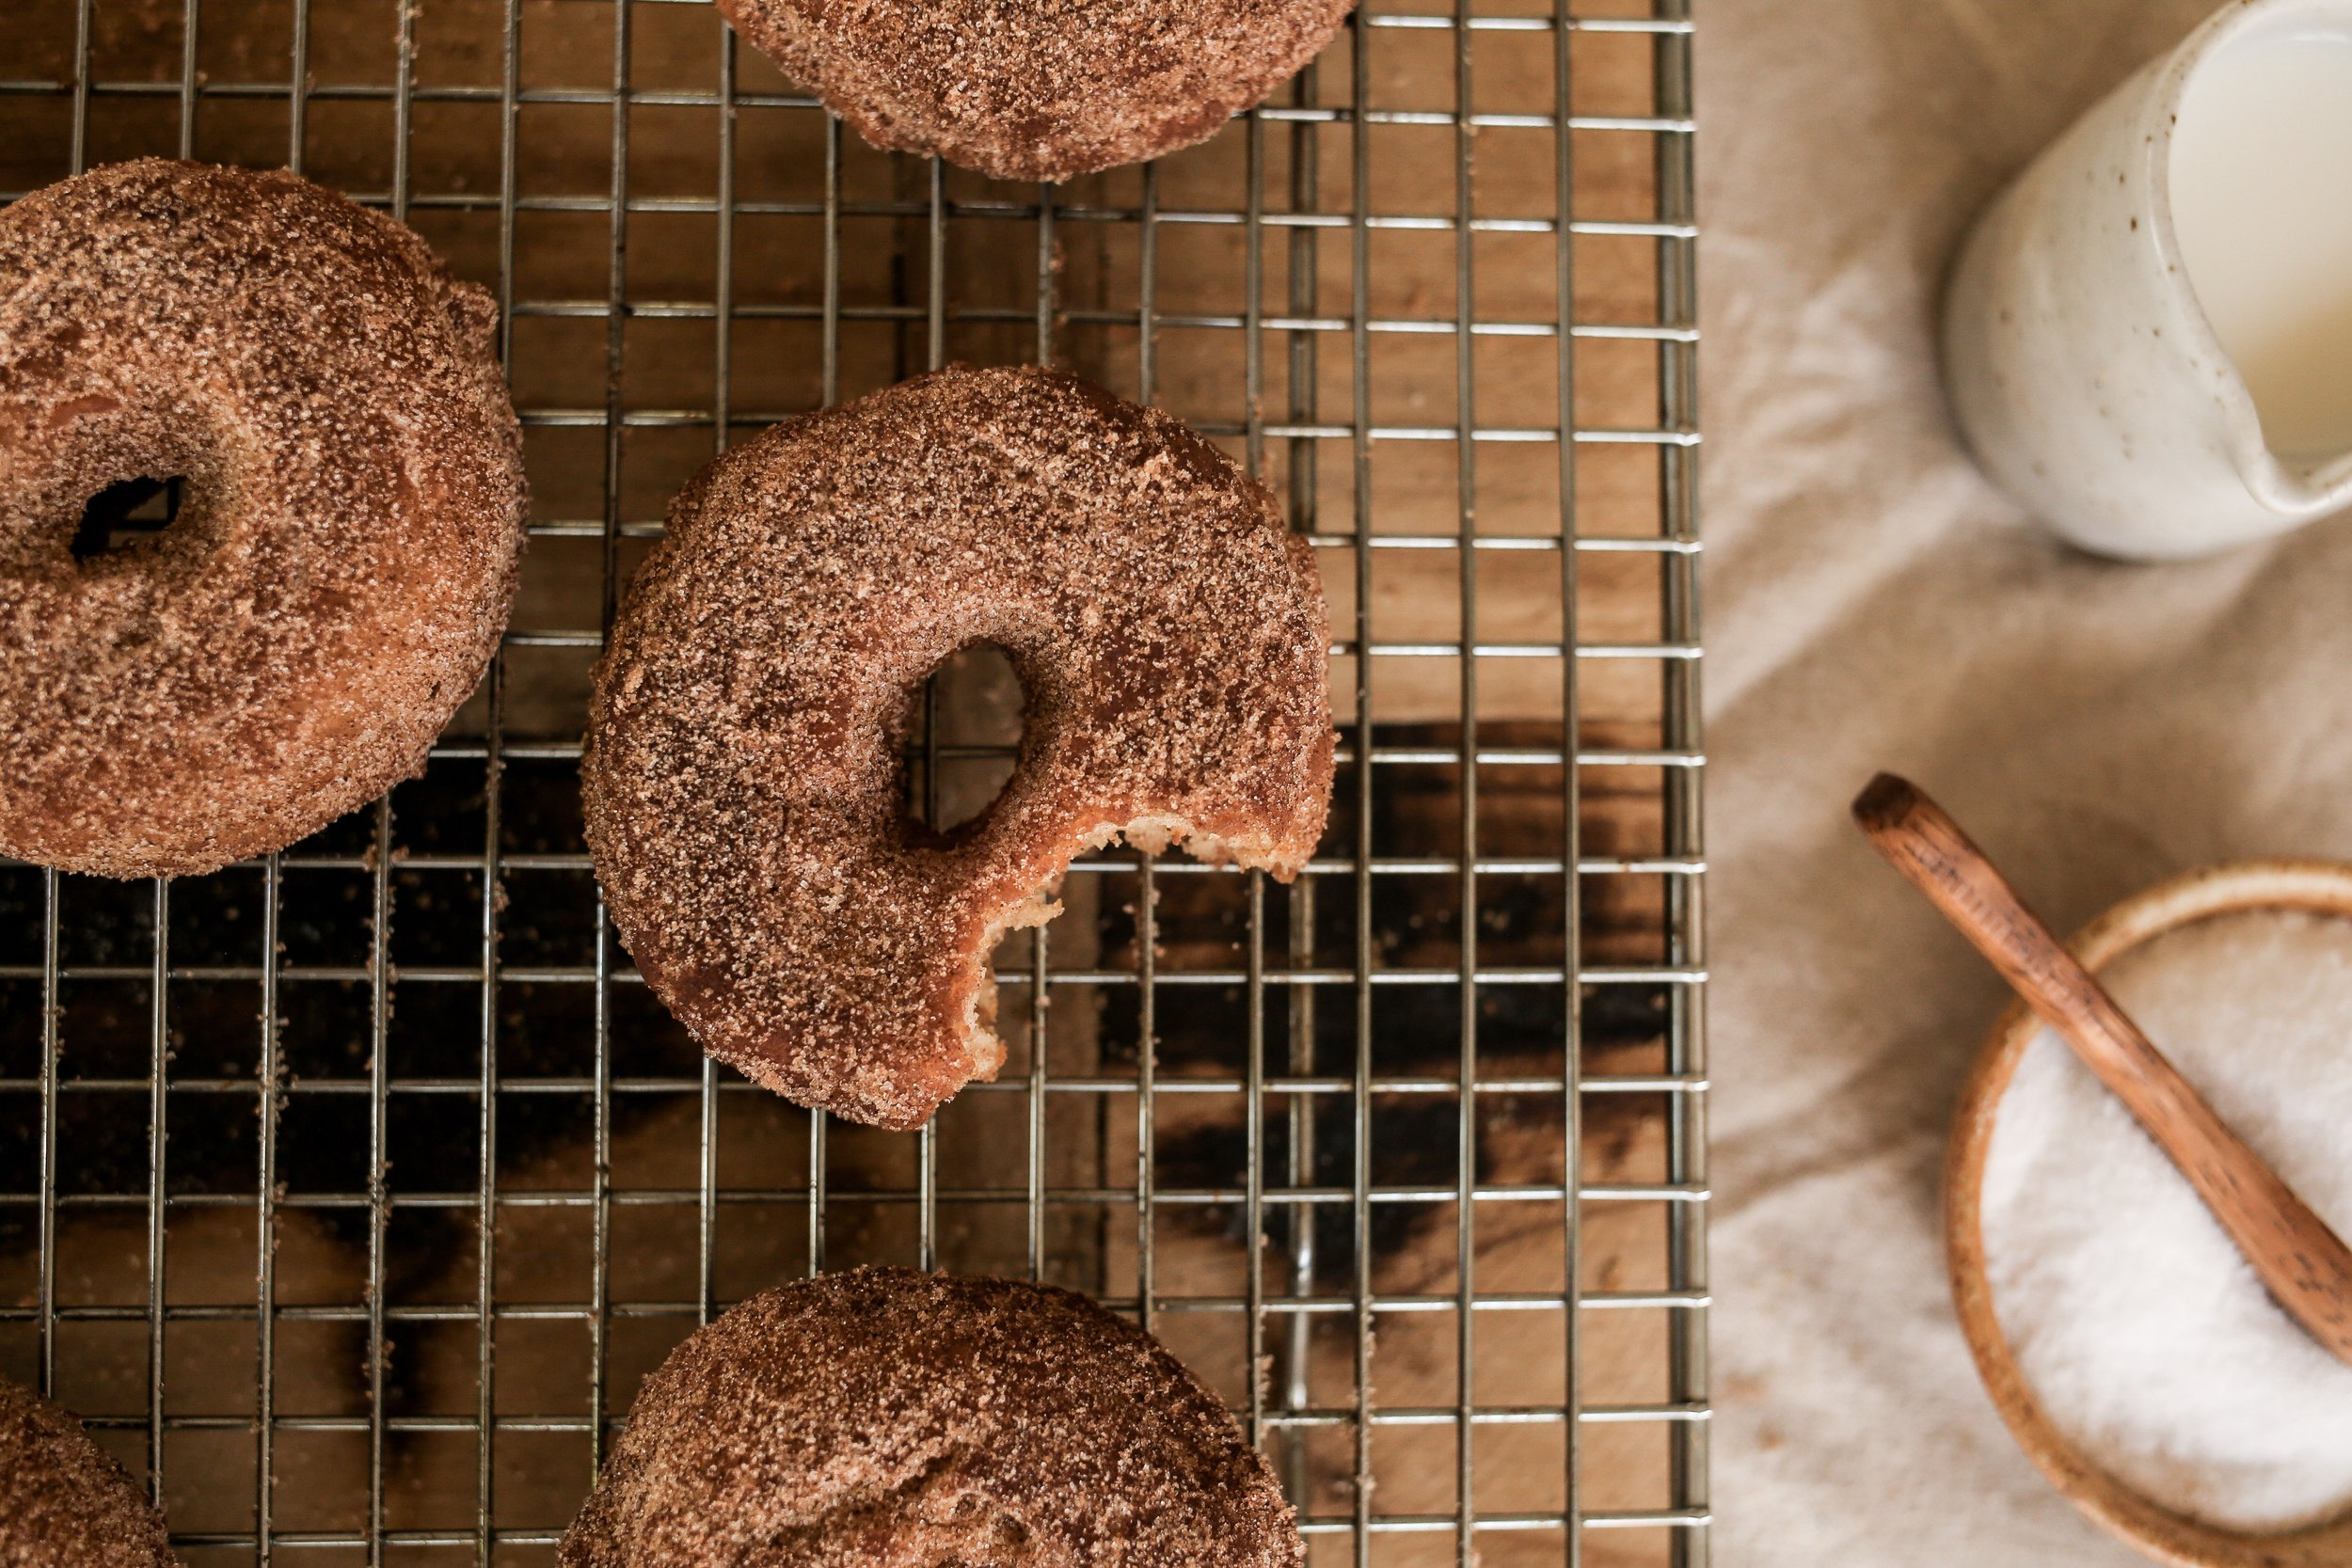
SWEET VANILLA POPOVERS – Add 1 teaspoon vanilla bean paste and 1 tablespoon granulated sugar for a sweeter popover that’s perfect for breakfast or tea time with butter, honey or jam.
Frequently Asked Questions
I DON’T HAVE A POPOVER PAN. WHAT CAN I USE INSTEAD?
While I’d recommend getting yourself a popover pan for the best results, you can use a muffin pan or ramekins in a pinch. Just be sure to adjust accordingly with the amount of batter you use in relation to the pan size and expect your popovers to be slightly on the smaller size.
WHY DIDN’T MY POPOVERS RISE?
There are a few factors that might have caused your popovers to go awry and not rise. Be sure to check that your oven temperature is correct and fully pre-heated. Be sure that your pan is super hot. Last, but certainly not least, be sure you don’t open the oven door during baking, like not at all, not even a little, not even a crack to take a tiny peek. That is the quickest way to sad, deflated popover town.
CAN I MAKE POPOVERS AHEAD OF TIME?
I’m going to be honest with you- popovers are truly at their best when fresh, but I get it, sometimes that’s just not possible (i.e. if you’re making them for a gathering or dinner party). So if the situation calls for it, yes you can make popovers ahead of time and then simply reheat them in a 350°F oven for 5–7 minutes.
CAN I MAKE THESE GLUTEN-FREE?
While I have not personally made this recipe gluten-free, I know others have done it with great success. Use a good 1:1 gluten-free flour blend, but please keep in mind that results may vary slightly in texture.

BECAUSE FOOD TASTES BETTER WHEN IT’S SHARED WITH OTHERS…
If you make these PERFECT POPOVERS please snap a photo and share it, tagging me on INSTAGRAM so I can see! Truly nothing makes me happier than when I see others making and enjoying my recipes!
Also, don’t forget to pin this recipe for later and share it with your fellow popover lovers.
And for more delicious recipes, be sure to follow along on PINTEREST and subscribe to my free newsletter here!

PERFECT POPOVERS
Light, airy, and irresistible—these classic popovers come together with just five simple ingredients and take only a few minutes to make. With a golden exterior and a soft, custardy center, they’re the perfect addition to breakfast, brunch, or dinner. No yeast, no fuss—just a perfect simple, delicious treat.
Ingredients
- 1 1/2 cups all-purpose flour
- 1 1/2 cup milk, at room temperature (I like to use whole or 2% milk)
- 4 large eggs, at room temperature
- 1 teaspoon salt
- 3 tablespoon butter, melted and cooled, plus more for greasing the pan
Instructions
- Preheat your oven to 450°F (232°C). Position the rack in the lower third of the oven then place your popover pan or muffin tin inside so that it can heat as your oven comes to temperature. The pan needs to be piping hot as this helps the popovers to rise dramatically.
- In a blender, combine the flour, milk, eggs, salt, and melted butter. Blend until smooth—about 20–30 seconds. Let the batter rest for at least 5-10 minutes, or while your oven continues to preheat, at room temperature. This helps the flour absorb the liquid and improves the final texture.
- Carefully remove the hot pan from the oven and brush, or swirl, each cup generously with melted butter.
- Pour the batter into each cup, filling them about ⅔ full. Immediately place the pan in the oven and bake for 20 minutes at 450°F. Then, reduce the heat to 350°F (175°C) and bake for another 15–20 minutes, until puffed and deep golden brown.
- Do not open the oven door while baking! This can cause your popovers to collapse.
- Serve immediately. Popovers are best enjoyed fresh out of the oven. Serve them warm with butter, honey, or jam—or keep it savory with herbed butter or cheese.
Notes
PRO TIPS
- USE ROOM TEMPERATURE INGREDIENTS – This helps the batter rise quickly and evenly.
- LET THE BATTER REST – A short rest relaxes the gluten and helps to create that signature airy texture that we all know and love.
- PREHEAT THE OVEN AND THE PAN – The oven needs to be fully preheated and the pan needs to be piping hot to ensure the popovers rise properly while they’re baking.
- USE BUTTER TO GREASE THE PAN – Using butter instead of cooking spray to grease the tin makes the outside of the popovers crispier.
- DON’T OPEN THE OVEN – Patience is key! Peeking can deflate all that glorious steam so I’m telling you, whatever you do, under no circumstance should you open that oven door while your popovers are baking.
IF YOU DON'T HAVE A POPOVER PAN
- While I’d recommend getting yourself a popover pan for the best results, you can use a muffin pan or ramekins in a pinch. Just be sure to adjust accordingly with the amount of batter you use in relation to the pan size and expect your popovers to be slightly on the smaller size.
CAN I MAKE POPOVERS AHEAD OF TIME?
- I’m going to be honest with you- popovers are truly at their best when fresh, but I get it, sometimes that’s just not possible (i.e. if you’re making them for a gathering or dinner party). So if the situation calls for it, yes you can make popovers ahead of time and then simply reheat them in a 350°F oven for 5–7 minutes.
WHY DIDN’T MY POPOVERS RISE?
- There are a few factors that might have caused your popovers to go awry and not rise. Be sure to check that your oven temperature is correct and fully pre-heated. Be sure that your pan is super hot. Last, but certainly not least, be sure you don’t open the oven door during baking, like not at all, not even a little, not even a crack to take a tiny peek. That is the quickest way to sad, deflated popover town.
VARIATIONS TO TRY
- CHEDDAR + CHIVE POPOVERS – For a cheesy option, stir ½ cup shredded cheddar and 1 tablespoon of chopped chives into the batter.
- GARLIC PARMESAN POPOVERS – Add 1 teaspoon garlic powder and ¼ cup finely grated Parmesan You can also add in 1 tablespoon finely minced rosemary or basil, as well.
- SWEET VANILLA POPOVERS – Add 1 teaspoon vanilla bean paste and 1 tablespoon granulated sugar for a sweeter popover that’s perfect for breakfast or tea time with butter, honey or jam.
WHAT TO DO WITH LEFTOVERS
- Store leftovers in an airtight container for up to 2 days. They can be reheated by placing them in a 350 degree oven for just a few minutes. Do note that the outside will get a bit crispier and darker when you reheat them.


Nutrition Facts
Calories
248Fat
11 gSat. Fat
6 gCarbs
27 gFiber
1 gNet carbs
26 gSugar
3 gProtein
9 gSodium
459 mgCholesterol
146 mgThis information is provided as a courtesy and is an estimate only. Although we attempt to provide accurate nutritional information, these figures are only estimates and come from online calculators. Variations may occur due to substitutions used, food preparation, freshness of ingredients and product availability, among other factors.You are solely responsible for ensuring that any nutritional information obtained is accurate.


SHOP THE POST
EXACT (OR SIMILAR) INGREDIENTS + ITEMS I USED TO MAKE THIS RECIPE + FEATURED IN THIS POST